bluename
How to Hybridize Sarracenia varieties: 6 Cross-Breeding Tricks
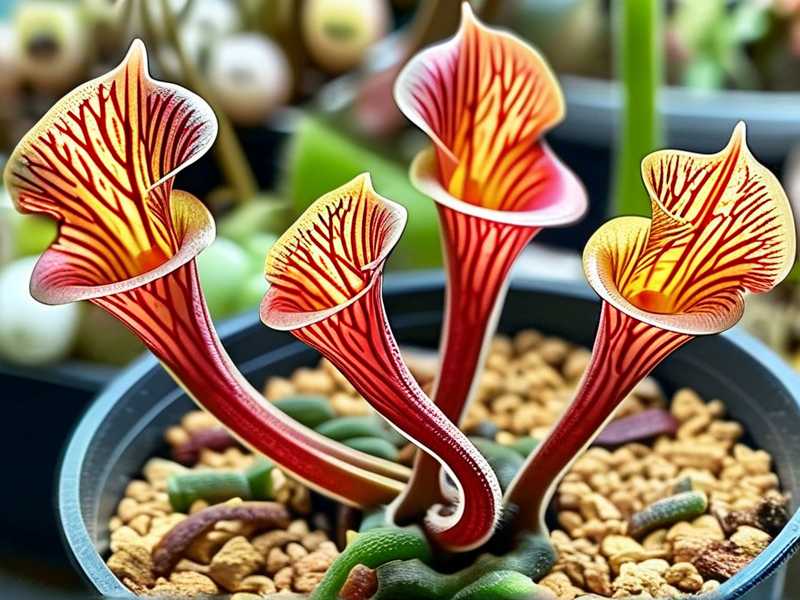
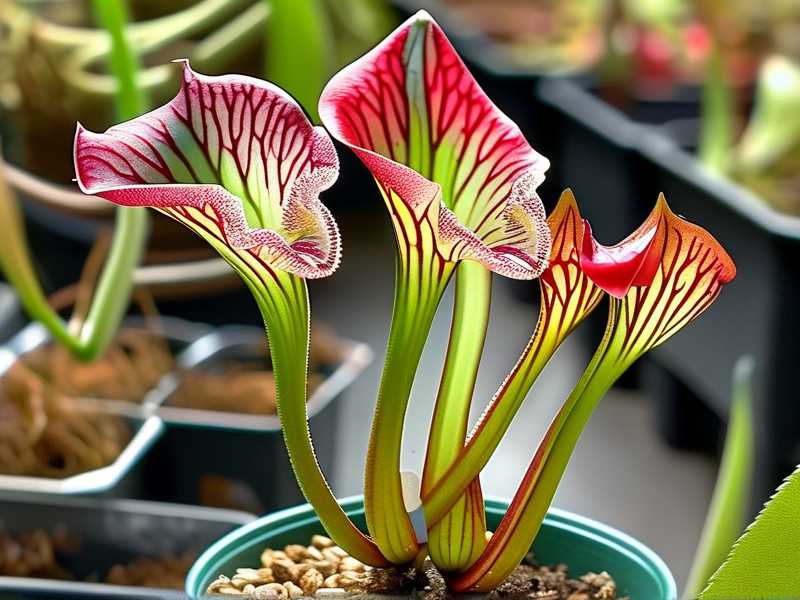
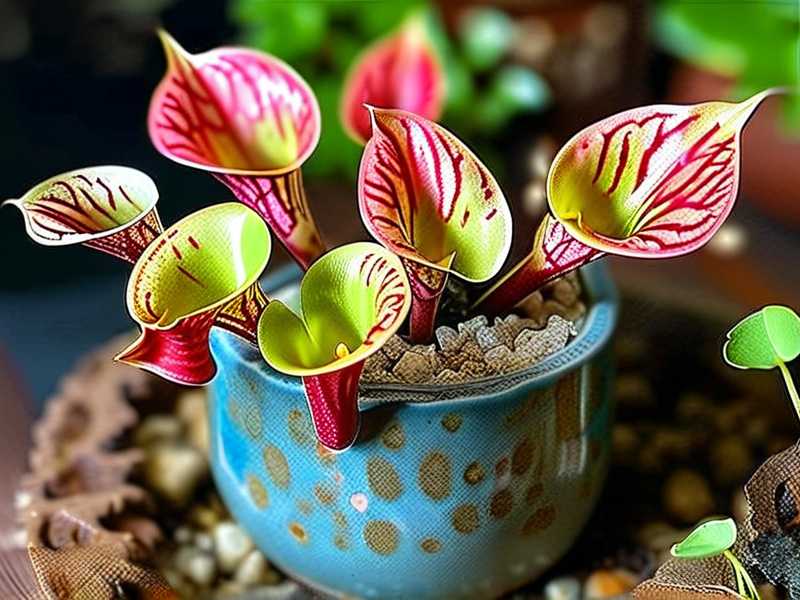
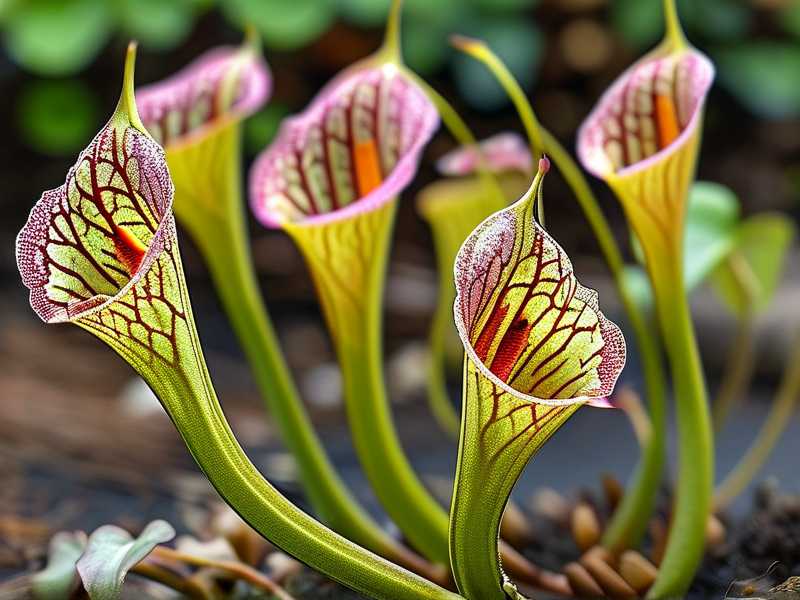
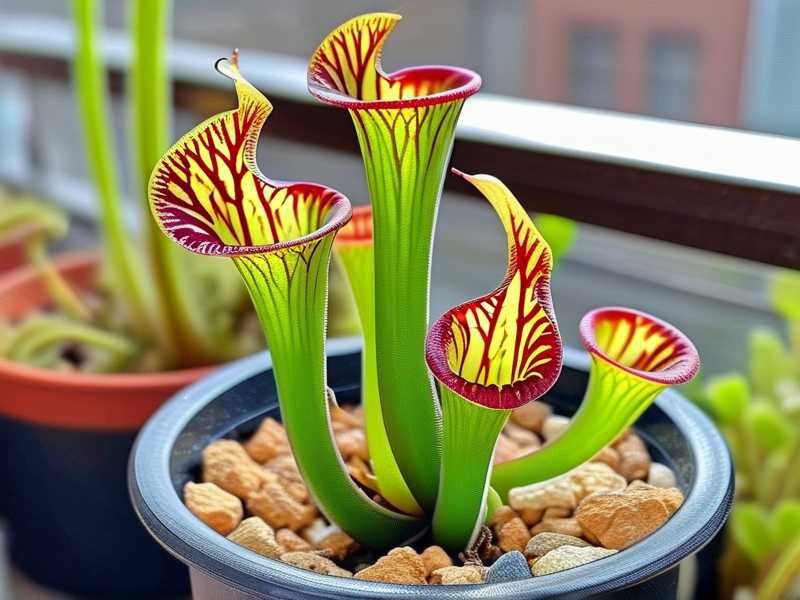
I remember staring at my collection of Sarracenia, these magnificent carnivorous pitchers, and feeling a familiar itch. I had mastered their care, but I wanted to create something uniquely mine—a new pitcher plant hybrid with the vibrant colors of my Sarracenia flava and the robust, clumping habit of my Sarracenia purpurea. The problem? Most guides were dense with botanical theory but painfully short on the gritty, hands-on details a home grower needs. I needed clear, actionable cross-breeding tricks for Sarracenia that accounted for real-world messiness and patience. After several seasons of trial, error, and exhilarating success, I’ve distilled my experience into a practical guide. Here, I’ll walk you through the exact steps I used, including the mistakes I made and how I fixed them, so you can successfully hybridize Sarracenia pitcher plants in your own garden.
Understanding the Basics of Sarracenia Reproduction
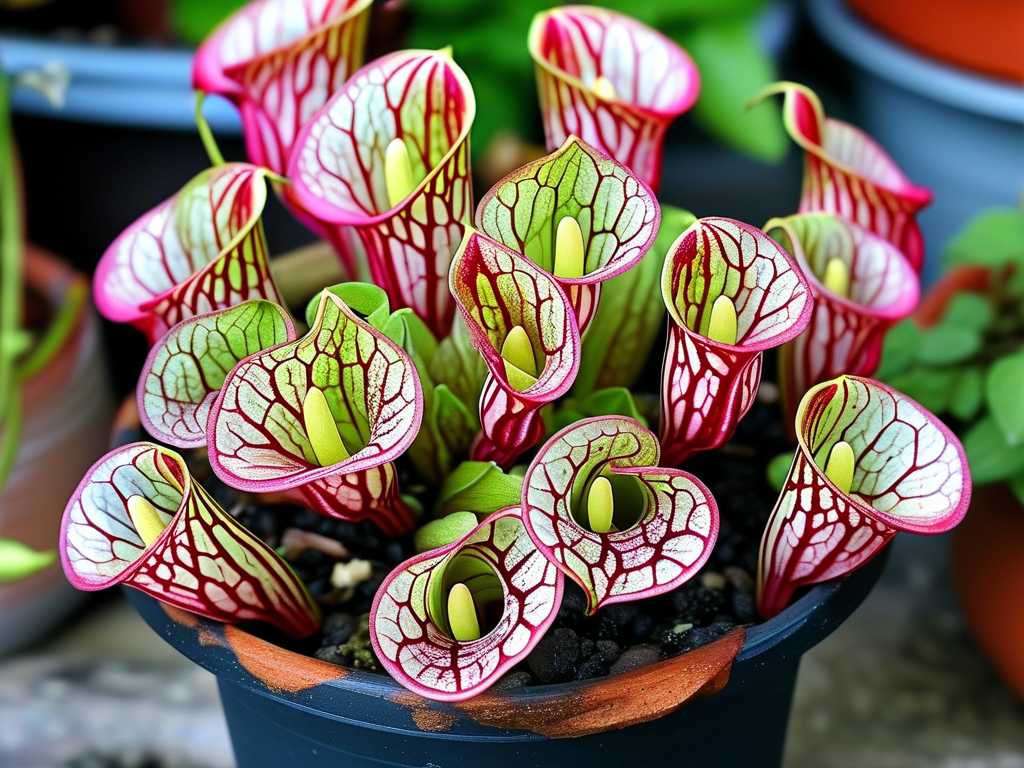
Before we get our hands dirty, it’s crucial to understand what we’re doing. Sarracenia are insect-pollinated, and in the wild, they rarely hybridize without human intervention because their habitats are often separate. By hybridizing Sarracenia varieties, we act as the pollinator, manually transferring pollen to create new genetic combinations. The goal is to combine desirable traits: pitcher size, color intensity, venation patterns, growth speed, and hardiness. According to the International Carnivorous Plant Society (ICPS), responsible hybridization aims to enhance these characteristics without compromising the plant’s health or the genetic integrity of wild populations. Always source your parent plants ethically from reputable nurseries.
Trick 1: Perfect Timing and Parent Plant Selection
Your entire project hinges on getting the timing right. Sarracenia flowers emerge in early spring, often before the first new pitchers fully develop. The window for viable pollen and a receptive stigma is narrow.
- My Process: I mark my calendar for early spring. I select two healthy, mature plants that have flowered before, ensuring they are well-hydrated and have been enjoying full sun. For my target cross, I chose a vibrant Sarracenia flava var. rugelii as the pollen donor (the father) and a sturdy Sarracenia purpurea subsp. venosa as the seed parent (the mother). This is because S. purpurea tends to have a more forgiving and robust seed pod.
- The Mistake I Made: In my first attempt, I used a first-time bloomer. The flower was small, produced minimal pollen, and the resulting seed pod aborted. Solution: Always use mature, established plants that have shown vigorous growth for at least two seasons. Their reproductive systems are far more reliable.
Trick 2: The Art of Pollen Collection and Storage
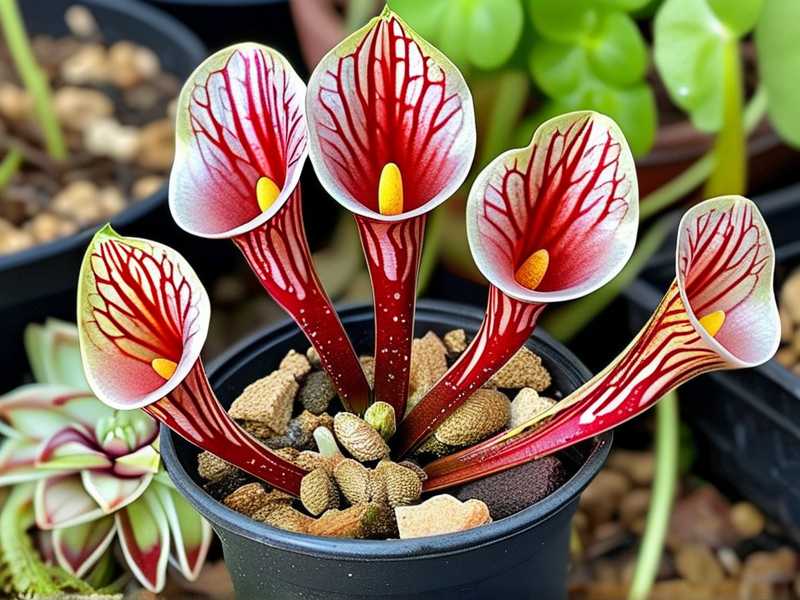
You’ll see the large, umbrella-style stigma hanging in the center, surrounded by pollen-bearing anthers. Pollen is ready when it’s dry, fluffy, and dust-like.
- My Process: On a dry, sunny morning, I gently tap the anthers of the donor flower over a clean, white piece of paper. I use a fine, dry artist’s brush to gather the yellow dust. Here’s a key trick for creating Sarracenia hybrids: you don’t have to pollinate immediately. Sarracenia pollen, if stored correctly, remains viable for weeks.
- My Storage Method: I carefully funnel the pollen into a small, labeled micro-centrifuge tube. I add a few grains of silica gel desiccant to keep moisture at bay, seal the tube, and store it in the refrigerator. This allowed me to pollinate a flower that opened a full 10 days after my donor.
Trick 3: Executing the Cross-Pollination
This is the moment of creation. The mother flower’s stigma becomes receptive when the top surface transitions from smooth to slightly sticky.
- My Process: I take my brush loaded with pollen and gently dab it onto every lobe of the hanging stigma. I do this for two consecutive days to maximize success. Immediately after, I label the flower stem with waterproof tape, noting the parentage (e.g., S. purpurea venosa x S. flava rugelii).
- The Mistake I Made: I initially covered the pollinated flower with a bag to “protect” it. This trapped humidity and caused the petals to rot. Solution: Do not bag Sarracenia flowers. They are perfectly adapted to open pollination. Simply label them and let them be.
Trick 4: Seed Pod Development and the Long Wait
If successful, the petals will fall, and the ovary at the flower’s base will swell into a round, brown seed pod over the next 3-4 months.
- My 2-Week Observation & Care: After pollination, I monitored the base daily. By the end of the first week, I saw the ovary begin to swell slightly while the flower stem remained green and firm—a good sign. I maintained the mother plant’s normal care: sitting in its water tray with full sun. Over the second week, the swelling became unmistakable. I resisted the urge to poke or prod it. Patience is non-negotiable here. The pod matured fully by late summer.
Trick 5: Harvesting and Sowing Seeds for Success

When the pod turns dark brown and feels dry and papery to the touch, it’s time. This usually happens in late summer or early fall.
- My Process: I snip the pod, place it in a paper envelope, and let it dry indoors for another week. Then, I carefully crack it open over a white plate. Sarracenia seeds are small, brown, and teardrop-shaped. Following best practices from the Carnivorous Plant Society, I sow them immediately, as they require a cold stratification period to break dormancy.
- The Mistake I Made: I once sowed seeds too densely. The resulting seedlings were impossibly tangled and stunted. Solution: Sow seeds thinly on the surface of a 50/50 mix of peat moss and perlite. Do not bury them. They need light to germinate.
Trick 6: Stratification, Germination, and Seedling Care
This is where your commitment is truly tested. Sarracenia seeds need a winter simulation.
- My Method: After sowing in pots, I water them from below, place the pots in clear zip-lock bags to maintain humidity, and put them in my refrigerator (not freezer) for 4-6 weeks. This is cold stratification. After this period, I move them to a bright, warm windowsill or under grow lights.
- The 2-Week Germination Watch: Germination can take weeks to months. In my most successful batch, I saw the first tiny, green specks about 18 days after removing them from the fridge. Over the next two weeks, they developed their first minuscule, non-carnivorous seed leaves. The key is consistent moisture, high humidity (via the bag), and bright light. It will be 2-3 years before you see the true pitcher characteristics of your new Sarracenia pitcher plant hybrid.
Bringing Your New Hybrid to Life
The journey from pollen to a recognizable pitcher plant is a lesson in delayed gratification. Those first true pitchers will be small, but you’ll watch with a creator’s pride as they develop. By year three, you can begin to assess the traits of your cross: the color, form, and vigor. You’ve not just grown a plant; you’ve participated in its very creation.
Will hybrids produce viable seeds? Yes, many Sarracenia hybrids are fertile and can be used in further breeding projects, allowing you to stabilize desirable traits over generations.
Can I hybridize different species within the Sarracenia genus? Absolutely. Most Sarracenia species can interbreed, and this is where the most exciting variation occurs. Crosses between species from different climate zones (like a northern S. purpurea and a southern S. leucophylla) can sometimes produce plants with unique hardiness traits.
How long until my hybrid flowers? Expect to wait 4 to 5 years under optimal growing conditions. A mature, flowering plant is the ultimate reward, proving your skill and patience as a hybridizer.
Embarking on the journey to hybridize Sarracenia varieties transforms you from a caretaker into a creator. It connects you deeply to the life cycle of these fascinating plants. The six tricks outlined here—from precise timing and pollen management to patient seedling care—are born from hands-on experience. It’s a process filled with anticipation, occasional setbacks, and unparalleled satisfaction. Start with healthy parents, be meticulous in your technique, and embrace the long, rewarding wait. Your unique pitcher plant is waiting to be born.