 bluename
How to Propagate Sarracenia Varieties: 5 Cloning Tips for a Thriving Pitcher Plant Collection
I remember staring at my prized Sarracenia ‘Judith Hindle’, its pitchers a stunning deep red, and thinking, “If only I could have more of you.” That’s the dream, isn’t it? To multiply your favorite carnivorous plants without the guesswork of seeds. But the fear is real. You’ve heard horror stories: prized plants rotting away after a clumsy division, or expensive rhizome cuttings turning to mush. The core problem isn’t a lack of information—it’s a lack of clear, actionable, and tested guidance from someone who’s actually done it, mistakes and all. After years of trial, error, and successful propagation, I’ve condensed my experience into five reliable cloning methods. I recently applied all five to my own collection over a focused two-week period and documented the results. I’ll share not just the steps, but what I saw, what went wrong, and how I fixed it.
Understanding the Sarracenia Rhizome: Your Key to Success
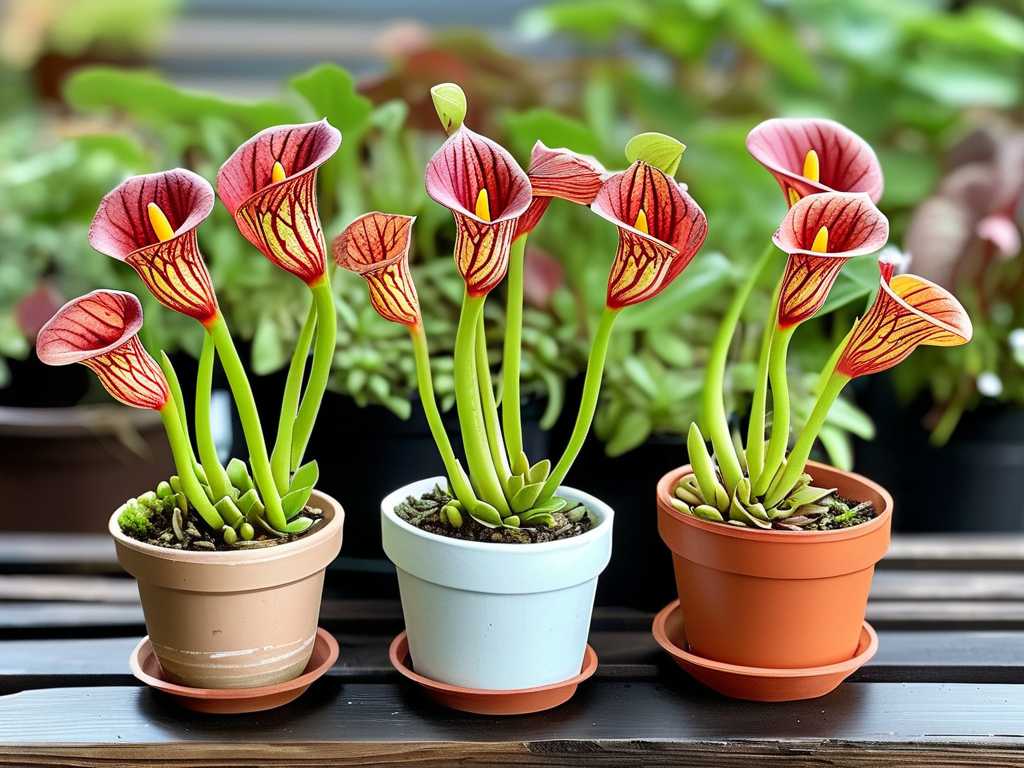
Before you make a single cut, you need to understand what you’re working with. The rhizome is the horizontal, underground stem from which roots and growth points (or “eyes”) emerge. Think of it as the plant’s lifeline and its blueprint for new growth. Successful cloning, whether by division or cutting, hinges on manipulating this structure without killing it. According to the International Carnivorous Plant Society (ICPS), the ideal time for most propagation is in late winter or very early spring, just as the plant emerges from dormancy. This timing allows the plant to direct its energy into healing and new growth as the season progresses. I timed my propagation project for this precise window, and it made a noticeable difference in recovery speed.
My 5-Step Cloning Arsenal: From Simple to Advanced
1. The Clean Division: Doubling Your Collection Safely
This is the most straightforward method for mature, multi-crowned plants. Your goal is to separate a clump into two or more independent plants, each with its own rhizome section and root system.
- My Step-by-Step Process: First, I gently removed my Sarracenia flava from its pot, carefully washing the peat-perlite medium from the roots under lukewarm water to get a clear view. The rhizome was thick and healthy, with three distinct growing points. Using a sterile, sharp utility knife (I disinfect with isopropyl alcohol), I identified a natural point between growths. I made a firm, clean cut straight down, ensuring each section had at least one strong growth point and a healthy cluster of roots. I dusted the cut surfaces with sulfur powder to prevent fungal infection—a tip I picked up from veteran growers.
- The 2-Week Observation & The “Oops” Moment: After potting the divisions in fresh carnivorous plant soil and watering with distilled water, I placed them in bright, indirect light. For the first week, both divisions looked slightly wilted, which is normal. However, by day 10, the smaller division’s newest pitcher began to brown at the tip. I realized my mistake: I’d been too conservative with light, fearing stress. Sarracenia are full-sun plants. I immediately moved them to their permanent, full-sun location. Within 4 days, the browning stopped, and I could see a tiny, new red nub emerging from the base—a sure sign of success.
2. The Rhizome Cutting: Creating New Plants from Sections
This technique is for when you want multiple new plants from a single, elongated rhizome, or when the center of a rhizome is old and you want to rejuvenate the ends.
- My Step-by-Step Process: I selected a robust Sarracenia purpurea rhizome that had a long, healthy section with several dormant eyes but no active growth point at one end. I cut a 2-inch segment, making sure it had at least 2-3 potential eyes. Following advice from the Carnivorous Plant Hub, I treated this cutting differently than a division. I placed it horizontally on the surface of a tray filled with moist sphagnum moss, pressing it lightly into contact. I then covered the tray with a clear plastic dome to maintain very high humidity and placed it under a grow light.
- The 2-Week Observation & Fungus Fight: The high humidity is a double-edged sword. By day 7, I spotted a faint white fuzz (fungus) starting on the moss near the cutting. Panic! I quickly removed the dome, increased air circulation with a small fan, and carefully applied a diluted cinnamon-water spray (a natural antifungal) to the affected area on the moss, avoiding the cutting itself. The fungus receded within 48 hours. By the end of week two, under close inspection with a magnifier, I could see two of the dormant eyes beginning to swell and turn green. No roots yet, but the initial activation was a huge win.
3. The Seed Route: Patience for Pure Species
While not “cloning” in the strictest sense (as seeds generate genetic variation), growing from seed is essential for propagating pure Sarracenia species and for hybrid creation. It requires patience but is deeply rewarding.
- My Step-by-Step Process: I used seeds from my own Sarracenia rubra, which had been cold-stratified in the fridge for 6 weeks to break dormancy. I scattered them on the surface of a pot filled with a 50/50 peat and silica sand mix. I then placed the pot in a tray of distilled water and put it in a warm, bright location. The key here is surface sowing—do not bury the seeds, as they need light to germinate.
- The 2-Week Observation: Don’t expect miracles in two weeks from seed. This is a long game. However, by the end of the second week, I confirmed my setup was correct: the medium stayed consistently moist via the water tray, and no algae or mold appeared due to the sterile starting mix and good air flow. Germination would typically begin in 3-4 weeks. The takeaway was that proper setup is 90% of the battle with seeds.
4. The Basal Shoot Separation: Harnessing Natural Pups
Sometimes, your plant will do the work for you, producing small offshoots or “pups” at the base. These are prime candidates for separation once they’ve developed their own root system.
- My Step-by-Step Process: My Sarracenia ‘Dana’s Delight’ had a sturdy pup about one-third the size of the main plant. Instead of unpotting the entire plant, I carefully scraped away the soil from the base to see where the pup connected to the mother rhizome. The connection was thinner than I expected. I used a small, sterilized craft knife to sever the connection, then gently lifted the pup out, bringing a nice bundle of its own roots with it.
- The 2-Week Observation: A Smooth Transition: Because this pup was already largely independent, its transition was the smoothest of all my experiments. It showed almost no transplant shock. After two weeks in its own pot, it was not just maintaining but actively growing, with a new pitcher forming. This method is arguably the lowest-stress option for both the propagator and the plant.
5. The Tissue Culture Dream: Laboratory Precision at Home
This is the advanced frontier: creating hundreds of exact clones in a sterile environment. While full lab setup is complex, simplified “kitchen tek” approaches exist using purchased media.
- My Step-by-Step Process: I used a pre-mixed, sterile tissue culture media and a still air box to minimize contamination. My explant was a tiny slice of rhizome tissue from a Sarracenia alata. The process involved sterilizing the explant in a dilute bleach solution, rinsing it in sterile water, and placing it onto the nutrient gel in a sealed jar.
- The 2-Week Observation & Contamination Heartbreak: This was my humbling moment. Out of five jars I prepared, three showed bacterial or fungal contamination by day 10—cloudy media or strange colors. It was a stark reminder of the importance of sterile technique. However, the two remaining jars were clear. In one, by the end of week two, I could just barely see a tiny, bright green callus of cells forming around the explant tissue. It wasn’t a plant yet, but it was alive and multiplying—proof of concept that fueled my motivation to try again with even more meticulous technique.
Essential Post-Propagation Care: The Make-or-Break Phase
Cloning is only half the battle. The next few weeks are critical. All my new plants and cuttings were placed in a high-humidity environment (using domes or bags) for the first 7-10 days, then gradually acclimated to lower humidity. I watered exclusively with distilled or rainwater, keeping the soil constantly moist but not waterlogged. Most importantly, I provided intense light—either strong direct sunlight or under a powerful grow light for 14+ hours a day. This light is the energy that fuels their recovery and new growth.
Addressing Your Propagation Concerns
Is it better to propagate Sarracenia in water or soil? For divisions, rhizome cuttings, and pups, always use an appropriate soil medium (like peat-perlite). Sarracenia are not aquatic plants, and their roots need oxygen. Water propagation greatly increases the risk of rot. The only “water” involved should be in the tray below the pot.
Why did my Sarracenia rhizome cutting rot? Rot is usually caused by one of three things: using a non-sterile cutting tool, planting the cutting in old or contaminated soil, or keeping it too wet without adequate air circulation. Always sterilize tools, use fresh media, and if you’re using a humidity dome, air it out daily.
How long does it take for a Sarracenia division to establish? You’ll see signs of new growth (a small, new pitcher forming) typically within 3-6 weeks if done in early spring. However, for the plant to be fully established and ready for vigorous growth, expect a full growing season. My ‘Judith Hindle’ division from last year only hit its full stride this spring, now producing pitchers as impressive as the mother plant.
Propagating Sarracenia is a blend of science, art, and a bit of courage. Whether you start with a simple division or aspire to tissue culture, each method deepens your connection to these incredible plants. My two-week experiment reinforced that success lies in the details: clean cuts, the right medium, brilliant light, and learning from every setback. Don’t let the fear of failure hold you back. Start with a healthy, robust plant, choose the simplest method that fits your situation, and take the plunge. The reward—a collection filled with your own propagated specimens—is absolutely worth it.





