bluename
How to Grow Sarracenia varieties from Seeds: 7 Germination Tips
I remember staring at the tiny, dark seeds in my palm, feeling a mix of excitement and sheer intimidation. I’d successfully kept mature Sarracenia alive, but starting from seed felt like a leap into the unknown. The common pain point is stark: these seeds require specific, non-negotiable conditions to break dormancy, and missing one step often leads to months of waiting for nothing to happen. After several failed attempts and a lot of research, I finally cracked the code. This guide is the culmination of my hands-on experience, including the mistakes I made and the simple, effective techniques that finally delivered a tray full of promising seedlings. Let’s transform those dormant seeds into your future carnivorous showcase.
Understanding Sarracenia Seed Dormancy
First, it’s crucial to understand what you’re working with. Sarracenia seeds are not like tomato seeds; they possess physiological dormancy. In nature, they fall in autumn, endure a cold, wet winter, and germinate when warmth returns. This evolutionary strategy prevents them from sprouting just before a freeze. Our first task is to mimic this winter, a process called cold stratification.
My early mistake was skipping or shortening this step. I tried sowing seeds directly into warm, moist media, expecting magic. I waited for 8 weeks with zero results. The seeds simply weren’t ready. Trust the process—stratification is non-optional for most Sarracenia varieties, especially those from temperate climates.
Tip 1: Sourcing and Selecting Viable Seeds
Your journey begins with the seeds themselves. Always source from reputable carnivorous plant nurseries or societies. Fresh seeds have the highest viability, typically within a year of harvest. I’ve found that seeds from organizations like the International Carnivorous Plant Society (ICPS) often come with reliable collection data. Older seeds can work but may have a lower germination rate. Look for plump, dark brown to black seeds. Pale, shriveled, or greenish seeds are often immature and unlikely to germinate.
Tip 2: The Essential Cold Stratification Process
This is the cornerstone of success. Here is the simple, foolproof method I now use every time.
- The Medium: I use finely milled sphagnum peat moss or a 50/50 mix of peat and perlite, moistened with distilled or rainwater until it’s damp like a wrung-out sponge. Never use tap water; the minerals can harm the seeds.
- The Method: Place the moist medium in a sealable plastic bag or container. Sprinkle your seeds on the surface—don’t bury them. Gently press them for good contact. Seal the bag, leaving a little air inside.
- The Conditions: Label it clearly with the date and variety. Place it in your refrigerator’s main compartment (not the freezer) for 4 to 6 weeks. The ideal temperature is between 1°C and 5°C (34°F to 41°F).
I stratify for a full 6 weeks. During my 2-week observation check-ins, I simply looked for condensation inside the bag, confirming humidity was stable. I did not open it. No fungal growth appeared because the medium was moist, not soggy.
Tip 3: Preparing the Perfect Germination Environment
While seeds stratify, prepare their long-term home. I use deep seed trays or small pots. The soil mix is critical: a low-nutrient, acidic, and airy blend. My standard is a 1:1 ratio of sphagnum peat moss to perlite. I rinse the perlite first to remove dust. Fill your containers and soak the soil from below with distilled water until the surface is glistening.
Light and warmth are the next triggers. Place the pots in a bright location. A sunny windowsill can work, but I’ve had best results under affordable LED grow lights on a 14-16 hour cycle. Bottom heat, like a seedling heat mat set to 21-24°C (70-75°F), significantly boosts and speeds up germination.
Tip 4: Sowing and the Initial Waiting Game
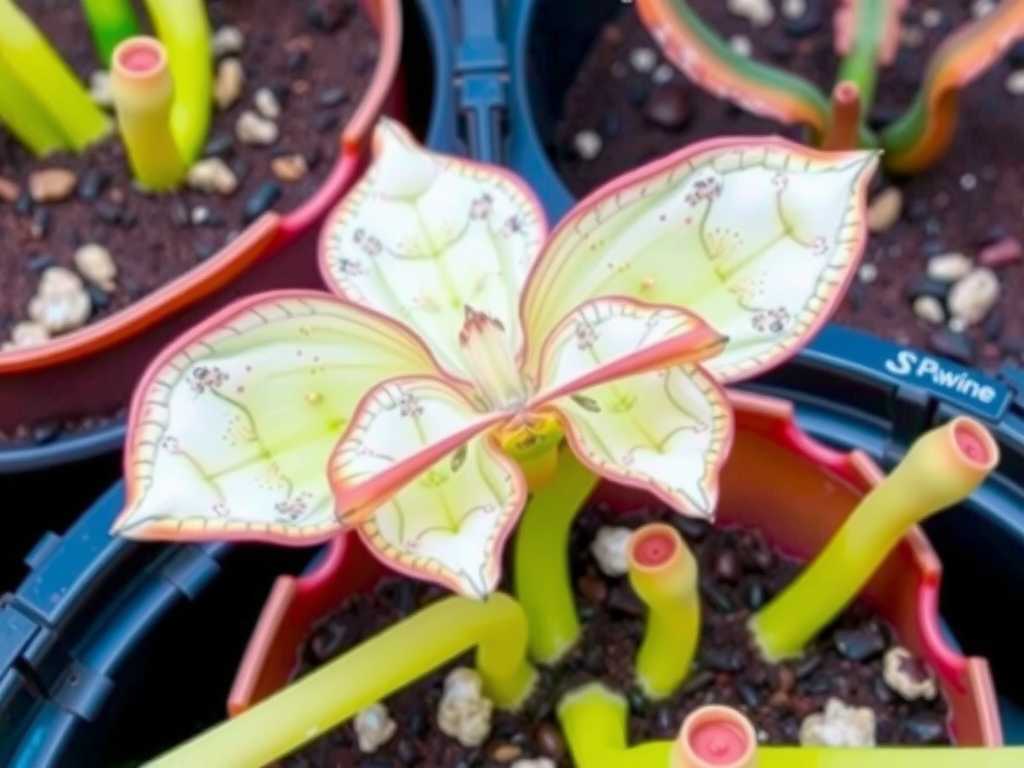
After stratification, it’s time to sow. Do not let the seeds dry out. I open the bag and, using a moistened toothpick, carefully transfer each seed to the surface of the prepared pots. I do not cover them—Sarracenia seeds need light to germinate. Gently press them onto the soil surface.
Now, patience begins. Keep the soil consistently wet by maintaining about 1-2 cm of distilled water in the tray beneath the pots. Evaporation will keep the surface humid. I placed my tray under lights and on a heat mat. For the first week, nothing. This is normal.
Tip 5: The Critical First Two Weeks Post-Sowing
This is where my detailed 2-week log begins. The heat mat and lights create a mini ecosystem.
- Days 1-7: No visible activity. My job was to ensure the water tray never dried out. I misted the surface lightly with a spray bottle every other day to prevent it from crusting.
- Days 8-14: Around day 10, I spotted the first signs! Tiny, green specks appeared. These weren’t true leaves yet, but the seed coats were splitting, and the radicle (first root) was emerging. By the end of the second week, about 30% of my Sarracenia flava and Sarracenia purpurea seeds showed this activity. The Sarracenia leucophylla seeds were slower, with only about 10% sprouting—a reminder that different varieties have different timelines.
The key here is relentless humidity and stable warmth. Any drying out at this stage is fatal to the emerging sprout.
Tip 6: Seedling Care Through the First Months
Once the first true, pitcher-shaped leaves emerge (which can take several more weeks), the plants are still incredibly delicate.
- Water: Always water from below. Top watering can bury or damage the tiny seedlings.
- Light: Provide strong light. Under my LEDs, the seedlings grew compact and green. On a windowsill, they may stretch weakly toward the sun.
- Fertilizer: Absolutely none. These seedlings get all their nutrients from captured insects. In a controlled environment, you can use a max-strength diluted foliar fertilizer applied with extreme caution, but for beginners, it’s safer to skip it. They grow slowly but healthily on their own.
- Transplanting: Don’t be hasty. I wait until they have at least 3-4 true pitchers and a recognizable rhizome, usually after 1-2 growing seasons. Crowded seedlings can coexist for quite a while.
Tip 7: Troubleshooting Common Germination Problems
- No Germination: If 8 weeks pass with warmth and light and nothing happens, stratification likely failed (too warm, too dry, too short). You can carefully recover the seeds and re-stratify.
- Mold/Fungus: This was a problem in my early, overly wet attempts. If you see fuzz, increase air circulation. A light spray with a diluted sulfur-based fungicide can help. Prevention via proper medium moisture is best.
- Damping Off: Seedlings collapse and rot at the base. Caused by fungal pathogens in overly wet, stagnant conditions. Improve air flow immediately and consider a preventative fungicide treatment.
As noted by experts from the Carnivorous Plant Society (UK) and resources from The Sarracenia Growers Guide, consistency is more important than any single “hack.” Avoiding wild swings in moisture, temperature, or light gives these slow-motion babies the stable start they need.
How long does it take for Sarracenia seeds to germinate after sowing? After a proper 6-week cold stratification, you can expect to see the first signs of germination (seed coat splitting) within 2-4 weeks under warm, bright conditions. However, some varieties or individual seeds may take 8 weeks or more. True pitcher leaves develop slowly over the following months.
Can I skip the cold stratification process? For most temperate Sarracenia varieties, skipping stratification will result in extremely low or zero germination. Some seeds may eventually germinate after a very long time (a year or more) as they experience natural temperature cycles, but it is highly unreliable. Stratification is the key to synchronized, successful germination.
What is the biggest mistake beginners make when growing pitcher plants from seed? The most common fatal error is allowing the germination medium to dry out, even once, during the first few weeks after sowing. The emerging radicle is microscopic and desiccates in minutes. Maintaining constant, high humidity through bottom watering and occasional misting is non-negotiable for seedling survival.
Growing Sarracenia from seed is a lesson in patience and attention to detail. It’s not the fastest path to a mature plant, but the satisfaction of nurturing a carnivorous plant from a tiny speck to a majestic pitcher is unparalleled. By respecting their need for a cold period, providing unwavering moisture and bright light, and avoiding the temptation to over-complicate their care, you’ll unlock the secret to a thriving colony. Start with fresh seeds, trust the cold treatment, and enjoy the slow, rewarding journey of watching these incredible predators begin their lives.