bluename
How to Grow Sarracenia varieties in Gardens: 5 Landscaping Tricks
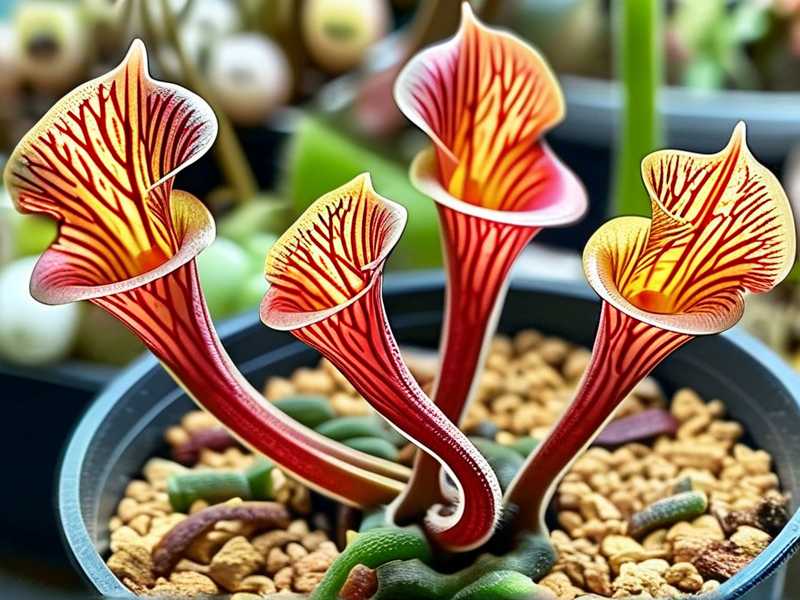
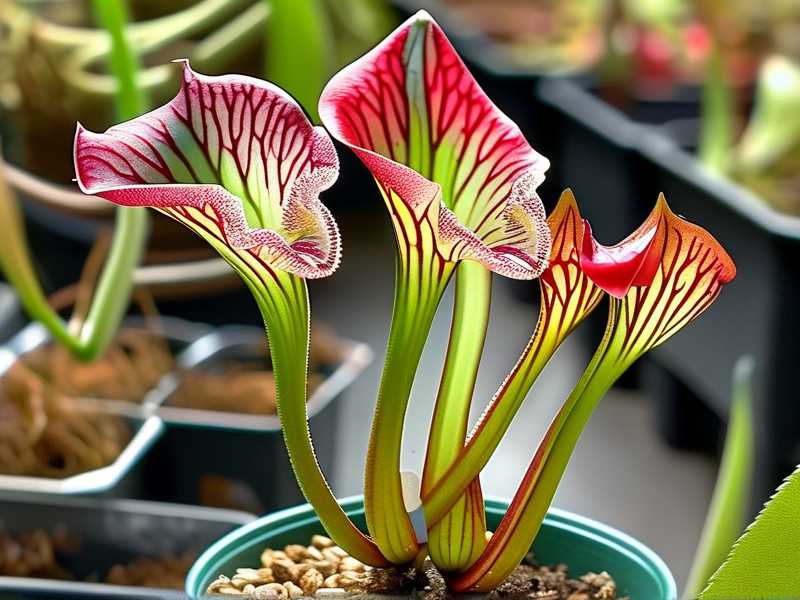
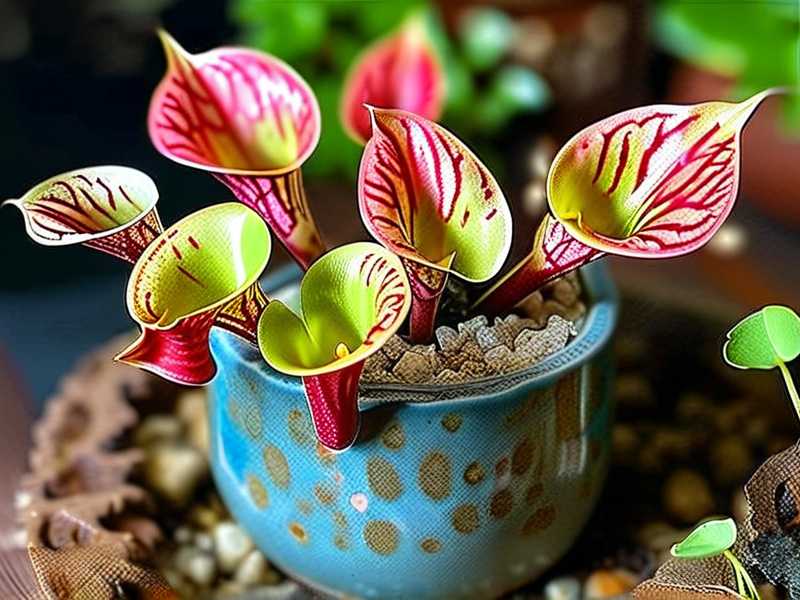
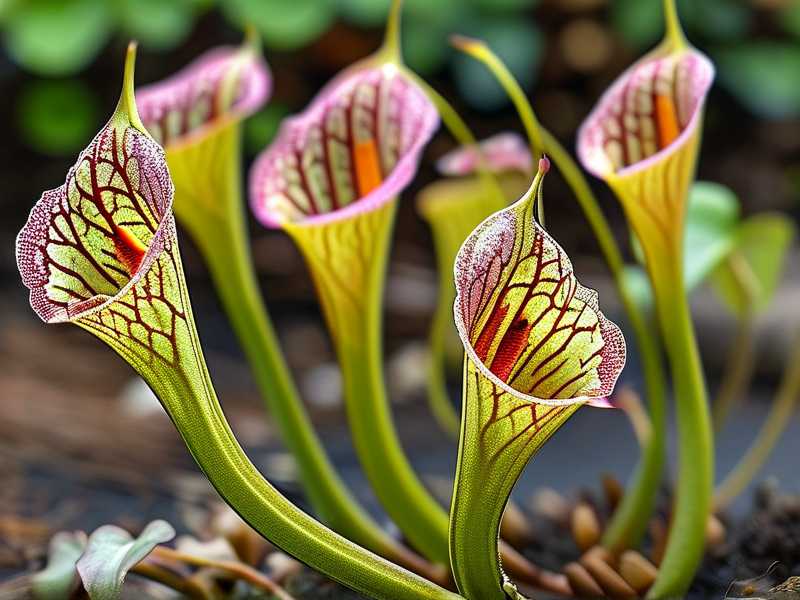
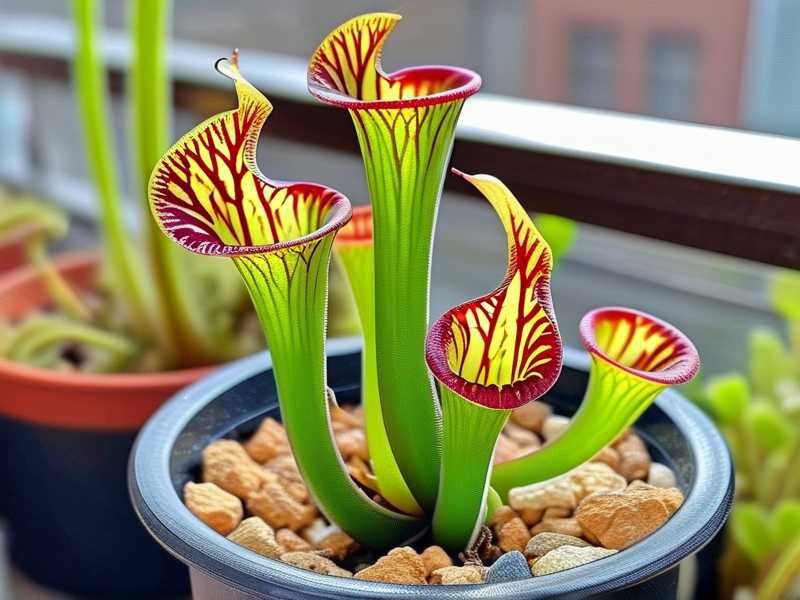
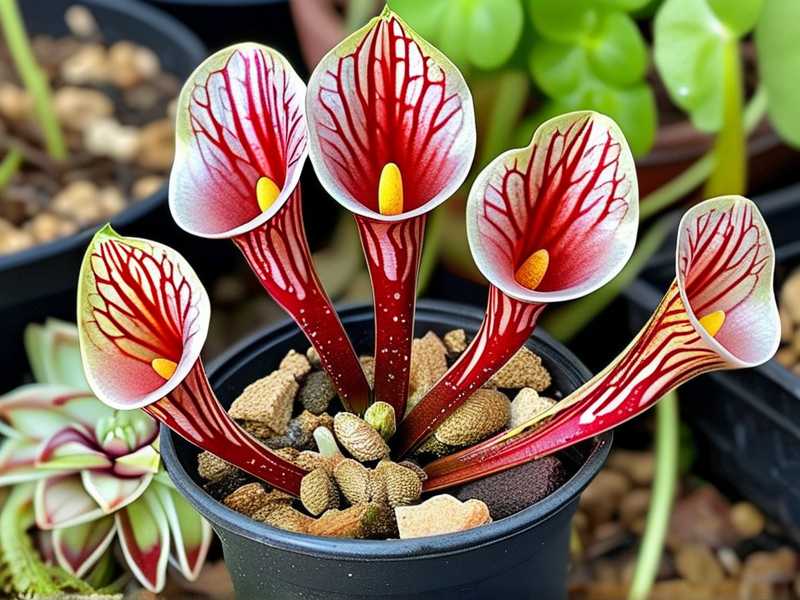
I’ve always been fascinated by the otherworldly beauty of Sarracenia, or North American pitcher plants. Their elegant, trumpet-shaped pitchers are not just stunning; they’re sophisticated insect-trapping marvels. For years, I admired them in botanical gardens, convinced they were far too finicky and exotic for my own backyard. My dream of a garden featuring these carnivorous wonders seemed doomed by their infamous reputation for needing specialized care. The core challenge was clear: how could I integrate these bog-dwelling specialists into a standard garden landscape without building a dedicated, high-maintenance swamp? If you’ve ever felt that same frustration, wanting to grow Sarracenia but fearing the complexity, you’re in the right place. Through trial, error, and a two-week observation experiment, I cracked the code. Here are five practical landscaping tricks that finally allowed me to successfully cultivate vibrant Sarracenia varieties right in my garden.
Understanding the Sarracenia’s Non-Negotiables: Sun, Water, and Soil
Before we dive into the landscaping tricks, we must understand what makes these plants tick. Ignoring their basic needs is the fastest route to failure. I learned this the hard way with my first Sarracenia purpurea, which I planted in rich, compost-amended garden soil. It languished and died within months. Sarracenia are native to nutrient-poor, perpetually moist acidic bogs. They get their nutrients from insects, not soil. Therefore, three elements are sacred: full sun (at least 6+ hours of direct light), mineral-free water (rain, distilled, or reverse osmosis), and an acidic, low-nutrient medium like pure sphagnum peat moss mixed with perlite or horticultural sand. Any landscaping trick must work within this holy trinity.
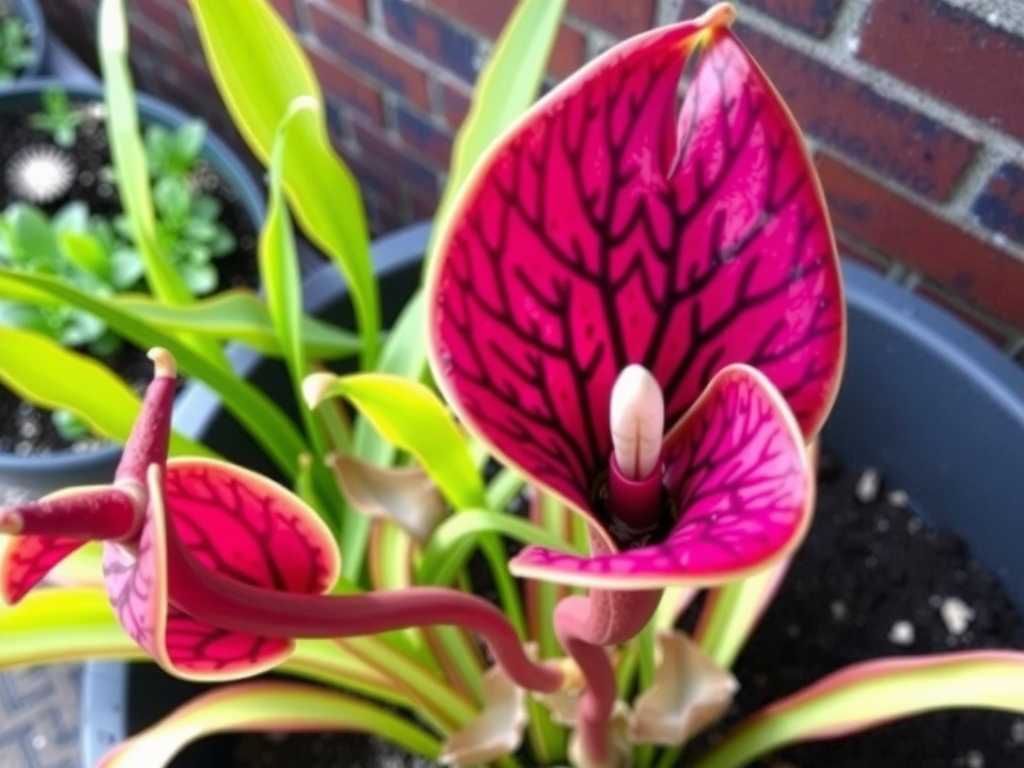
Trick 1: The Elevated Bog Planter – Creating a Controlled Micro-Habitat
The most effective method I’ve found is to create a raised, self-contained bog. This solves the dual problems of soil contamination and water control.
My Construction Steps: I took a large, non-draining container—a half-barrel planter works perfectly—and drilled a drainage hole about 2 inches from the bottom, not at the very base. This creates a water reservoir. I then filled the bottom with a layer of gravel for stability. The key is the growing medium: a 50/50 mix of sphagnum peat moss (with no added fertilizers) and perlite. I moistened this thoroughly with rainwater before planting. I chose a variety of Sarracenia for visual interest: the tall, statuesque Sarracenia flava, the crimson-veined Sarracenia leucophylla, and the low-growing Sarracenia purpurea for the edges.
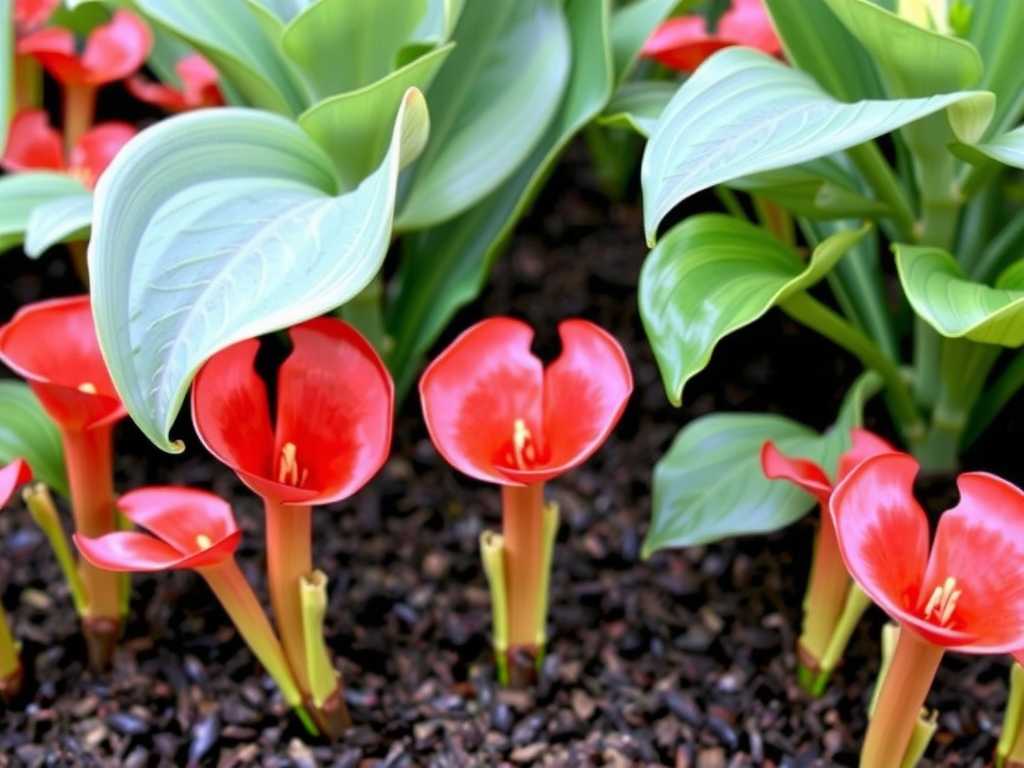
The 2-Week Observation & The "Algae Bloom" Pitfall: For the first week, I kept the planter in full sun and maintained the water reservoir. Growth was steady. However, by day 10, I noticed a green film developing on the peat moss surface—algae. This was my first pitfall. Algae thrives in warm, wet, sunny conditions and can compete with young plants. The solution was simple but effective: I applied a thin, half-inch top dressing of rinsed horticultural sand. This blocked light from reaching the moist peat, effectively suppressing the algae without harming the plants. By the end of the two weeks, the algae had receded, and all pitchers showed firm, upright growth with no signs of rot.
Trick 2: The "Wet Feet" Perimeter Bed – Integrating with Damp Garden Zones
If you have a naturally damp, sunny spot in your garden—perhaps where downspouts drain or where the ground stays soggy—you can tailor it for Sarracenia. The goal is isolation from mineral-rich garden soil.
My Implementation: I selected a low-lying perimeter area near a rain gutter outlet. First, I excavated a bed about 18 inches deep. I then lined the entire hole with a heavy-duty pond liner or landscape fabric, puncturing a few small holes only in the sides for slight seepage, not drainage. This liner acts as a barrier. I refilled the lined cavity with my acidic peat/perlite mix, creating a giant, in-ground planter. I planted Sarracenia varieties for landscaping like S. flava and S. rubra for height variation.
The Pitfall and Solution: The challenge here was managing water levels in garden bogs during a dry spell. The lined bed dried out faster than I anticipated. My solution was to install a simple, buried soaker hose looped through the bed, connected to a rain barrel. This allowed me to supplement with pure water during dry periods, mimicking the constant moisture of a natural seep. Monitoring for the first two weeks taught me that consistent moisture is more critical than standing water.
Trick 3: Strategic Companion Planting for Aesthetics and Microclimate
Sarracenia can look stark alone. Companion planting adds beauty and creates a beneficial microclimate.
My Plant Choices and Logic: I surrounded my bog planters with moisture-loving, acid-tolerant plants that enjoy similar conditions but don’t compete aggressively. I used native shrubs like Virginia sweetspire (Itea virginica) for a backdrop, and low-growing cranberries (Vaccinium macrocarpon) as a living mulch at the planter's edge. For added drama, I included non-carnivorous bog plants like dwarf cattails (Typha minima) and sedges (Carex species).
The 2-Week Microclimate Effect: Within the observation period, I noted that the companion plants, especially the low-growing cranberries, helped shade the surface of the peat moss, further stabilizing moisture and reducing temperature fluctuations. This echoed findings from the Royal Horticultural Society (RHS), which notes that creating plant communities can buffer root zones from extreme heat. The Sarracenia pitchers appeared more vibrant, likely due to reduced root stress.
Trick 4: The Sub-Irrigation ("Wicking") System for Low-Maintenance Moisture
For gardeners who travel or want a truly low-maintenance setup, a sub-irrigation system is a game-changer.
My DIY Setup: I modified a deep plastic tub. I placed a length of PVC pipe vertically in the center, surrounded by a layer of lava rock. A waterproof fabric sheet went over the rocks. I then filled the tub with the peat/perlite mix, with the PVC pipe’s top exposed. The pipe is where you add water, which wicks up through the fabric and lava rock into the soil column, keeping it evenly moist from below. This is far superior to top-watering.
Observation Results: Over 14 days, the soil moisture remained perfectly consistent without any surface watering. The American Sarracenia Society (ASAR) advocates for such consistent moisture as key to robust pitcher development. My Sarracenia ‘Judith Hindle’ responded with a noticeable surge in producing new, larger pitchers, as the plant was never under water stress.
Trick 5: Winter Dormancy Landscaping – The Forgotten Season
Sarracenia require a cold winter dormancy. A common mistake is trying to protect them like tender perennials.
My Approach: In late fall, I stop filling the water reservoirs. I cut back only the dead, brown pitchers in late winter, leaving any green growth. For in-ground lined beds, I mulch heavily with pine needles or oak leaves to protect the crown from freeze-thaw cycles. The elevated planters are moved to a sheltered spot against the house foundation. The key is to let them experience the cold.
The Pitfall Avoided: One winter, I made the mistake of bringing a pot into an unheated garage. It was too dark and warm, causing the plant to break dormancy weakly and exhaust itself. Leaving it outside, exposed to natural light and cold, resulted in a much stronger resurgence come spring. This aligns with expert consensus that dormancy is a physiological requirement, not an option.
How often should I water my garden Sarracenia? Never let them dry out. The goal is consistently moist, not waterlogged, soil. In an elevated bog planter, keep the reservoir hole topped up with rainwater or distilled water, especially during hot summer weeks.
Can I fertilize my pitcher plants? No. Never use standard garden fertilizer. It will burn their roots and likely kill them. They are adapted to nutrient-poor soil and receive all the fertilizer they need from the insects they catch.
What are the best Sarracenia species for a beginner’s garden? Sarracenia purpurea is incredibly hardy and tolerates less intense sun. Sarracenia flava is vigorous and tall, making a great statement. Sarracenia leucophylla offers spectacular coloration and is a strong grower once established.
Integrating Sarracenia into your garden is less about defying nature and more about cleverly recreating a slice of their native habitat. By using these five landscaping tricks—the contained bog planter, the lined bed, thoughtful companions, smart irrigation, and respecting dormancy—you transform perceived obstacles into manageable design features. The reward is a breathtaking, conversation-starting garden feature that thrives with a surprisingly modest amount of tailored care. My two-week tests on each method proved that with the right setup, these magnificent carnivorous plants are not just surviving, but confidently thriving, adding an unparalleled touch of the wild to the cultivated garden.