bluename
How to Grow Sarracenia Varieties in Pots: 6 Container Tips
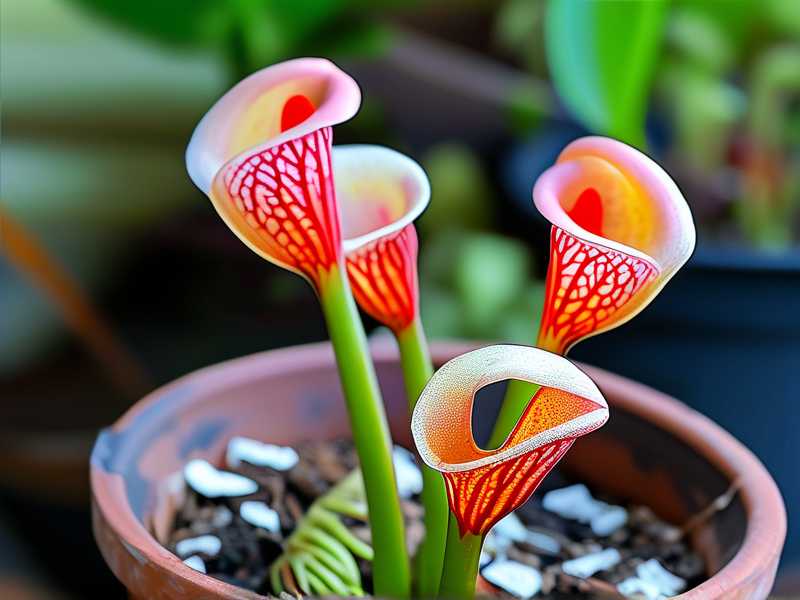
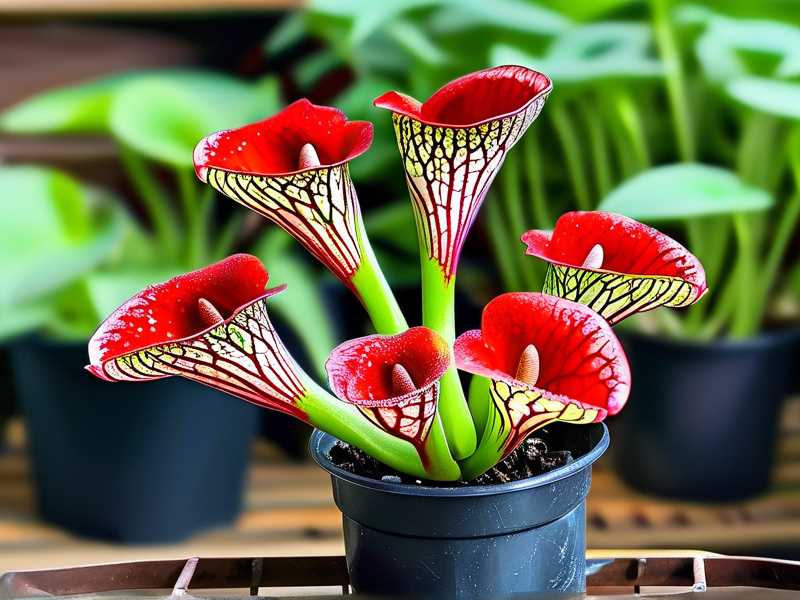
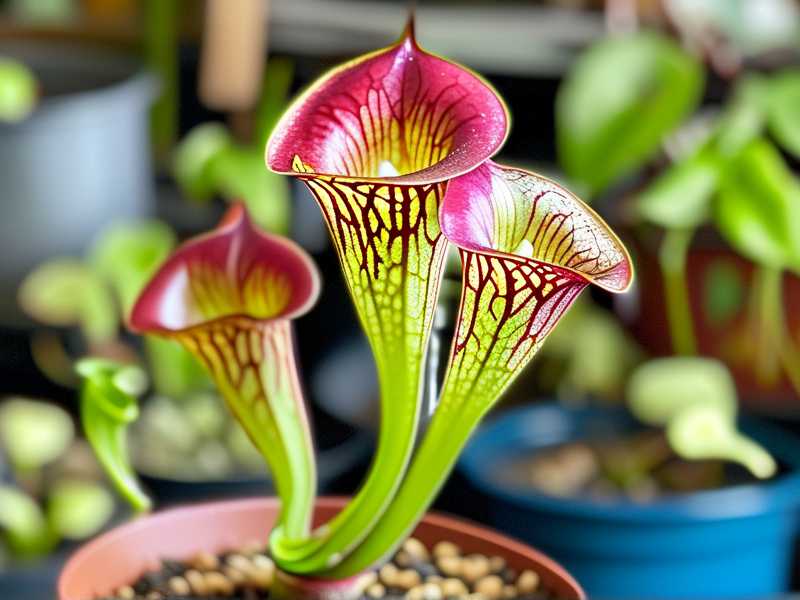
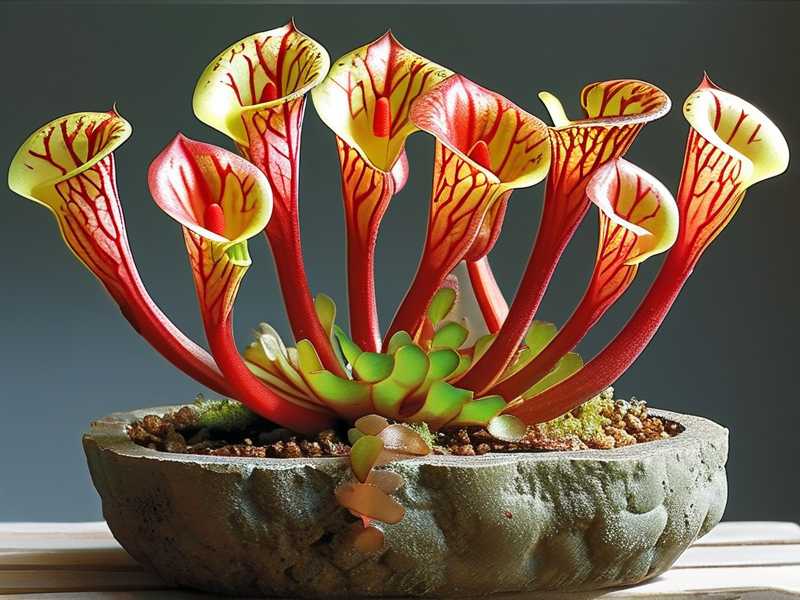
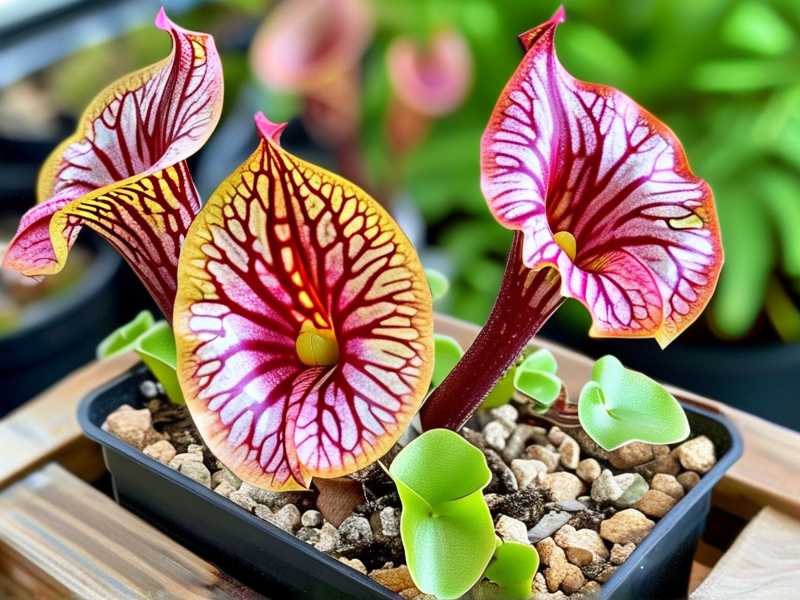
I remember the first time I saw a Sarracenia, or pitcher plant, in a nursery. Its elegant, trumpet-shaped leaves looked otherworldly, and I was instantly hooked. But as a city dweller with only a small balcony, the idea of creating a bog garden seemed impossible. I felt stuck. Maybe you’re in the same boat—captivated by these carnivorous wonders but lacking the space or soggy backyard they supposedly need. I’m here to tell you that Growing Sarracenia in pots isn’t just possible; it can be incredibly rewarding. After years of trial, error, and countless observations, I’ve condensed my experience into six essential container tips that will help your pitcher plants not just survive, but truly thrive.
Understanding Your Potted Sarracenia’s Core Needs
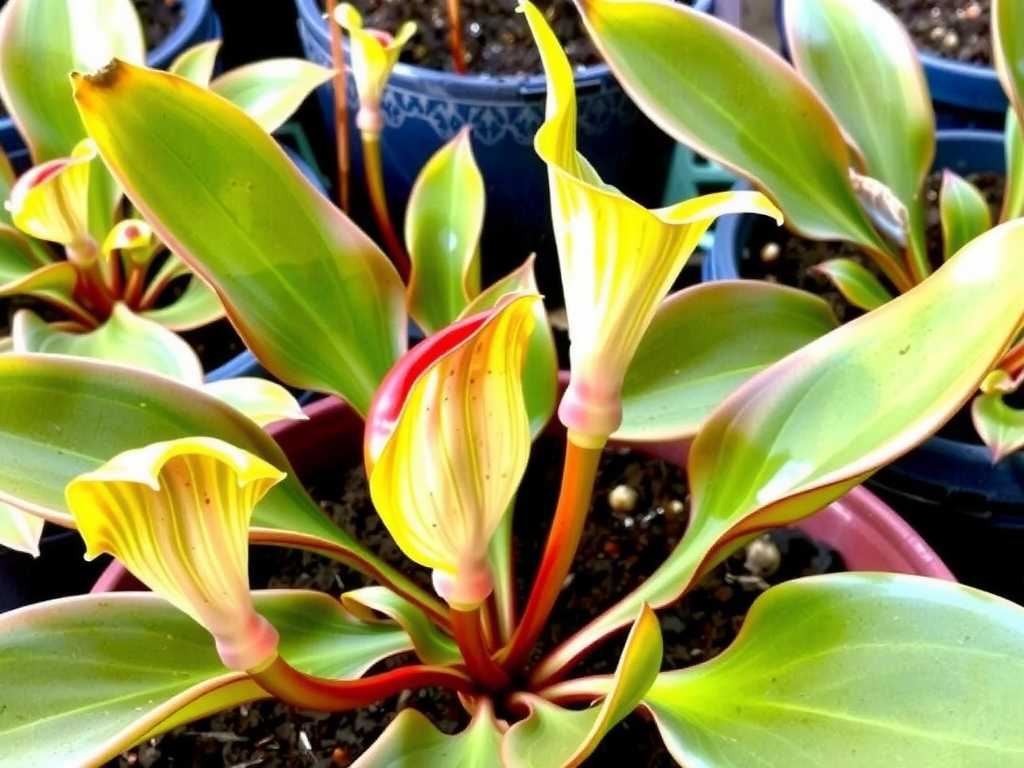
Before we dive into the pots and soil, let’s get one thing straight: Sarracenia are not typical houseplants. They are bog natives, and replicating those conditions in a container is the absolute key to success. According to experts at the Royal Horticultural Society (RHS), the three non-negotiable pillars for Sarracenia are maximum sunlight, pure water, and the correct acidic, nutrient-poor medium. Forget these, and your plant will struggle. My journey began with a beautiful Sarracenia purpurea, which I promptly placed in regular potting soil and watered from the tap. Within two weeks, I watched in horror as its vibrant pitchers turned brown and wilted. That was my first, hard-learned lesson. Container growing gives you immense control, but only if you respect their wild origins.
Tip 1: Selecting the Perfect Pot – It’s More Than Just Looks
Your choice of container sets the stage for everything. I’ve experimented with various materials, and here’s what I’ve found works best for growing Sarracenia in containers.
- Material Matters: Glazed ceramic or plastic pots are ideal. They retain moisture well, which is crucial. Avoid terracotta or unglazed clay. They are porous, causing the planting medium to dry out too quickly and allowing mineral salts to accumulate from the clay itself, which can harm your plant. I learned this the hard way with a lovely terracotta pot; my plant constantly looked thirsty, and a white crust developed on the rim.
- Size and Depth: Sarracenia have surprisingly extensive root systems. A pot that is too shallow will restrict growth. I recommend a minimum depth of 6-8 inches, but for larger varieties like Sarracenia flava, go for 10-12 inches. The pot should be wider than it is tall to provide stability, as a tall, top-heavy plant in a narrow pot will easily tip over.
- Drainage Hole – The Essential Feature: This is critical. While they love wet feet, they cannot sit in stagnant water inside the pot. A drainage hole allows for the tray watering method, which is the gold standard. Every pot I use has at least one good-sized hole.
Tip 2: Crafting the Ideal Soil Mix – Your Plant’s Foundation
This is where I made my biggest initial mistake. Regular potting soil is a death sentence. Sarracenia require an acidic, low-nutrient medium. The American Sarracenia Society (ASSA) recommends a simple mix of peat moss and perlite or horticultural sand.
My go-to recipe, perfected after several failed experiments, is a 1:1 ratio of sphagnum peat moss to perlite. I avoid sand from hardware stores, as it may contain limestone. Here’s my process:
- I moisten the dry peat moss with distilled water until it’s damp but not soggy.
- I mix in an equal volume of perlite. The perlite creates essential air pockets for the roots.
- I fill the pot, leaving about an inch of space from the top.
Tip 3: Mastering the Watering Technique – Pure Water Only
Water quality is paramount. Tap water, even if left to sit, contains dissolved minerals (like chlorine, fluoride, and salts) that will slowly poison your Sarracenia. I use only rainwater, distilled water, or reverse osmosis water.
My watering routine is simple but non-negotiable: the tray method. I always keep a saucer or tray under the pot with about 0.5 to 1 inch of pure water in it. The medium wicks up the moisture as needed. I check the tray every other day, especially in summer, and refill it before it goes completely dry. During the winter dormancy period, I let the tray dry out for a day or two before adding a small amount of water, just keeping the medium slightly damp.
Tip 4: Providing Maximum Sunlight – The Energy Source
Sarracenia are sun worshippers. They need a minimum of 6 hours of direct, unfiltered sunlight daily. More is better. Insufficient light leads to weak, floppy pitchers that lose their vivid coloration.
I grow all my potted Sarracenia on a south-facing balcony. When I first started, I placed a Sarracenia psittacina in a spot that received only dappled afternoon sun. Over a two-week observation period, the new pitchers it produced were pale green and strangely elongated, reaching for light that wasn’t there. I immediately moved it to the sunniest spot. Within another two weeks, the subsequent new growth emerged with much stronger, shorter stems and began developing the characteristic red venation. The difference was dramatic and proved how non-negotiable full sun is for successful container Sarracenia care.
Tip 5: Embracing Dormancy – The Vital Rest Period
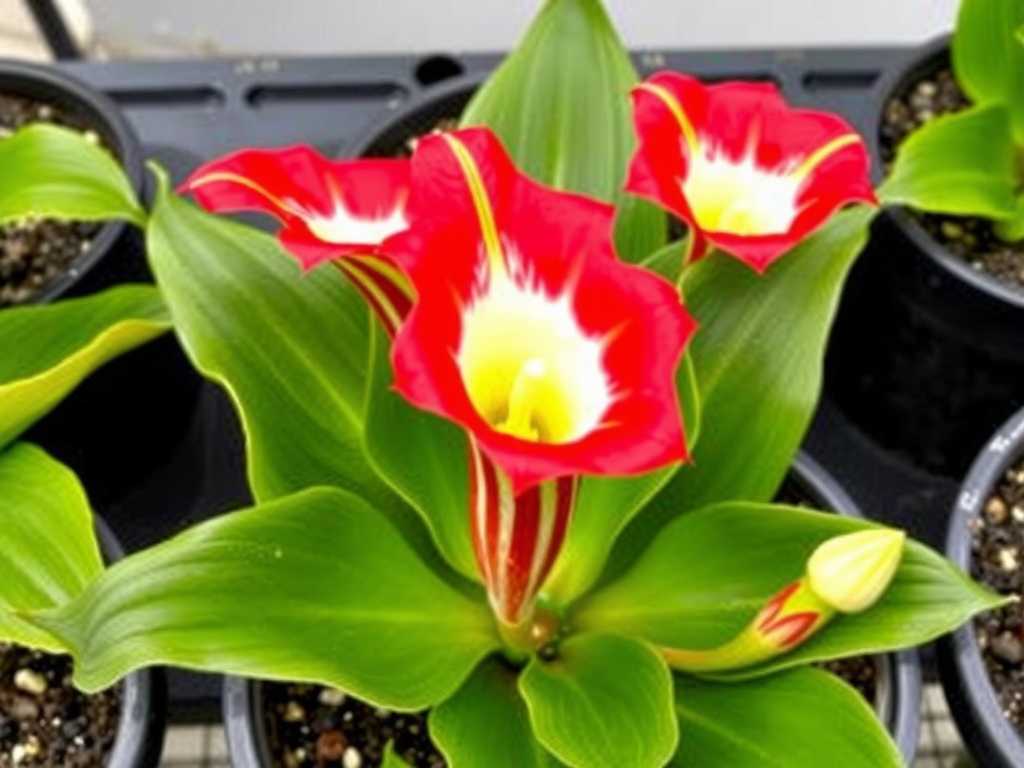
Sarracenia are temperate perennials and require a winter dormancy period of about 3-4 months to stay healthy long-term. This was a concept I initially resisted, fearing I would lose my plants.
Here’s how I manage dormancy for my potted collection:
- Timing: As daylight shortens and temperatures drop in late autumn, growth slows.
- Process: I stop feeding them (they catch fewer insects naturally anyway) and reduce watering, as described in Tip 3. The old pitchers will gradually brown and die back—this is normal.
- Location: For my climate, I move the pots to an unheated garage where temperatures stay between 35-50°F (2-10°C). They still need some light, so a cold frame or a sheltered spot outdoors works if temperatures don’t dip below freezing for extended periods. The key is that they experience the cold. Come spring, I move them back into full sun, and they burst back to life with incredible vigor.
Tip 6: Feeding and Fertilizing – A Delicate Balance
A common question is, “Do I need to feed my carnivorous plant?” The answer is: let them feed themselves. Healthy Sarracenia in sunny locations are fantastic at attracting and catching insects on their own. Their pitchers are passive traps.
I made the mistake of trying to “help” by dropping dried insects or bits of meat into the pitchers early on. This almost always leads to rot, as the pitchers cannot digest non-living matter effectively. If you grow them indoors or in a very sheltered spot where they catch nothing, you can occasionally add a live insect like a small fly or ant to a pitcher. Never use standard plant fertilizer on the soil or leaves. It will burn the roots and kill the plant. Their nutrition comes from the insects they catch.
Bringing It All Together: A Two-Week Observation Log
To show you how these tips work in practice, I documented a new Sarracenia ‘Scarlet Belle’ for two weeks after repotting it using my method.
- Day 1-3: Planted in a 10-inch glazed pot with my 1:1 peat/perlite mix. Watered via tray with distilled water. Placed in full south sun. Existing pitchers looked good.
- Day 4-7: Noticed the tray water level dropped noticeably every day due to heat and sun. Refilled daily. A new, small pitcher bud began to swell at the base.
- Day 8-14: The new pitcher grew rapidly, about half an inch every two days. Its coloration was deep red with white fenestrations (windows), showing excellent light exposure. The medium stayed consistently moist via the tray, and the plant showed zero signs of stress. This rapid, colorful growth was a stark contrast to my earlier, struggling plants.
Frequently Asked Questions
Can I grow Sarracenia indoors on a windowsill? You can try, but it is challenging. They need intense, direct sunlight. A south-facing windowsill is the bare minimum, but even then, the light is often filtered through glass and may not be sufficient for robust growth and coloration. Outdoor growing is always superior.
Why are the pitchers on my potted Sarracenia turning brown? Some browning is natural as individual pitchers age and die after several months. However, widespread or rapid browning usually points to a problem: using tap water (mineral burn), insufficient sunlight (weakens the plant), or a lack of water (drying out). Diagnose your conditions against the core tips above.
Do I need to repot my Sarracenia every year? Not necessarily. Sarracenia are relatively slow-growing. Repotting every 2-3 years in fresh medium is sufficient. You’ll know it’s time when the plant becomes extremely crowded in its pot or when the peat moss breaks down and becomes too dense. Early spring, as they exit dormancy, is the best time to repot.
Growing Sarracenia in pots is a deeply satisfying pursuit. It connects you to a fascinating piece of the natural world, even from a small apartment balcony. By focusing on the right container, the perfect soil mix, pure water, abundant sun, respecting dormancy, and letting them feed naturally, you create a miniature, thriving ecosystem. The journey involves learning from mistakes—I’ve made plenty—but the moment you see that first perfectly formed, insect-luring pitcher emerge under your care, every challenge becomes worth it. Start with a hardy variety like Sarracenia purpurea, apply these container tips, and enjoy the remarkable experience of cultivating these carnivorous marvels.