bluename
How to Care for Sarracenia for Beginners: 7 Easy-to-Follow Tricks
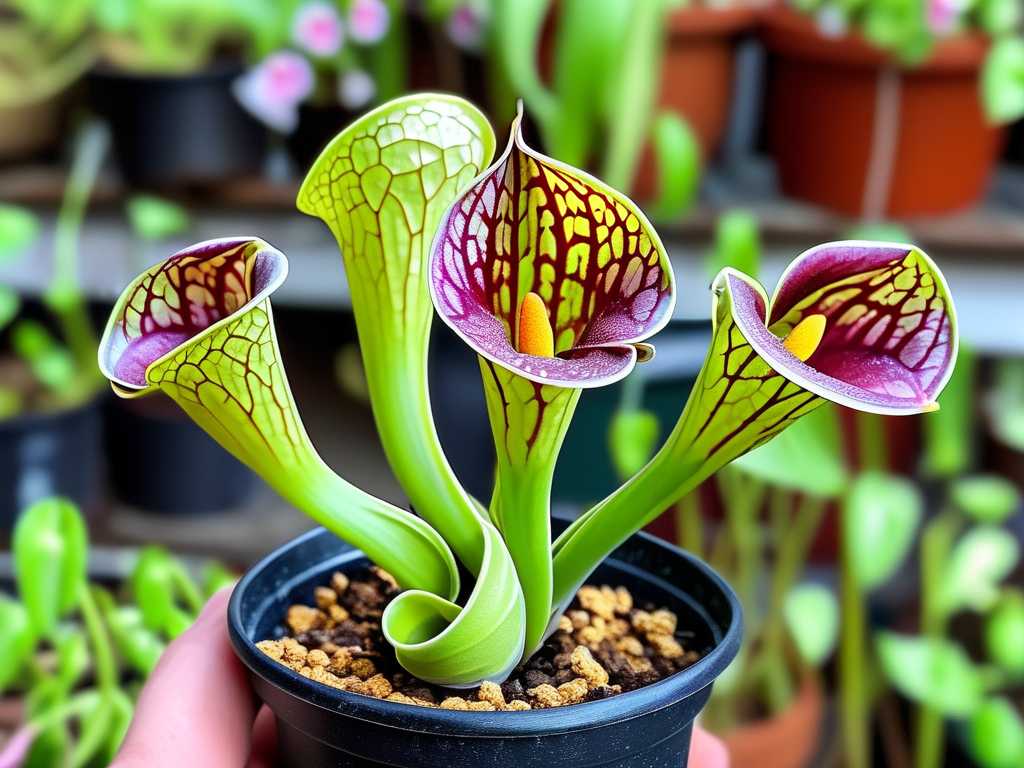
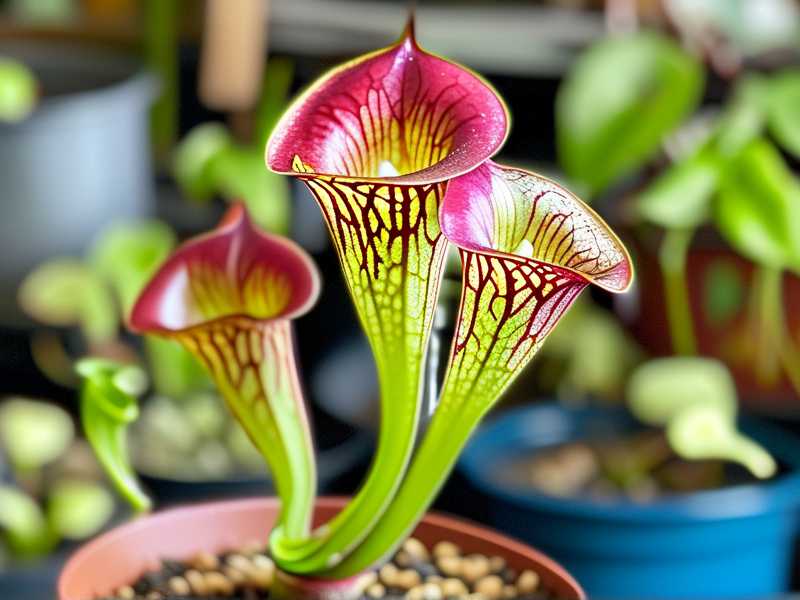
I remember the day my first Sarracenia, a vibrant Sarracenia purpurea, arrived. I was thrilled but also overwhelmed. I’d killed a Venus flytrap before, and I was terrified this beautiful, alien-looking pitcher plant would meet the same fate. The information online was a jungle of conflicting advice. Sound familiar? If you’re a beginner holding a new Sarracenia and feeling that mix of excitement and anxiety, you’re in the right place. I’ve been there. Through trial, error, and two weeks of intense observation, I cracked the code on Sarracenia care for beginners. This guide isn’t just theory; it’s my lived experience, complete with the mistakes I made and the simple tricks that saved my plants.
Let’s demystify how to grow Sarracenia together. These seven foundational steps will transform you from a worried novice into a confident caretaker.
Trick 1: Think Bog, Not Pot – Mastering the Watering Ritual
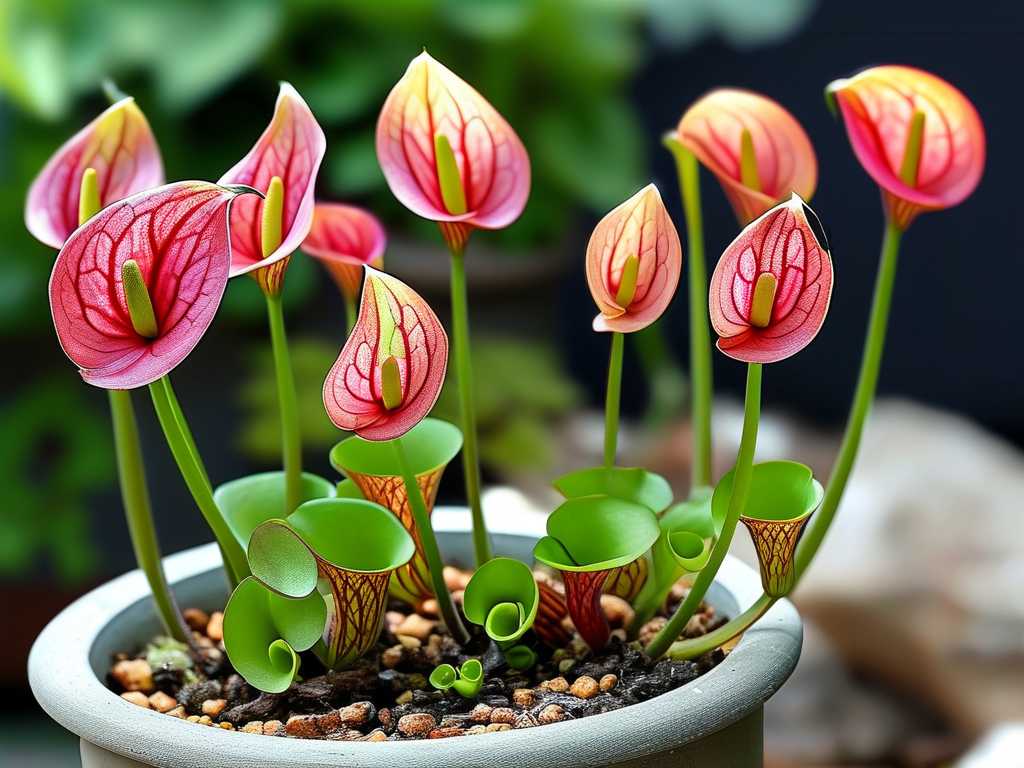
This is the single most important rule. Sarracenia are bog plants. Their roots must never dry out, but they also shouldn’t sit in stagnant, warm water. The classic advice is to use the “tray method,” and it’s correct, but I learned the nuances the hard way.
My 2-Week Observation & Mistake: I placed my pot in a deep saucer and kept it permanently filled. After about 10 days, I noticed a few pitchers starting to yellow at the base and a faint, musty smell from the moss. I was drowning them! The water in the tray had become stale and warm, lacking oxygen.
The Fix: I immediately dumped the old water. Now, I use a shallow tray. I fill it with about 0.5 to 1 inch of water. I let the tray dry out completely for a day before refilling it. This creates a wet-dry cycle that mimics a natural bog’s fluctuation, preventing rot and encouraging stronger roots. The type of water is crucial. Tap water, with its minerals and salts, is a slow poison. I use only rainwater, distilled water, or reverse osmosis water. My plants visibly perked up within 4 days of switching to distilled water.
Trick 2: Sun Worshipers Need Full Sun – Providing Enough Light
Sarracenia are native to open, sunny wetlands. “Bright, indirect light” is a death sentence. They crave direct, brutal sunshine.
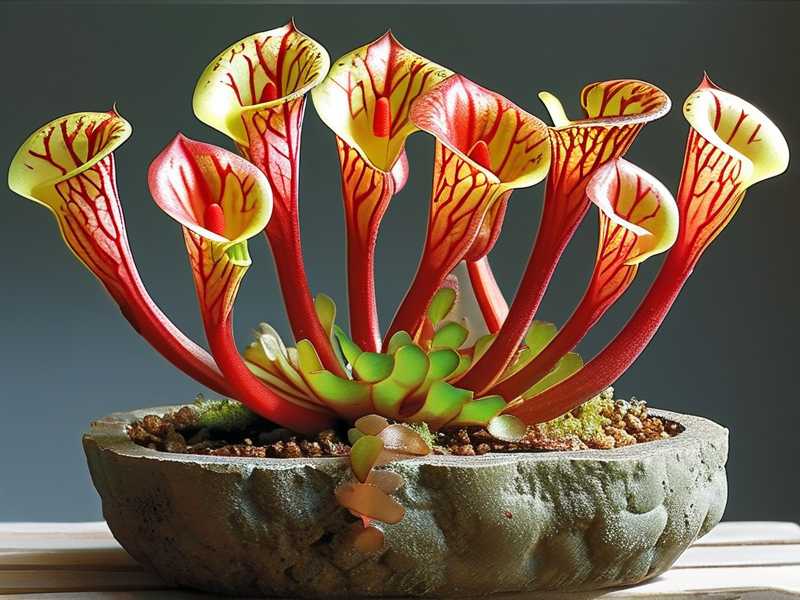
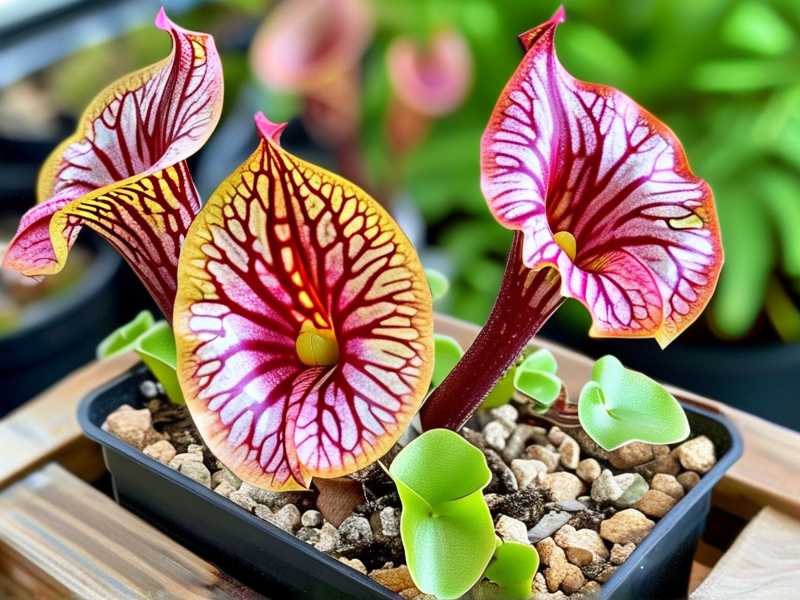
My Process: I started my plant on a south-east facing windowsill. It was bright, but growth was slow and the pitchers were slightly floppy. I moved it outside to a full-sun patio spot (receiving 6+ hours of direct sun). The transformation over the next two weeks was incredible. New pitchers grew thicker, sturdier, and developed intense, deep red venation. The plant looked vigorous and happy. As the Royal Horticultural Society (RHS) advises, these plants perform best with maximum light exposure, which is essential for photosynthesis and robust pitcher development.
The Beginner Trap: Don’t be afraid of sunburn. If your plant has been indoors, acclimate it over a week. Start with a few hours of morning sun, gradually increasing exposure. A sun-starved Sarracenia is a weak, etiolated target for pests and disease.
Trick 3: The Right Home – Potting Mix and Container
Forget all-purpose potting soil. It’s too rich and retains the wrong kind of moisture. Sarracenia need a low-nutrient, acidic, and airy medium.
My Mix: After research and consulting resources from the Carnivorous Plant Society, I use a simple 50/50 blend of premium sphagnum peat moss (with no added fertilizers) and horticultural perlite. The peat provides acidity and moisture retention, while the perlite ensures drainage and aeration. I always wet the mix thoroughly with distilled water before potting.
Pot Choice: I made a mistake using a glazed ceramic pot with only one drainage hole. It retained too much heat and didn’t breathe. I repotted into a simple, light-colored plastic pot with multiple drainage holes. Terracotta can leach minerals, so plastic or resin is safest. The pot should be deep enough for the rhizome (the horizontal stem) but not excessively large.
Trick 4: To Feed or Not to Feed? Let Them Hunt
This is the fun part. Your Sarracenia is an expert predator. You do not need to fertilize the soil. In fact, doing so will damage its roots. The pitchers are designed to attract, trap, and digest insects.
My Observation: I was tempted to feed it dead bugs. I dropped an ant into a pitcher. It sat there, uneaten, and began to mold. I learned that pitchers secrete their own digestive enzymes only when triggered by live, struggling prey. The best thing you can do is place your plant outside. During my two-week outdoor period, I watched small flies, gnats, and even the occasional beetle investigate and fall in. The plant was visibly thriving on its catches.
What If It’s Indoors? If outdoor growing isn’t an option, you can occasionally feed it a single, small live insect (like a fly or pinhead cricket) to a few pitchers per month. But it’s not strictly necessary if light is perfect. The American Sarracenia Conservancy (ASC) emphasizes that a healthy, well-sited plant will catch plenty of prey on its own.
Trick 5: Embracing Dormancy – The Key to Long-Term Health
This trick is about planning ahead. Sarracenia require a winter dormancy period (3-4 months of cold rest) to survive long-term. This mimics their natural cycle and prevents exhaustion.
My First Winter Fear: I panicked as growth slowed and some pitchers turned brown in late fall. I brought it inside to a warm room, trying to “save” it. This was wrong. The plant needs the cold.
The Correct Approach: In subsequent years, I allowed my plant to experience dormancy. For those in cold climates (USDA zone 7 and below), they can often stay outside, with pitchers dying back. In my milder zone, I move the pot to an unheated garage or cold frame where temperatures stay between 32°F and 50°F (0°C-10°C). Light is less critical during this time. It gets little water, just enough to keep the peat barely damp. Come spring, new growth erupts with incredible vigor. This cycle is non-negotiable for keeping Sarracenia alive year after year.
Trick 6: Pruning and Grooming – A Light Touch
You don’t need to prune for shape, but grooming is helpful for plant health and appearance.
What I Do: As pitchers naturally age, die, and turn completely brown, I use clean scissors to cut them off at the base. I leave any still-green or partially colored portions, as they are still photosynthesizing. In late winter, before spring growth, I do a more thorough cleanup, removing all dead material from the previous season to make way for new pitchers and reduce hiding spots for pests.
Never cut green, healthy pitchers. The only exception is if one is damaged and rotting; then, cut it off to prevent mold spread.
Trick 7: Troubleshooting Common Issues Early
Vigilance is key. Here are problems I encountered and solved:
- Fungus Gnats / Mold on Soil: This happened to me due to overwatering and poor air circulation. I solved it by letting the water tray dry out more between refills, increasing air flow, and sprinkling a thin layer of dried sphagnum moss on the soil surface. For severe cases, a product containing Bacillus thuringiensis israelensis (BTI), like mosquito bits, soaked in your watering water is safe and effective.
- Aphids: I found these on new flower buds. I manually squished them and then sprayed the plant thoroughly with a diluted neem oil solution (following package instructions), making sure to coat the buds. I repeated this twice, a week apart.
- Brown Pitcher Tips: This is usually low humidity or mineral burn from water. I confirmed my water source was pure and stopped worrying—a little browning at the very tips is normal, especially as pitchers age.
Frequently Asked Questions
Can I grow Sarracenia purely indoors? It is very challenging. They require extremely high light levels—a sunny south-facing window is the absolute minimum, but most indoor settings fail to provide enough intensity for long-term health. Growth will be weak, and dormancy will be difficult to facilitate. For best results, grow them outdoors or in a dedicated, brightly lit greenhouse.
Why are my new pitchers growing without lids or looking deformed? This is almost always due to insufficient light. The plant is stretching and producing weak, malformed growth in a desperate search for more energy. Move it to a sunnier location immediately. Pest damage during early development can also cause this.
How often should I repot my Sarracenia? Every 2-3 years is generally sufficient. Repot in late winter or very early spring, just as dormancy is ending. You’ll know it’s time if the plant is severely crowded, the medium has broken down, or water isn’t soaking through properly. When repotting, you can gently divide large clumps of rhizomes to propagate new plants.
Caring for Sarracenia is a deeply rewarding journey. It teaches you to observe and respect a plant’s fundamental needs. By focusing on pure water, maximum sun, the right soil, and respecting its dormant period, you create the foundation for success. The seven tricks outlined here—from the watering tray cycle to embracing the winter chill—are the distilled wisdom from my own failures and triumphs. Start with these fundamentals, be patient, and watch as your carnivorous companion thrives, catching its own meals and adding a spectacular, otherworldly beauty to your garden or sunny space. The initial learning curve is worth it for the years of fascinating growth ahead.