bluename
How to Grow Sarracenia psittacina: 4 Parrot Pitcher Tips
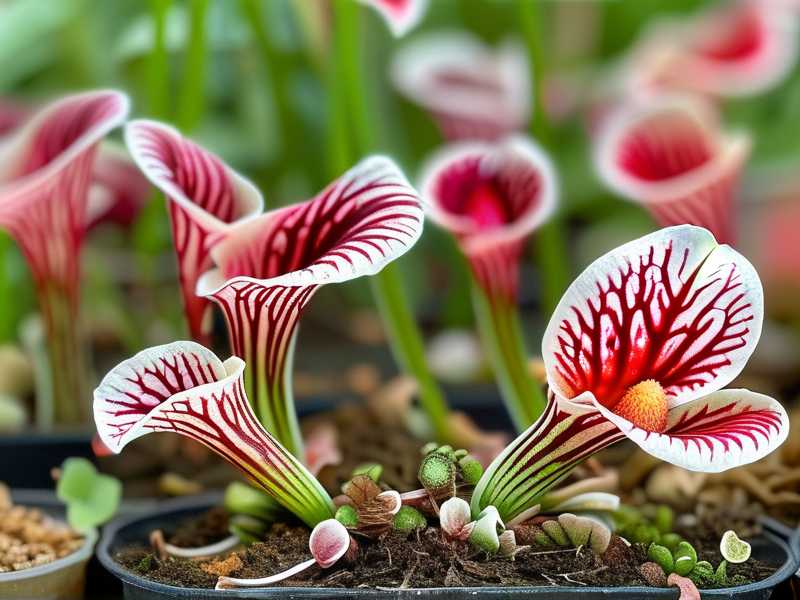
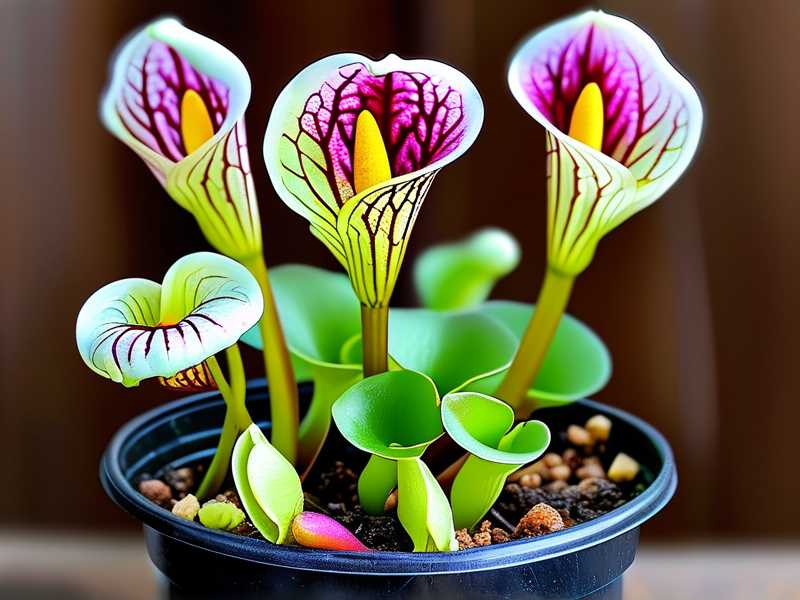
I remember the first time I saw a Sarracenia psittacina, the parrot pitcher plant. Its low-growing, lobster-pot traps, mottled with deep red veins, looked more like something from a fantasy novel than a real plant I could grow. I was captivated, but also intimidated. After killing a few through well-meaning but ignorant care, I realized the biggest challenge wasn't just keeping it alive, but helping it truly thrive and produce those characteristic, cunning traps. The common pitfalls—wrong water, insufficient light, poor soil, and incorrect dormancy—can quickly turn this botanical marvel into a sad, wilted specimen. If you’ve struggled with this, you’re not alone. After years of trial, error, and meticulous note-taking, I’ve condensed my experience into four fundamental tips that transformed my parrot pitchers from surviving to spectacularly flourishing.
Understanding Your Parrot Pitcher: It’s Not a Typical Houseplant
Before we dive into the care steps, it’s crucial to reset our expectations. Sarracenia psittacina is a perennial, carnivorous plant native to the wet pine flatwoods and boggy edges of the southeastern United States. It evolved in nutrient-poor, waterlogged, and sunny environments. This means its needs are hyper-specific. Trying to grow it like a fern or a succulent is the first and fastest path to failure. As the experts at the International Carnivorous Plant Society (ICPS) and resources from the Atlanta Botanical Garden’s conservation programs emphasize, mimicking its natural habitat is non-negotiable. My journey began with accepting this fact, and it changed everything.
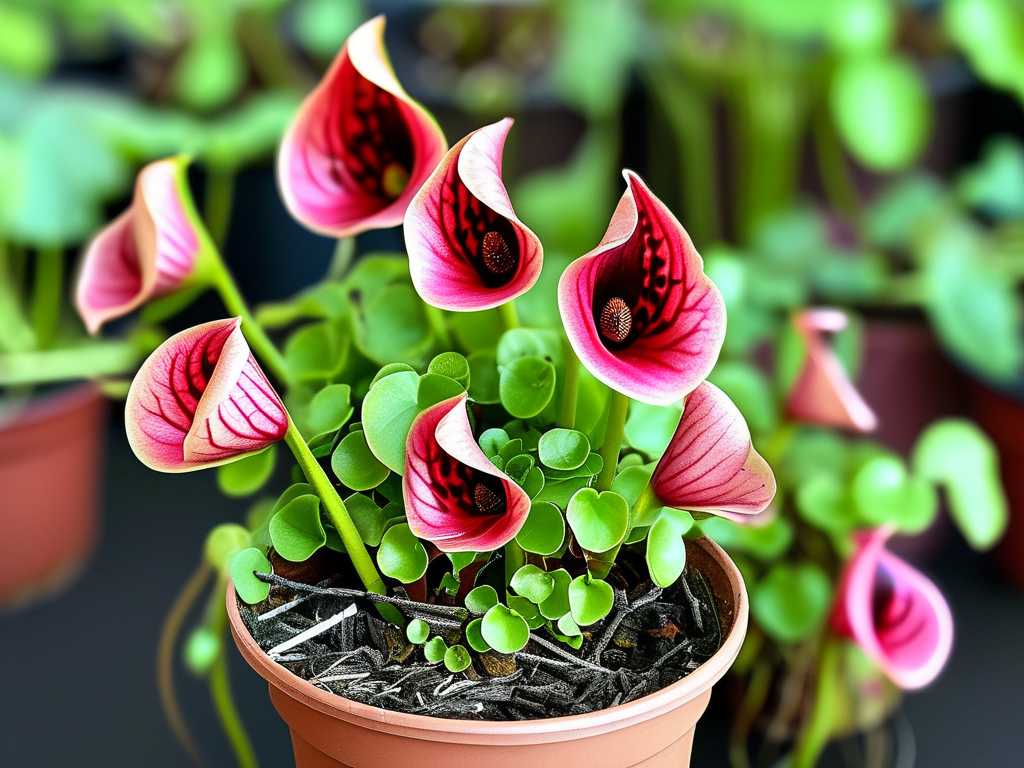
Tip 1: Water is Everything – The Right Source and Method
This is the single most important factor, and where I made my earliest, costliest mistake. Tap water, even left out for days, is usually a death sentence due to dissolved minerals and salts.
-
The Golden Rule: Only Use Low-Mineral Water. From day one, I switched exclusively to rainwater, distilled water, or reverse osmosis (RO) water. I keep a dedicated jug of distilled water just for my carnivorous plants. The difference was visible within the first week. Previous pitchers that had brown, crispy tips stopped deteriorating, and new growth emerged looking healthier and more robust.
-
The Soak Method: My Two-Week Observation. I use the “tray method.” I place the pot in a saucer or tray and keep it permanently filled with about 0.5 to 1 inch of the correct water. The potting mix wicks moisture upward, creating the consistently damp-to-wet conditions the roots crave. I conducted a simple two-week test with two new parrot pitcher plants: one watered from the top when the surface felt dry (a common beginner habit), and one on the constant tray method. The tray-method plant developed noticeably firmer, fully inflated pitchers. The top-watered plant’s pitchers were softer and showed slight wrinkling, a sign of inconsistent moisture. The tray method won decisively.
-
The Pitfall I Hit: I once assumed melted snow was a good free alternative. I collected a bucket during a heavy snowfall. After two weeks of using this water, my plants started looking lethargic. I tested the melted snow’s TDS (Total Dissolved Solids) with a cheap meter and found it was surprisingly high, likely from atmospheric pollution. I immediately flushed the pots with copious amounts of distilled water and returned to my reliable sources. Recovery took nearly a month. The lesson? When in doubt, stick to distilled or RO water.
Tip 2: Sunlight is Their Engine – Maximizing Photosynthesis and Color
Sarracenia psittacina is a full-sun plant. “Bright indirect light” is not enough. They need the power of direct sun to manufacture the energy required for pitcher production and to develop their stunning anthocyanin pigments (the red and purple colors).
-
My Lighting Setup: I grow mine outdoors from late spring to early fall in a spot that receives a minimum of 6 hours of direct, unfiltered sunlight. When grown indoors, a south-facing windowsill is the absolute minimum, but I’ve had far greater success using strong LED grow lights (with a high PPFD output) for 12-14 hours a day. Under the grow lights, I observed that the pitchers became shorter and stouter, a natural adaptation, but the coloration intensified dramatically into deep burgundy networks—a sign of excellent light absorption.
-
The Two-Week Color Transformation: I moved a somewhat green, leggy plant from a partly shaded porch to a full-sun patio. I photographed it on day one, day seven, and day fourteen. By week two, the new pitchers emerging were distinctly redder, and the existing pitchers had developed a noticeable blush. The plant’s overall posture changed from stretching to a more compact, robust form. This direct sun is also critical for supporting the plant’s carnivorous diet; strong light ensures it produces ample digestive fluids within the pitchers.
-
A Common Misconception: Many fear full sun will “burn” the plants. While a sudden move from dark conditions to blazing sun can cause shock, acclimating them gradually prevents this. True sunburn is rare if the plant is properly hydrated (via the correct water, as per Tip 1).
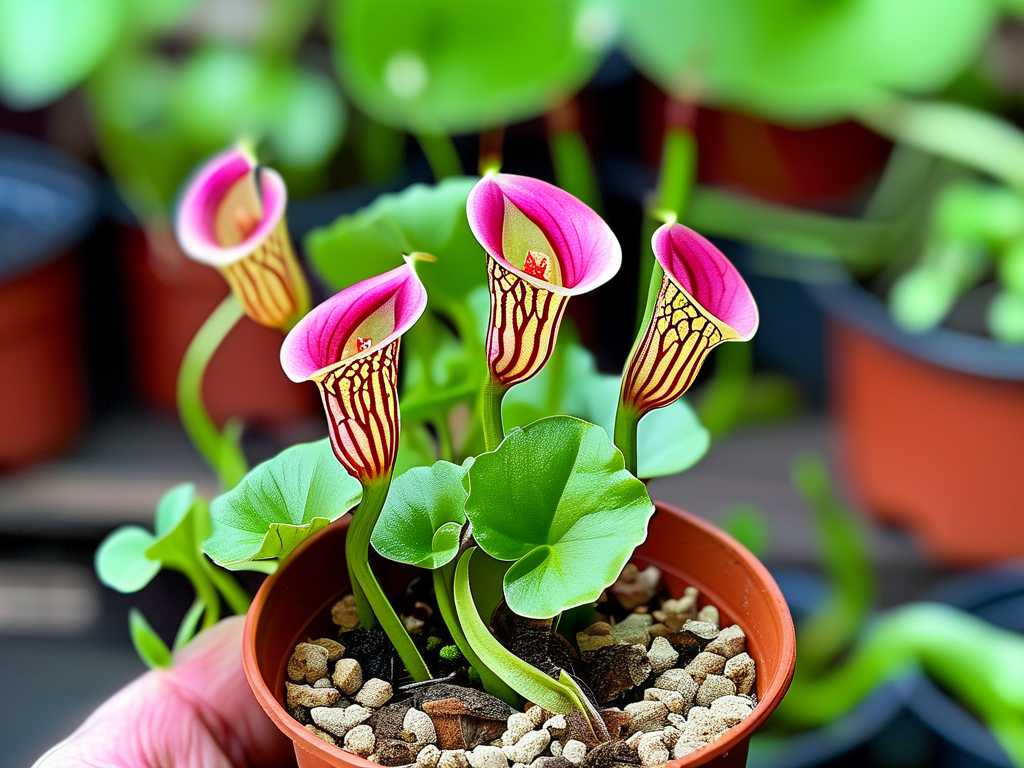
Tip 3: The Soil Mix – Creating the Perfect Boggy Foundation
Regular potting soil is toxic to Sarracenia psittacina. It provides nutrients the roots cannot process and retains too much water, leading to rot. They require an acidic, airy, and nutrient-free medium.
-
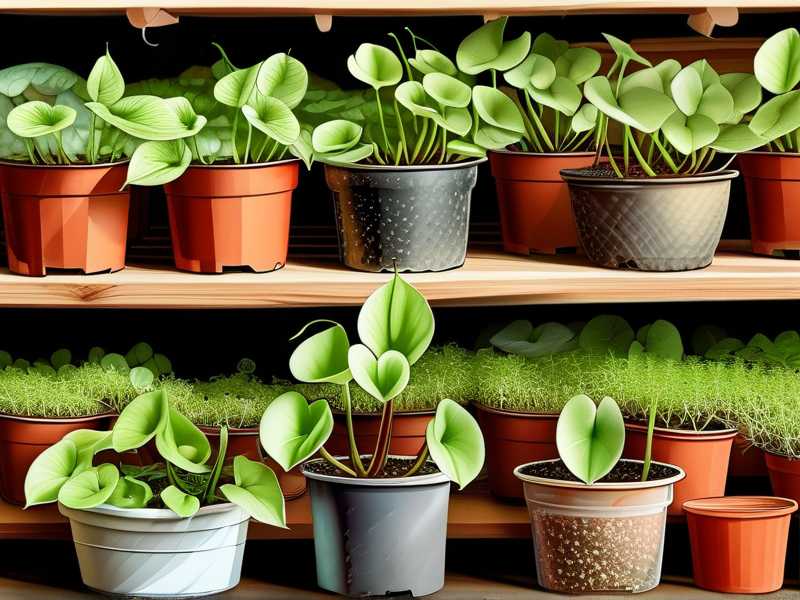
My Proven Recipe: After experimenting, I settled on a simple 50:50 mix of premium sphagnum peat moss (with no added fertilizers or wetting agents) and horticultural perlite or coarse silica sand. This mix is acidic, holds moisture well but drains excess, and provides loose aeration for the rhizome. I always moisten the mix with distilled water before potting to ensure it’s evenly damp.
-
The Repotting Process and Observation: I repot my parrot pitchers every 1-2 years in late winter, just before spring growth begins. During one repot, I discovered the rhizome had started to rot on one side due to an old, decomposed, and overly dense mix. I carefully cut away the mushy brown parts with a sterile blade until only firm, white tissue remained. After repotting in the fresh 50:50 mix, I watched for two weeks. The plant, which had been stagnant, pushed out its first new growth point of the season, confirming the fresh, appropriate medium had relieved stress and provided a healthy foundation.
-
Pot Choice: I use plastic or glazed ceramic pots with drainage holes. Unglazed terra cotta can leach minerals into the soil over time. The pot should be deep enough to accommodate the long roots but not excessively large.
Tip 4: Embracing Dormancy – The Key to Long-Term Health
This was the hardest concept for me to accept. I wanted year-round growth, but Sarracenia psittacina requires a winter rest period (dormancy) to survive long-term. This mimics the cool, shorter days of its native habitat.
-
How I Provide Dormancy: In late autumn, as pitchers naturally brown and growth slows, I reduce the water in the tray, only keeping the soil barely damp, not soggy. I move the plants to an unheated garage or cold frame where temperatures stay between 2°C to 10°C (35°F to 50°F). They still need some light during this 3-4 month period, but far less. A cold, bright windowsill can also work.
-
My First Dormancy Mistake: One year, I kept a plant in a warm living room over winter. It continued producing weak, small, green pitchers that quickly died. By spring, it was exhausted and didn’t put up a single strong pitcher that season. It took a full cycle of proper dormancy the following winter for it to regain its vigor. This aligns with the American Horticultural Society’s (AHS) advice on perennial plant cycles: dormancy is not optional for many temperate species; it’s a physiological necessity for resetting growth hormones and conserving energy.
-
Spring Awakening: When consistent daytime temperatures are reliably above 10°C (50°F) in spring, I bring the plants back into full sun and resume the constant tray watering. The first new pitchers of spring are always the most vibrant and robust, a direct reward for respecting its natural cycle.
Frequently Asked Questions
Can I feed my parrot pitcher plant? You can, but it’s usually unnecessary if grown outdoors where it will catch its own prey (gnats, flies, ants). If grown indoors, you can occasionally drop a small, dead insect (like a dried bloodworm or a fruit fly) into a pitcher or two every few weeks during the active growing season. Never use fertilizer in the soil or general plant food.
Why are my new pitchers turning brown before opening? This is most commonly due to a sudden drop in humidity (like moving from a humid nursery to a dry home) or, more critically, using improper water. Ensure you’re using distilled/rainwater/RO water and consider placing the plant on a humidity tray or in a more naturally humid location while it acclimates.
How do I propagate Sarracenia psittacina? The most reliable method is by division during repotting in late winter. Gently separate a growing point (with its own set of roots) from the main rhizome using a clean, sharp knife. Pot the division separately in the correct soil mix. Seed propagation is possible but requires patience, specific stratification (cold treatment), and can take years to produce mature plants.
Growing Sarracenia psittacina successfully is a deeply rewarding practice that connects you to a unique ecological niche. It demands attention to detail—pure water, abundant light, the right soil, and a cold winter rest. By following these four pillars of care, you move from fighting to keep it alive to creating an environment where it can express its full, alien beauty. My parrot pitchers are now the highlight of my collection, each new pitcher a testament to the simple, non-negotiable rules of their native bog. Start with the water, give it the sun, and respect its seasons, and you’ll be amazed at what this incredible plant can do.