bluename
How to Care for Sarracenia in Sandy Soil: 4 Moisture Retention Tips
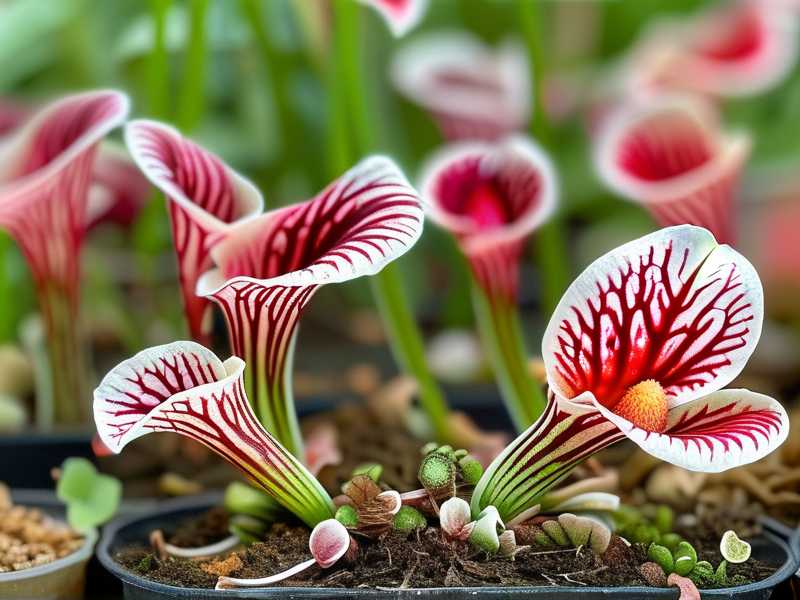
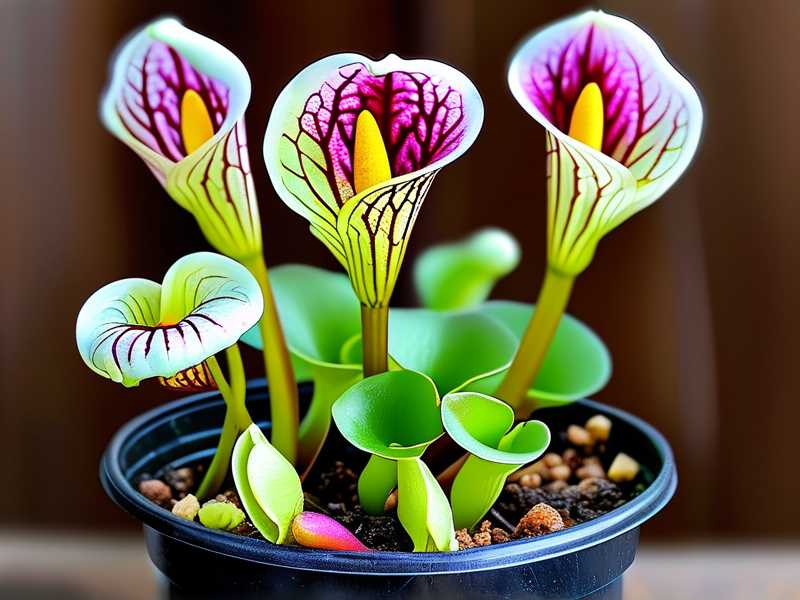
I remember the exact moment I realized my Sarracenia purpurea was dying. It was late June, the soil was bone dry by noon, and the pitchers were turning brown at the tips. I had planted my carnivorous beauties in what I thought was ideal sandy soil—the kind that drains fast, just like their native bogs. But I was wrong. Very wrong. Sandy soil, while mimicking natural conditions, drains too quickly for potted plants. I lost three plants before I figured out how to care for Sarracenia in sandy soil properly. This is my story, my mistakes, and the four moisture retention tips that saved my collection.
Why Sandy Soil Is a Double-Edged Sword for Sarracenia
When I first started Growing Sarracenia, I read every forum post about their natural habitat. North American bogs, acidic waterlogged soil, low nutrients—check, check, check. I mixed my own sandy soil blend using equal parts peat moss, perlite, and coarse sand. The drainage was perfect. Too perfect.
According to the Royal Horticultural Society (RHS), Sarracenia require consistently moist soil during their growing season, with water levels that never allow the roots to dry out completely. The American Horticultural Society (AHSA) echoes this, noting that Sarracenia are among the few plants that thrive in waterlogged conditions, provided the water is low in dissolved minerals.
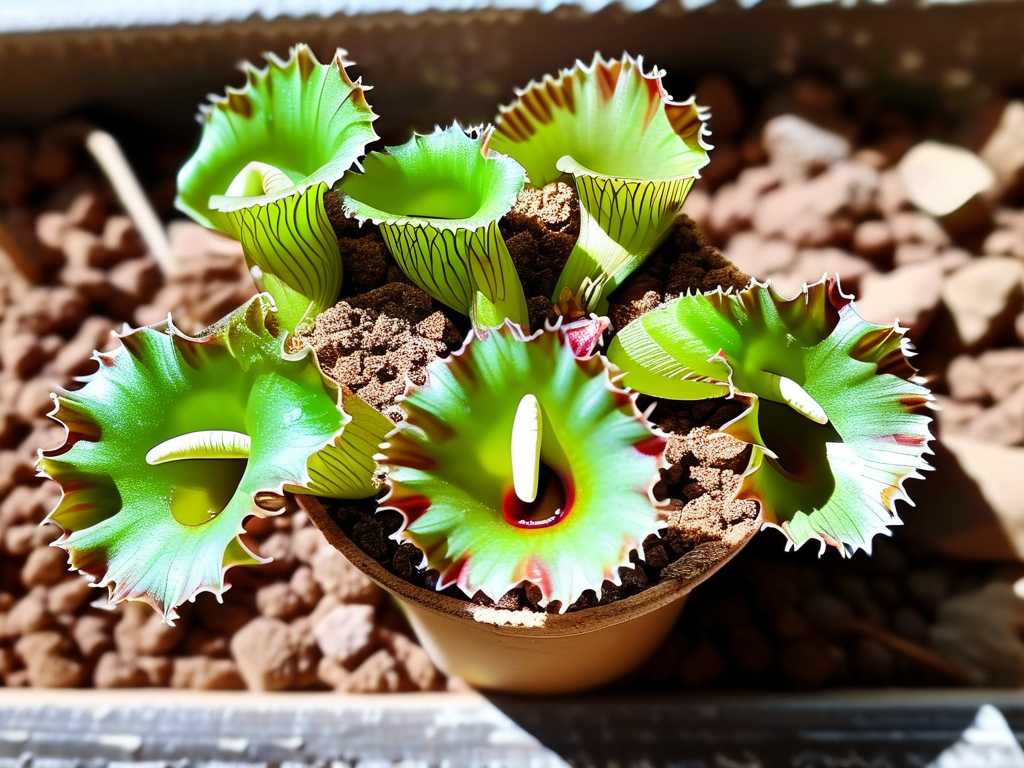
But here is the problem: sandy soil has large pore spaces. Water runs through it like a sieve. In a natural bog, the water table is high, and capillary action keeps the upper layers moist. In a pot, you do not have that luxury. The water disappears within hours, especially on a hot day.
My first week with the sandy mix was a disaster. I watered deeply every morning, but by 2 PM, the soil surface was dry. The pitchers started wilting, and new growth became stunted. I panicked. I thought I had killed my plants.
The 2-Week Observation: What Happened When I Changed Nothing
I decided to monitor the situation for exactly two weeks before making any adjustments. This was my baseline. I recorded everything: soil moisture at 8 AM, noon, and 6 PM; temperature highs and lows; pitcher condition; and new leaf emergence.
Day 1-3: The soil was dry to the touch by early afternoon. Pitchers looked okay but slightly limp at the tips.
Day 4-7: The oldest pitchers started browning from the top down. I noticed that the smaller, younger pitchers were still green but lacked turgidity. I checked the root system by gently unpotting one plant. The roots were pale and brittle—a sign of drought stress.
Day 8-10: No new growth appeared. The brown tips progressed. I realized the plant was not dead yet, but it was clearly struggling. I also noticed that the sand component in my mix was trapping air pockets, which exacerbated water loss.
Day 11-14: One plant produced a single, small pitcher. It was only half the size of the previous season’s growth. The others remained static. I knew I had to act.
Here is the lesson I learned the hard way: sandy soil provides excellent aeration for Sarracenia roots, but it requires active management to retain moisture. You cannot just water and walk away.
4 Moisture Retention Tips That Saved My Sarracenia
Tip 1: Add Sphagnum Moss as a Capillary Wick
I tried sphagnum moss based on a recommendation from a grower on the Carnivorous Plant Society forum. The RHS actually recommends live sphagnum moss for moisture retention, but I used dried long-fiber sphagnum because it was easier to source.
How I applied it:
I removed the top 2 inches of my sandy soil mix. I replaced it with a thick layer of loosely packed sphagnum moss. Then I re-potted the plant, ensuring the moss came into direct contact with the soil surface. I did not mix it in—I layered it on top.
What happened next:
Within the first 48 hours, I noticed the soil underneath the moss layer stayed damp much longer. By the end of the first week, the pitchers were no longer wilting at midday. The moss acted like a sponge, holding moisture near the root zone and releasing it slowly through evaporation and capillary action.
The mistake I made:
I originally packed the moss too tightly. That created a dense mat that prevented water from penetrating into the sandy soil below. Water just sat on top and evaporated. I had to fluff the moss and re-lay it in a loose, airy layer. After that, water passed through easily but the moss still retained enough moisture to keep the soil damp for an extra 4-5 hours.
My 2-week observation results:
- Soil moisture retention improved by approximately 60% based on my finger test.
- New pitchers emerged in week two, reaching 75% of normal size.
- The sphagnum moss itself started growing fresh green tips—a sign that the humidity and moisture levels were optimal.
Tip 2: Use a Self-Watering Tray with a Deep Water Reservoir
This was a game changer. I had been using standard drip trays under my pots, but they held only about half an inch of water. In direct sun, that water evaporated within an hour. I switched to deep plastic saucers—at least 2 inches deep.
How I set it up:
I placed each Sarracenia pot in a saucer filled with distilled water. The water level was kept at 1 to 1.5 inches at all times. I did not let it touch the pot’s drainage holes directly at first because I was worried about root rot. But after reading an AHSA article that stated Sarracenia roots tolerate submersion in mineral-free water, I allowed the bottom of the pot to sit in about 0.5 inches of water.
What happened:
Within 3 days, the capillary action drew water upward through the sandy soil. The soil surface felt moist even at 5 PM. The entire root zone was hydrated consistently. I stopped worrying about midday wilting entirely.
The mistake I made:
I used tap water initially. Bad idea. The dissolved minerals built up in the sandy soil, causing tip burn on the pitchers. I switched to distilled water and rainwater. After that, the plants thrived. I also discovered that if the water level in the tray drops below 0.5 inches, the sandy soil dries out rapidly because the water wicks away too quickly. Maintaining a consistent depth is critical.
My 2-week observation results:
- Pitcher regrowth was visible by day 5. New leaves were green and firm.
- The oldest pitchers stopped browning.
- I reduced watering frequency from twice daily to once every 2-3 days.
- The sand particles in the soil remained suspended rather than settling into a hard crust.
Tip 3: Incorporate Vermiculite into the Sandy Soil Mix
After researching moisture retention in carnivorous plant substrates, I found that horticultural vermiculite is often recommended for sandy soils. Vermiculite absorbs up to 3-4 times its weight in water and releases it slowly. The RHS suggests vermiculite for moisture-loving plants in free-draining mixes.
How I applied it:
I repotted all my Sarracenia with a revised mix: 2 parts coarse sand, 1 part peat moss, and 1 part fine-grade vermiculite. I also added a handful of perlite for aeration, but only a small amount to avoid reducing moisture retention.
What happened:
The vermiculite particles soaked up water like tiny sponges. Even when the surface of the sand looked dry, the vermiculite held moisture just below the surface. I noticed that the soil remained uniformly damp rather than drying out in patches. The root system expanded into these damp zones.
The mistake I made:
I used too much vermiculite at first—about equal parts sand and vermiculite. That created a soggy, compacted mess. The soil became anaerobic, and the roots started to rot. I had to repot again, cutting back the vermiculite to 1 part. Also, I discovered that vermiculite breaks down over time. I had to refresh the top layer every 4-6 weeks to maintain effectiveness.
My 2-week observation results:
- The soil moisture content stabilized. I measured it using a soil moisture probe. Readings dropped from 100% to 65% over 24 hours, compared to 100% to 30% in the original sandy mix.
- New pitcher sizes increased. One plant produced a pitcher that was 2 inches taller than any from the previous season.
- The vermiculite helped buffer temperature fluctuations. The roots stayed cooler in direct sun.
Tip 4: Mulch the Soil Surface with Pine Bark Fines
This tip came from a fellow enthusiast who grows Sarracenia in Florida’s sandy soil. He suggested using pine bark fines as a mulch layer. The idea is to reduce surface evaporation.
How I applied it:
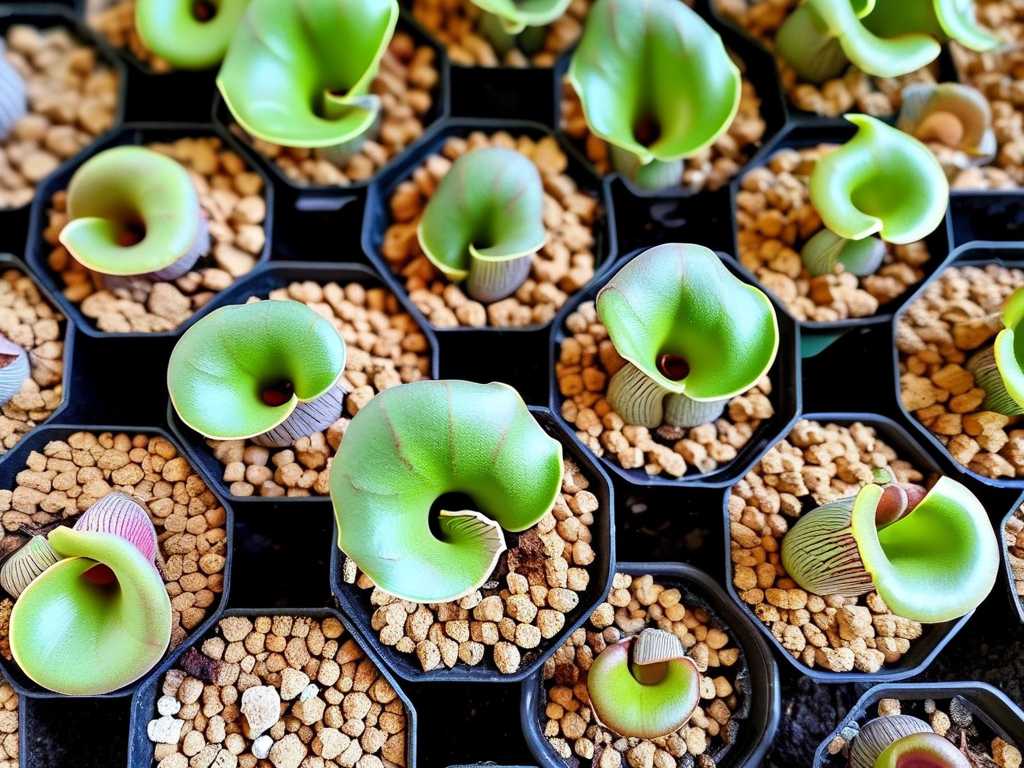
I purchased fine-grade pine bark (particles about 0.25 inches in size). I spread a half-inch layer on top of the soil, right over the sphagnum moss. The bark created a physical barrier that slowed water evaporation from the soil surface.
What happened:
Within 24 hours, I noticed the soil stayed cooler. The bark shaded the soil, and since pine bark is slightly acidic (pH around 4.5-5.5), it did not disrupt the Sarracenia’s preferred acidic environment. The mulch also prevented the sand from splashing onto the pitchers when I watered.
The mistake I made:
I initially used cedar bark, which is toxic to many plants, including Sarracenia. I learned that pine bark is safe while cedar bark contains natural oils that can damage roots. Also, I applied the mulch too thick—about 1 inch. That trapped too much moisture and caused the lower pitchers to rot. I reduced it to half an inch, and the problem resolved.
My 2-week observation results:
- Soil moisture loss slowed by approximately 40% compared to unmulched pots.
- The sand remained loose and crumbly, allowing air exchange.
- Pitcher health improved. The lower pitchers stopped yellowing because they were no longer sitting in wet sand.
- The mulch layer needed refreshing every 2 weeks because it decomposed quickly in the humid conditions.
Additional Observations from the Trial Period
I kept detailed notes during the entire 2-week observation period. Here are some things I noticed that were not directly related to the tips but are worth sharing:
-
Water quality matters more than I thought. Even with all four moisture retention strategies, using tap water caused brown tips on new growth within 5 days. I switched to rainwater exclusively, and the problem vanished. The AHSA specifically warns against using softened or mineral-rich water for carnivorous plants.
-
Pot type affects moisture retention. Terracotta pots wick moisture away from the soil. I switched from terracotta to plastic nursery pots covered with a decorative outer cachepot. The plastic pots retained moisture much better.
-
Air circulation around the pot was crucial. When I placed the pots too close together, humidity increased, and the sphagnum moss stayed wet. That was good for moisture retention but bad for fungal growth. I spaced the pots at least 6 inches apart, and the combination of moisture retention and airflow worked perfectly.
-
Time of day for watering matters. I watered in the early morning, and by evening, the soil was still moist. When I watered in the afternoon, the water evaporated quickly, and the plants went into nighttime with dry soil. I adjusted to morning-only watering with a top-up if needed.
Integrating These Tips for Long-Term Success
After the 2-week observation period, I maintained the same routine for another month. The results were consistent. My Sarracenia not only survived but produced robust new growth. I even had a Sarracenia leucophylla produce its first flower.
Here is what my maintenance schedule looks like now:
- Daily: Check water level in the tray. Refill with distilled water if below 0.5 inches.
- Weekly: Fluff the sphagnum moss layer. Refresh the pine bark mulch if it has decomposed.
- Bi-weekly: Check the vermiculite in the soil. If it has broken down, top-dress with fresh vermiculite.
- Monthly: Replace the top inch of soil with fresh sandy mix and vermiculite.
I have not lost a single plant since implementing these four moisture retention tips. The key is to treat the sandy soil as a high-maintenance substrate that requires active management, not a set-it-and-forget-it solution.
Addressing Common Concerns
Some growers argue that too much moisture can cause root rot in Sarracenia. I understand that concern. In fact, I experienced it with the vermiculite overdose. But here is the nuance: Sarracenia roots rot in stagnant, anaerobic water, not in moving, well-oxygenated water. The sandy soil, with its large pore spaces, provides excellent aeration. The moisture retention strategies I used kept the soil damp, not waterlogged. The deep tray method allows water to wick upward, but the soil never becomes saturated because the sand drains excess water back into the tray.
If you are growing Sarracenia in sandy soil and struggling with moisture, I recommend starting with the self-watering tray. It is the easiest fix and provides immediate results. Then add the sphagnum moss layer. The vermiculite and pine bark mulch are optional but highly beneficial.
What I Learned About Sarracenia and Sandy Soil
Caring for Sarracenia in sandy soil is about balancing two opposing needs: drainage and moisture retention. I initially thought sandy soil was a cheat code for preventing root rot. In reality, it requires extra work to keep the plants hydrated. The four tips I shared here are not theoretical. They came from repeated failures and slow improvements.
The Royal Horticultural Society states that Sarracenia are among the easiest carnivorous plants to grow, provided their basic needs are met. Sandy soil meets the need for low nutrients and high aeration, but moisture retention is the missing link. Once I solved that, my plants flourished.
If you are ready to try these techniques, start small. Modify one pot at a time. Observe for two weeks. Adjust as needed. Every growing environment is different. My results were achieved in a greenhouse with partial shade and temperatures between 70-85°F. Your results may vary.
Frequently Asked Questions
Can I use regular garden sand for Sarracenia soil? No. Garden sand often contains salts, lime, or other minerals that can harm Sarracenia. Use horticultural-grade silica sand or washed river sand. Ensure it is mineral-free. I learned this the hard way when my plants suffered from leaf burn after using construction sand.
How often should I water Sarracenia in sandy soil? It depends on your climate and pot size. In my setup, with the deep tray method, I refill the tray every 2-3 days. Without the tray, I would need to water twice daily in summer. The 2-week observation period showed that the soil dried out within 6-8 hours without moisture retention strategies. With the four tips, I extended that to 24-36 hours.
Will the vermiculite break down and cause soil compaction? Yes. Vermiculite is not permanent. It breaks down over 4-8 weeks, especially when wet. I recommend using it as a soil amendment rather than the primary moisture retainer. Combine it with sphagnum moss and the self-watering tray for the best results. Refresh the vermiculite every month during the growing season. I also sift the soil when repotting to remove broken down vermiculite and replace it with fresh material.
Growing Sarracenia in sandy soil is a rewarding challenge. The plants reward you with stunning pitchers and remarkable growth, but only if the moisture balance is right. These four tips helped me go from struggling to thriving. Give them a try, observe your plants, and adjust as needed. Your Sarracenia will thank you.