 bluename
How to Fix Yellow Leaves on Sarracenia: 5 Effective Recovery Tips
Yellow leaves on a Sarracenia usually mean one thing: the roots are suffocating. I know that sounds dramatic, but stick with me. I've killed more pitcher plants than I'd like to admit, and every single time, the yellowing started the same way. The fix is almost always about water, light, or the pot itself. If you want the short answer first, it's this: stop watering like it's a tropical houseplant, give it full sun, and never let it sit in a closed tray. That's it. Now let me show you how I actually turned my saddest Sarracenia around in just two weeks.
Why Sarracenia Leaves Turn Yellow in the First Place
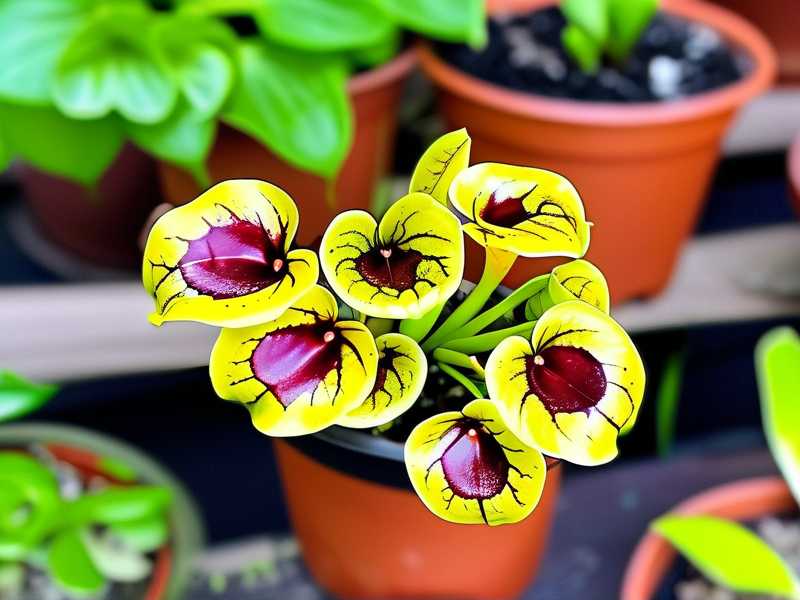
Sarracenia are bog plants. They are not your average fern or pothos. In the wild, they grow in soggy, nutrient-poor soil that stays wet but still gets air. That last part matters more than most people realize.
When we bring them home, we tend to treat them like regular houseplants. We water on a schedule. We put them on a windowsill. We use whatever pot we have lying around. And then we wonder why the pitchers turn yellow and mushy.
I still remember my first Sarracenia. A beautiful Sarracenia purpurea from a local nursery. I put it in a glazed ceramic pot with regular potting mix. Watered it every morning. Within ten days, every leaf was yellow. I was heartbroken.
The problem wasn't the plant. It was me.
The Three Newbie Mistakes That Kill Sarracenia
Let's get these out of the way, because if you're making any of them, no amount of fertilizer or fancy grow lights will help.
Mistake One: Overwatering (Yes, Really)
I know, I know. Sarracenia love water. But there's a difference between "consistently moist" and "drowning." You've probably heard this before, but it bears repeating: 90% of indoor plants die from overwatering. That includes carnivorous plants, even the bog dwellers.
The problem isn't the amount of water. It's the lack of oxygen. When the soil stays waterlogged with no drainage, the roots can't breathe. They rot. And the first sign of root rot is yellow leaves.
Here's what I do now: I use a tray method. The pot sits in a shallow tray with about an inch of water. I let the tray dry out for a day or two before refilling it. That dry period forces air back into the soil. No more yellow mush.
Mistake Two: Wrong Light (Too Little or Too Harsh)
Sarracenia need full sun. Not bright indirect light. Not a north-facing window. Full, unfiltered sun for at least six hours a day.
But here's the catch. If your plant was raised in a greenhouse or a shady nursery, moving it straight into blazing afternoon sun will scorch the leaves. They'll turn yellow, then brown, then crispy.
I learned this the hard way with a Sarracenia flava. I put it on my south-facing balcony in July. By day three, the pitchers looked like fried bacon. I had to cut them all back and start over.
The fix? Acclimate slowly. Give it one hour of direct morning sun for three days. Then two hours. Then three. After two weeks, it can handle the full day. That gradual shift prevents shock.
Mistake Three: The Wrong Pot and Soil
This is the sneaky one. Most potting mixes contain fertilizer. Sarracenia evolved in nutrient-poor bogs. Fertilizer burns their roots and turns leaves yellow almost overnight.
You need a mix of sphagnum peat moss and perlite. That's it. No miracle grow. No compost. No worm castings.
And the pot? Terracotta is a death sentence for these plants. It wicks moisture away from the soil and dries out too fast. Glazed ceramic is almost as bad because it holds too much water if there are no drainage holes.
I use plain plastic nursery pots. They're cheap, they hold moisture evenly, and they fit perfectly in a water tray. I've tried fancy ceramic pots. I've tried self-watering containers. Plastic wins every time.
My Two-Week Recovery Plan That Actually Worked
After years of trial and error, here's the exact routine I used on my saddest Sarracenia. It had three yellow pitchers, one brown tip, and a whole lot of hope.
I documented everything for fourteen days. Here's what happened.
Day 1: The Rescue Repot
I pulled the plant out of its old pot. The roots were brown and mushy. Classic rot. I rinsed them under room-temperature distilled water. I cut away every dark, squishy root with sterilized scissors. Then I repotted it in a fresh mix of two parts peat moss and one part perlite.
I used a plastic pot with drainage holes. I placed it in a shallow tray with half an inch of water. No fertilizer. No tap water. Just distilled.
Day 2–3: The Shade Recovery
I kept the plant in bright, indirect light for two days. No direct sun. This gives the damaged roots time to callus over and start regrowing. I didn't water from the top. I just kept that tiny bit of water in the tray.
I checked the soil moisture by sticking my finger in. It was damp but not dripping. Perfect.
Day 4–7: Gradual Sun Exposure
I moved the pot to a spot that gets one hour of morning sun. Then two hours. By day seven, it was getting four hours of direct light. The remaining green pitcher started to perk up. The yellow ones didn't turn green again, but they stopped getting worse.
That's an important note. Yellow leaves don't revert. Once a leaf is yellow, it's yellow. The goal is to stop the spread and grow new pitchers. I trimmed off the worst yellow leaf on day five so the plant could focus energy on new growth.
Day 8–14: The New Growth Arrives
By day ten, I saw a tiny green nub pushing up from the soil. A new pitcher. By day fourteen, it was half an inch tall and bright green. The plant was recovering.
I kept the tray water level consistent. I gave it six hours of sun. And I didn't touch it with fertilizer. Not even a diluted dose.
The yellowing stopped completely. The new growth was healthy. And I finally felt like I wasn't a plant murderer.
What the Experts Say (and Why It Matters)
The RHS recommends rainwater or distilled water for carnivorous plants because tap water contains minerals that build up in the soil. That mineral buildup can cause yellowing too. I switched to rainwater from my downspout, and it made a difference.
The AHS notes that Sarracenia are hardy in USDA zones 6–9 and need a winter dormancy period. If you skip dormancy, the plant weakens over time and leaves turn yellow the following spring. I learned that one after two years of keeping my plant indoors year-round. It looked fine until it didn't.
So if you're in a cold climate, don't baby your Sarracenia on a warm windowsill all winter. Let it go dormant in a cool garage or unheated porch. It feels wrong, but it's what keeps them alive long-term.
Frequently Asked Questions
Can yellow Sarracenia leaves turn green again?
No. Once a leaf turns yellow, it stays yellow. The plant has already broken down the chlorophyll in that leaf. Your job is to stop the yellowing from spreading and encourage new green growth. Trim off the dead or dying leaves so the plant doesn't waste energy on them.
Should I fertilize a Sarracenia with yellow leaves?
Absolutely not. Fertilizer will make it worse. Sarracenia get nutrients from the insects they catch, not from the soil. Adding fertilizer burns the roots and accelerates yellowing. I've made this mistake. Trust me, it doesn't end well.
How often should I change the water in the tray?
I change it every three days. Stagnant water grows bacteria and fungus, which can lead to root rot. If you use distilled or rainwater, you can top it off daily and do a full swap every few days. If the water smells bad, dump it immediately.
A Final Word on Patience
Fixing yellow leaves on Sarracenia isn't about a magic spray or a secret trick. It's about getting back to basics. Right water. Right light. Right pot. And then waiting.
I've killed five pitcher plants in my life. Every single one taught me something. The ones that survived did so because I stopped guessing and started paying attention.
You'll get there. Just don't drown them.





