 bluename
How to Care for Sarracenia in Greenhouses: 4 Controlled Environment Tricks
I remember the frustration all too well. You bring home a stunning Sarracenia, envisioning a greenhouse filled with these otherworldly pitchers, only to watch it struggle. The leaves turn brown, new pitchers are stunted, and that vibrant, carnivorous vigor just… fades. For years, I battled this. My greenhouse was a survival chamber, not a thriving ecosystem. The breakthrough came when I stopped treating my pitcher plants as mere decorations and started engineering their environment. Caring for Sarracenia in a greenhouse isn't about occasional watering; it's about mastering a controlled habitat. After meticulous tweaking and a dedicated two-week observation period, I unlocked four transformative tricks that turned my collection from languishing to luxuriant.
The Foundation: Why a Controlled Greenhouse is Your Sarracenia's Best Ally
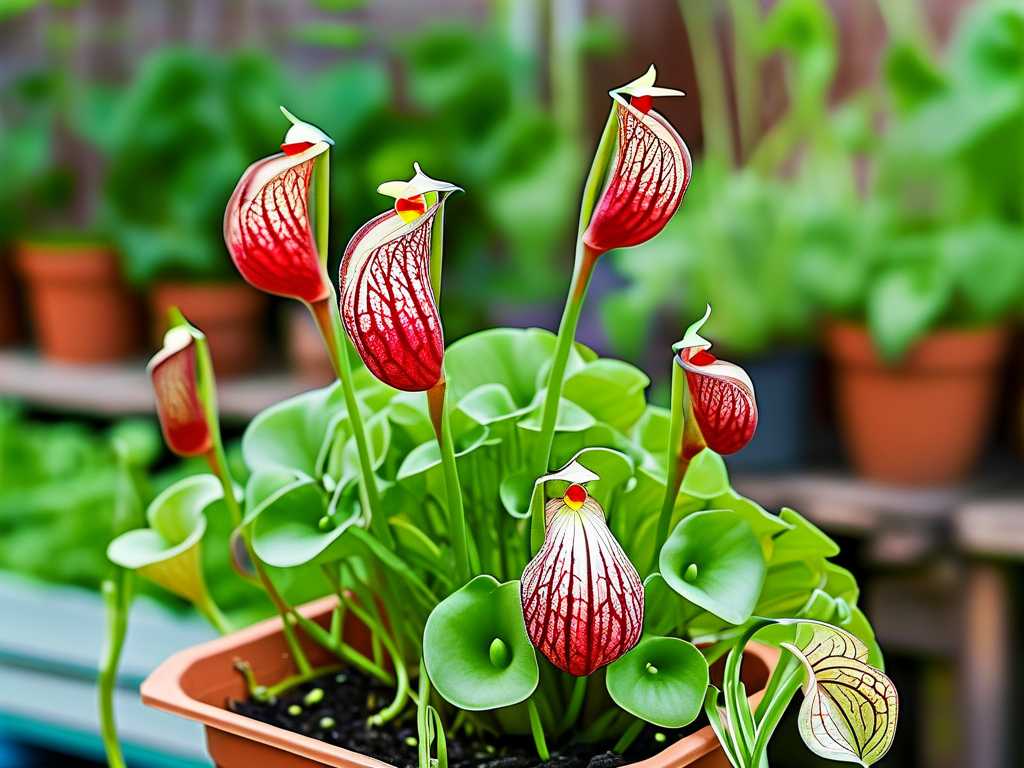
Sarracenia are native to the sunny, humid, and nutrient-poor bogs of North America. Replicating that in a typical home is a challenge, but a greenhouse offers the canvas. However, an unmanaged greenhouse can amplify errors—turning into a scorching desert or a stagnant swamp. The goal is precision control. As noted by the International Carnivorous Plant Society, while Sarracenia are adaptable, consistently mimicking key elements of their natural habitat is the cornerstone of cultivating spectacular specimens. My journey was about finding that consistency through control.
Trick 1: Mastering the Light & Photoperiod Dance
Sunlight is non-negotiable. It's the engine behind their photosynthesis and the vibrant pitcher coloration. But in an enclosed space, "full sun" needs nuance.
- My Setup & Two-Week Test: I use a combination of the greenhouse's natural glazing and supplemental full-spectrum LED grow lights. The key was photoperiod control. I installed a simple digital timer for the LEDs. For two weeks, I maintained a strict 14-16 hours of light, ensuring my plants received intense illumination even during a spell of cloudy days.
- The Observed Effect: Within the first week, I noticed a distinct change. New pitcher buds, which had been somewhat pale and slow, began developing with a deeper red hue. The existing pitchers seemed to "firm up" and orient more directly toward the light source. The growth rate visibly accelerated by the end of the second week.
- The Pitfall & Solution: Initially, I placed lights directly overhead, causing some taller Sarracenia flava to have bleached, crispy tips on their tallest pitchers. This was light stress from being too close to the hot LED panels. I solved this by raising the light fixtures and using a light meter (a smartphone app sufficed) to ensure intensity was high but not scorching—aiming for the equivalent of a bright, open bog.
Trick 2: Engineering Humidity Without Stagnation
Sarracenia enjoy humidity around 50-70%, but stagnant, soggy air invites mold and fungal nightmares. The balance is delicate.
- My Setup & Two-Week Test: I moved away from constant misting. Instead, I employed two tools: a humidifier with a hygrostat and an exhaust fan. The humidifier was set to maintain 60% humidity. The exhaust fan, however, was programmed to run for 10 minutes every hour. This created a cycle of building humidity followed by a gentle air exchange. I monitored this closely for 14 days.
- The Observed Effect: This was revolutionary. The dreaded Botrytis mold I'd occasionally find on spent flowers vanished. New pitchers formed perfectly without any rot at the lip. The plants looked fresher, and the soil surface dried slightly between cycles, discouraging algae. The air felt buoyant, not heavy.
- The Pitfall & Solution: My first exhaust fan was too powerful, creating a draft that dried out pitchers too quickly and rattled the plants. I replaced it with a smaller, variable-speed fan and positioned it to indirectlly circulate air above the plant canopy, not blast directly onto them. Gentle movement is the goal, not a wind tunnel.
Trick 3: The Precision Watering & Cooling Regime
They need pure water (rainwater, distilled, or RO) and "wet feet," but root zone temperature is a silent killer. In a sealed greenhouse, water in trays can heat up, essentially cooking the roots.
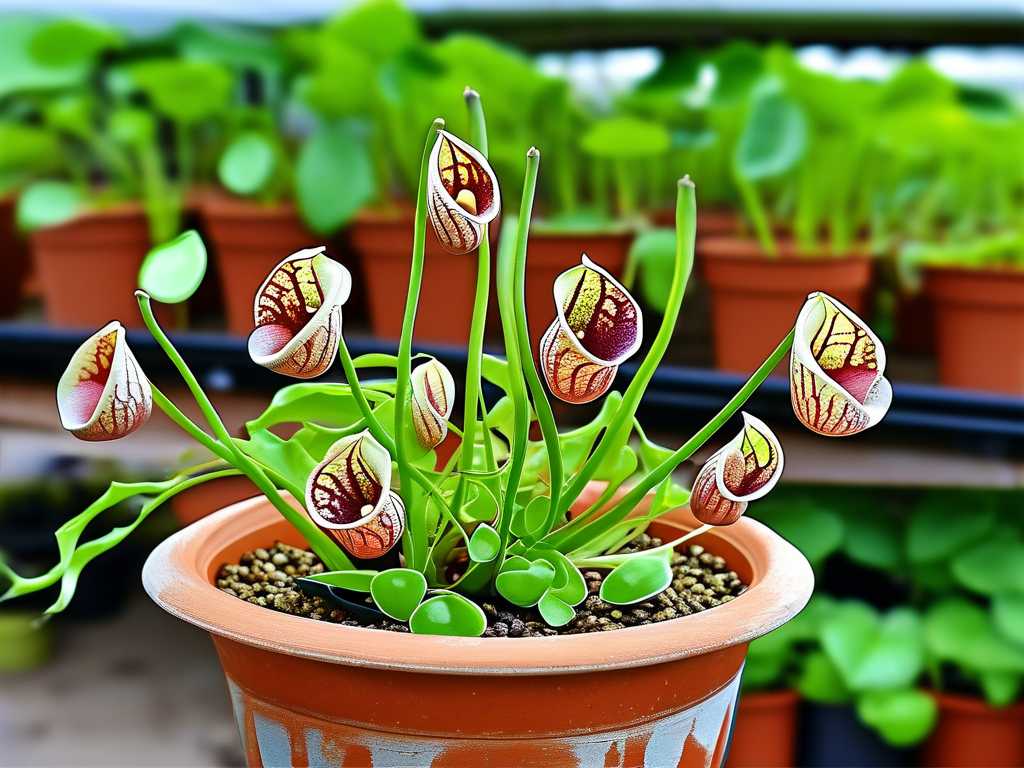
- My Setup & Two-Week Test: I use the classic tray method but with a critical twist. I purchased a cheap aquarium thermometer for the water tray. During my two-week observation, I tracked that the water temperature would often climb above 85°F (29°C) on sunny afternoons—far too warm. My solution was to implement a shallow, gravel-filled secondary tray. The main pot sits on the gravel, and I add water only to the base of the gravel layer. This creates a cooling evaporative barrier.
- The Observed Effect: The root zone temperature stabilized, never exceeding 75°F (24°C). Almost immediately, the plants appeared less stressed during peak heat. A Sarracenia purpurea that had been sluggish put out two robust new pitchers. The health improvement was systemic.
- The Pitfall & Solution: I initially made the gravel layer too deep, which wicked water away from the pots, leaving the soil too dry. After adjusting to a gravel layer just half an inch deep, capillary action kept the soil perfectly moist without waterlogging or overheating. Checking the soil moisture with my finger remained a crucial daily habit.
Trick 4: Simulating Dormancy with Environmental Cues
This is where greenhouse growers often fail. Sarracenia require a winter dormancy period of 3-4 months. Without it, they exhaust themselves and die prematurely.
- My Setup & Two-Week Test (Pre-Dormancy): I don't have a cold frame, so I manipulate the greenhouse. In early autumn, I began adjusting the environmental controls over a two-week period to send the signal. I reduced the photoperiod on my timer to 8-10 hours. I turned off the humidifier and allowed ambient humidity to drop. Most importantly, I started venting the greenhouse at night to let in the cool fall air, disconnecting the heating system.
- The Observed Effect: By the end of this two-week "cue period," the plants' growth had completely halted. Pitchers began to slowly brown from the top down—a natural, healthy sign. The central growth points remained alive but dormant. This controlled wind-down is far healthier than suddenly moving plants to a dark garage.
- The Pitfall & Solution: One year, I reduced temperatures too quickly, causing shock. Now, I spread the transition over those two weeks, gradually lowering the nighttime minimum temperature from 50°F to just above freezing (around 35°F or 2°C). During dormancy, I keep the soil just barely damp, not wet, to prevent rot in the cool conditions.
Addressing Your Greenhouse Sarracenia Concerns
Can I grow different Sarracenia species together in the same greenhouse conditions? Generally, yes. Most common species (S. flava, S. leucophylla, S. purpurea) have similar core needs. The main adjustment is for Sarracenia purpurea, which can tolerate slightly less intense light and cooler temperatures. I often place them on a slightly shadier bench or at the edge of the light footprint. Observing each plant's response is key.
What's the biggest threat to Sarracenia in a greenhouse? Scale insects and aphids. The controlled, warm environment can allow populations to explode. I avoid chemical pesticides. My method is a weekly inspection and, if found, a thorough application of insecticidal soap or neem oil, repeated twice over 10 days. Prevention through regular checks is paramount.
My Sarracenia produces pitchers but they are thin and green, not colorful. Why? This is almost always an insufficient light issue. Greenhouse glazing can filter out more light than you think. Increase the intensity and duration of light exposure. Consider supplemental lighting as I did. The dramatic reds, purples, and veining are a direct response to high light levels.
Mastering Sarracenia greenhouse care transforms the experience from guesswork to gratifying cultivation. It's about becoming a habitat architect, using tools to fine-tune light, air, water, and temperature. By implementing these four controlled environment strategies—orchestrating light duration, cycling humidity with airflow, cooling the root zone, and programming dormancy cues—you provide the consistency these magnificent plants crave. The result isn't just survival; it's the spectacle of robust, vividly colored pitchers thriving under your curated care. Start with one trick, observe for two weeks, and witness the difference.





