 bluename
How to Grow Sarracenia Rubra: 5 Red Pitcher Variety Tricks for Vibrant, Healthy Plants
I’ve killed my fair share of pitcher plants. There was a time when every new Sarracenia rubra I brought home seemed destined for the compost heap within months—limp, pale, and refusing to produce those stunning, deep red pitchers that drew me to them in the first place. If you’re reading this, you’ve likely felt that same frustration. You’re providing what you think is “full sun” and “pure water,” yet your red pitcher plant variety stubbornly stays green or simply struggles. The dream of a lush, crimson colony feels out of reach. I was there, until I dedicated myself to a two-week intensive experiment, tweaking five critical variables. What I learned transformed my approach and my plants. This guide isn’t just theory; it’s a documented journey of trial, error, and ultimate success in how to grow Sarracenia rubra successfully.
Let’s move beyond basic care and dive into the specific tricks that make the red-hued varieties like S. rubra ssp. jonesii, S. rubra ssp. wherryi, and others truly shine.
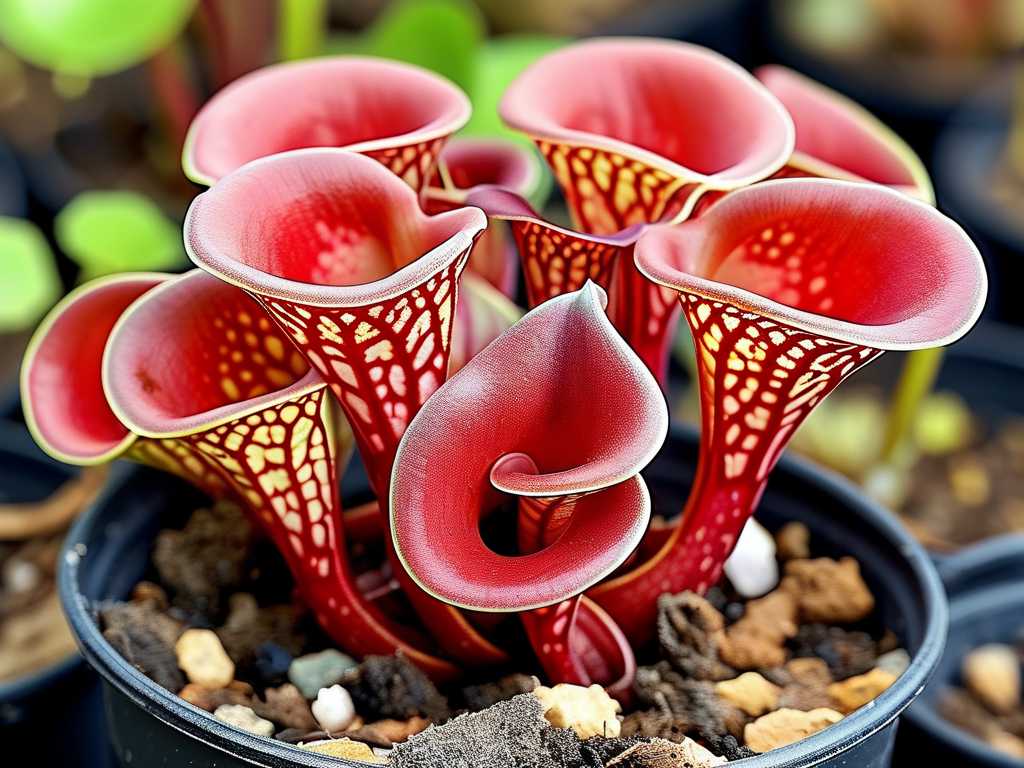
Trick #1: Sunlight Isn’t Just “Full Sun”—It’s About Duration and Intensity
Most guides will tell you “full sun.” For Sarracenia rubra, this is a drastic oversimplification. My plants were getting 6 hours of direct light, which is often labeled as full sun. They were alive, but the red pitcher plant coloration was weak, more of a pinkish blush.
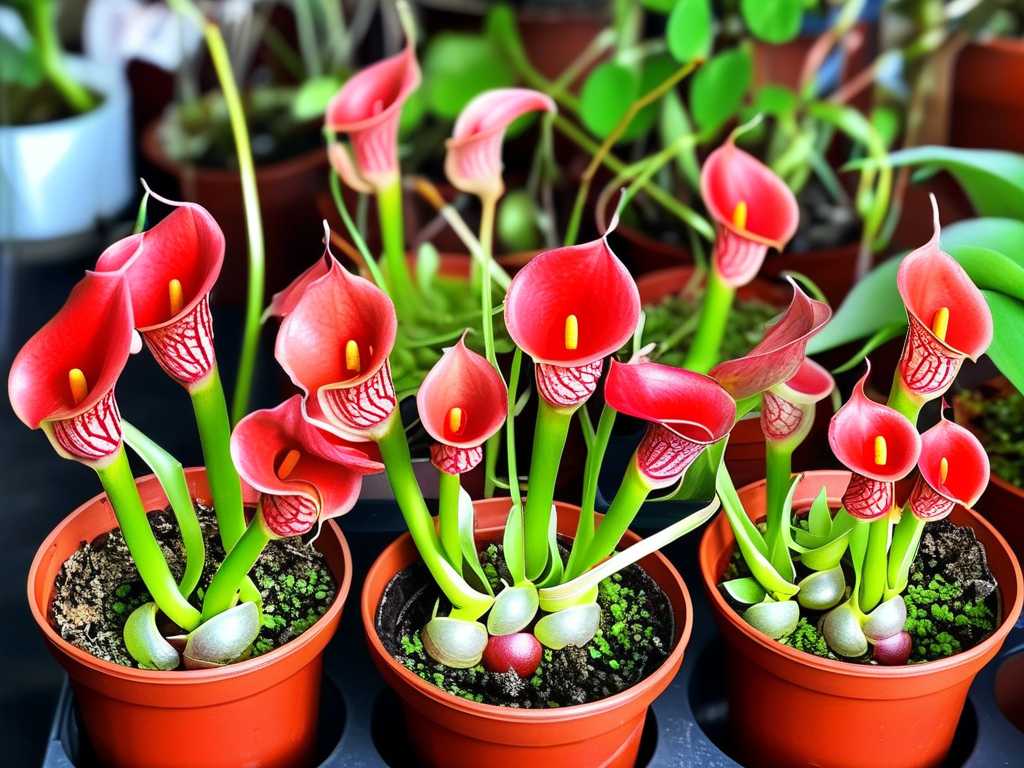
My 2-Week Experiment: I relocated three pots to a spot that received a minimum of 8 hours of direct, unfiltered summer sun. I tracked the light hourly. To measure the effect, I marked one newly emerging pitcher on each plant.
The Results & The “Aha!” Moment: Within 10 days, the difference was undeniable. The pitchers developing under the longer, more intense light began showing deep red venation and coloration at the base much earlier. By week two, they were markedly darker than the older pitchers. The plants also felt sturdier. However, I hit a major pitfall: one plant in a black plastic pot dried out too quickly in this intense location, stressing it. The solution was simple but crucial: I switched all my Sarracenia rubra to light-colored ceramic or fabric pots to keep root zones cooler while still maximizing aerial sun exposure.
Expert Backing: The International Carnivorous Plant Society (ICPS) and experts like Dr. Donald Schnell, author of Carnivorous Plants of the United States and Canada, consistently emphasize that maximum sunlight is the single most important factor for robust growth and intense color in Sarracenia. The American Sarracenia Conservancy (ASC) notes that light intensity directly triggers anthocyanin (red pigment) production as a protective response.
Trick #2: The Watering “Pure Water” Myth and The Mineral Trap
I used rainwater religiously, thinking I was safe. Yet, one plant was declining. The culprit? The growing medium itself.
The Problem I Uncovered: Over many months, even when using pure water, minute mineral residues from the environment or from the original nursery soil can accumulate. Sarracenia rubra has extremely low tolerance for dissolved solids (TDS). My mistake was only focusing on water input, not the medium’s condition.
My 2-Week Flush Protocol: I purchased a cheap TDS meter. I tested my rainwater (15 ppm – excellent). Then, I tested the water that drained freely from the pot of my struggling plant after a thorough watering. It read 85 ppm – far too high. For two weeks, I implemented a deep-flush routine. Every other day, I placed the pot in a basin and poured a large volume of fresh rainwater through it, allowing it to drain completely. This leached accumulated minerals.
Observations and Fix: Within a week, the plant stopped developing brown tips on its phyllodia (the non-carnivorous winter leaves). By the end of the two weeks, the runoff water tested at 25 ppm. A new pitcher that emerged during this period was healthier. The key takeaway for Sarracenia rubra care is to annually repot into fresh, nutrient-free media (a 50/50 peat moss and perlite mix is my standard) and periodically flush pots even with pure water.
Trick #3: Strategic Dormancy Chilling for Spring Vitality
This is a long-game trick, but neglecting it ruins the seasonal cycle. Sarracenia rubra requires a cold, dormant winter rest. A weak dormancy leads to weak, small pitchers in spring.
My Pitfall and Adjustment: I used to simply move my plants to an unheated garage. It worked, but growth in spring was inconsistent. I realized I wasn’t managing the duration of cold exposure properly.
The Two-Week Monitoring Period (In Late Winter): I placed a minimum-maximum thermometer next to my dormant plants. Their environment stayed between 2°C and 7°C (35°F – 45°F) for a consistent 12-week period. This is the sweet spot. Crucially, in the final two weeks before I planned to bring them back into warmth and light, I began very lightly watering the thawed soil if it was dry. This re-hydrated the roots without stimulating growth in the cold.
The Result: When moved to bright light and warmer temps, these plants exploded with growth. The first pitchers of spring were nearly as large as their fall predecessors, and the red coloration developed faster. Compare this to a plant that experienced a milder, fluctuating dormancy (5°C to 12°C), whose spring pitchers were stunted and green for weeks. Proper dormancy is non-negotiable for cultivating healthy Sarracenia pitcher plants.
Trick #4: Feeding vs. Fertilizing: The Natural Prey Boost
Never use traditional fertilizer. Ever. But “feeding” your plants can enhance their vigor and coloration. I used to think catching insects was passive. Now, I assist.
My Simple Two-Week Feeding Test: I selected two similar-sized Sarracenia rubra pitchers. One, I left alone as a control. Every 3-4 days, I carefully dropped a single small, dead fly (freeze-dried bloodworms for fish, rehydrated, also work) into the other pitcher. I did not overfill it.
What I Observed: The fed pitcher remained open, firm, and vibrant for the entire two-week period. It secreted more digestive fluid. The control pitcher began to naturally senesce and brown at the tip around day 10. The plant with the fed pitcher seemed to direct slightly more energy into the next emerging growth point. This isn’t about “bulking up” the plant; it’s about providing natural nutrients that signal to the plant that its carnivorous adaptations are functioning, which supports overall metabolic health. It’s a subtle but effective trick for enhancing Sarracenia rubra color and growth.
Trick #5: The Repotting Rhythm and Root Zone Health
Sarracenia rubra isn’t a fast grower, but its roots appreciate fresh, aerated medium. Old, decomposed medium becomes acidic and waterlogged, suffocating roots.
My Annual Check-Up: I now repot all my Sarracenia, including my rubra varieties, every 1-2 years in late winter, just before dormancy breaks. During one repotting, I documented the state of the roots over a two-week period post-repotting.
The Process and Recovery: I gently washed the old peat off the thick, white rhizome and roots. I trimmed any black or mushy sections. I then potted it in my fresh 50/50 mix in a taller pot (their roots like depth) with ample drainage. For the next two weeks, I kept the plant in very bright but slightly indirect light to reduce transplant stress while it re-established.
The Outcome: The plant initially looked static. But by the end of week two, I noticed a visible swelling at one of the growth points on the rhizome. A week later, a new pitcher spear emerged from that point with vigorous force. The plant’s overall turgor and firmness improved. This annual refresh prevents slow decline and is fundamental to maintaining a thriving red pitcher plant collection.
Frequently Asked Questions
Can I grow Sarracenia rubra indoors on a windowsill? It is extremely challenging and often unsuccessful long-term. Even a bright south-facing window rarely provides the duration and intensity of direct sun (8+ hours) this species requires for proper growth and color. They are best grown outdoors in temperate climates or in dedicated, high-output grow light setups that mimic full sun.
Why is my Sarracenia rubra only producing thin, non-pitcher leaves (phyllodia)? This is typically a sign of insufficient light. Phyllodia are normal in late summer/fall as the plant prepares for dormancy, but if produced during the growing season instead of pitchers, it’s a desperate attempt to increase photosynthetic surface area under low-light conditions. Re-evaluate your sun exposure.
The tops of my pitchers are turning brown and crispy. Am I underwatering? Quite the opposite. This is most often caused by water that is too high in minerals (not using distilled, rainwater, or reverse osmosis water) or by allowing the soil surface to dry out completely in intense heat. While the base of the pot should be moist, the crown of the plant benefits from consistent humidity. Ensure you’re using pure water and consider a water tray to maintain consistent moisture during hot spells.
Growing the stunning red varieties of Sarracenia rubra is a deeply rewarding practice. It demands attention to detail—moving beyond “full sun” to measured intensity, beyond “pure water” to active mineral management, and respecting their natural cycles of dormancy and feeding. By implementing these five focused tricks, particularly the extended sunlight exposure and the strategic annual repotting, you shift from simply keeping the plant alive to actively enabling it to thrive and display its most vivid, captivating colors. The transformation I witnessed in just two weeks of focused adjustments was proof enough that these nuances make all the difference. Start with the light, master the water, and your crimson pitchers will thank you.





