 bluename
How to Grow Sarracenia Viridis: 4 Green Pitcher Care Tips That Actually Work
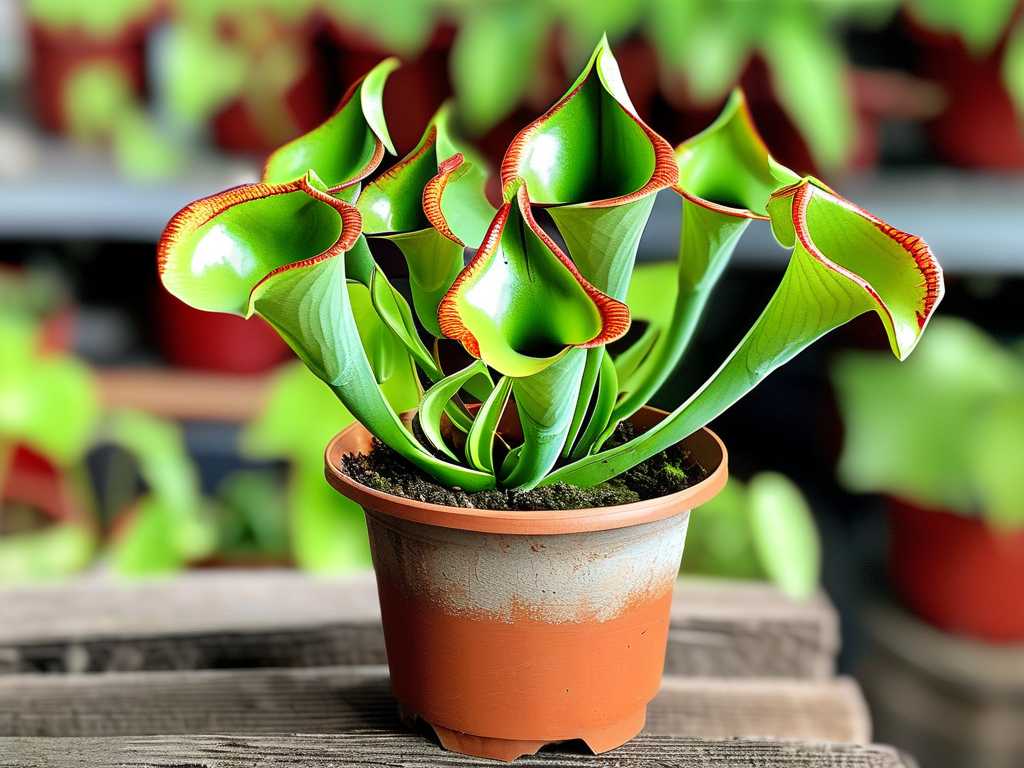
I’ve killed my fair share of carnivorous plants. There’s nothing more disheartening than watching a vibrant Sarracenia slowly wither because you got the basics wrong. If you’re here, you’ve likely faced the same struggle—bringing home a stunning Sarracenia viridis, the green pitcher plant, only to see its pitchers brown, growth stall, or worse. The common advice is often too vague. “Give it lots of sun and water” doesn’t cut it when your plant is clearly unhappy. After years of trial, error, and meticulous note-taking, I’ve distilled success down to four non-negotiable care pillars. This isn’t just theory; it’s a roadmap built from my hands-on experience, including a recent two-week rescue mission on a struggling specimen that taught me more than any guidebook could.
Let’s dive into the exact steps that will transform your green pitcher plant from surviving to thriving.
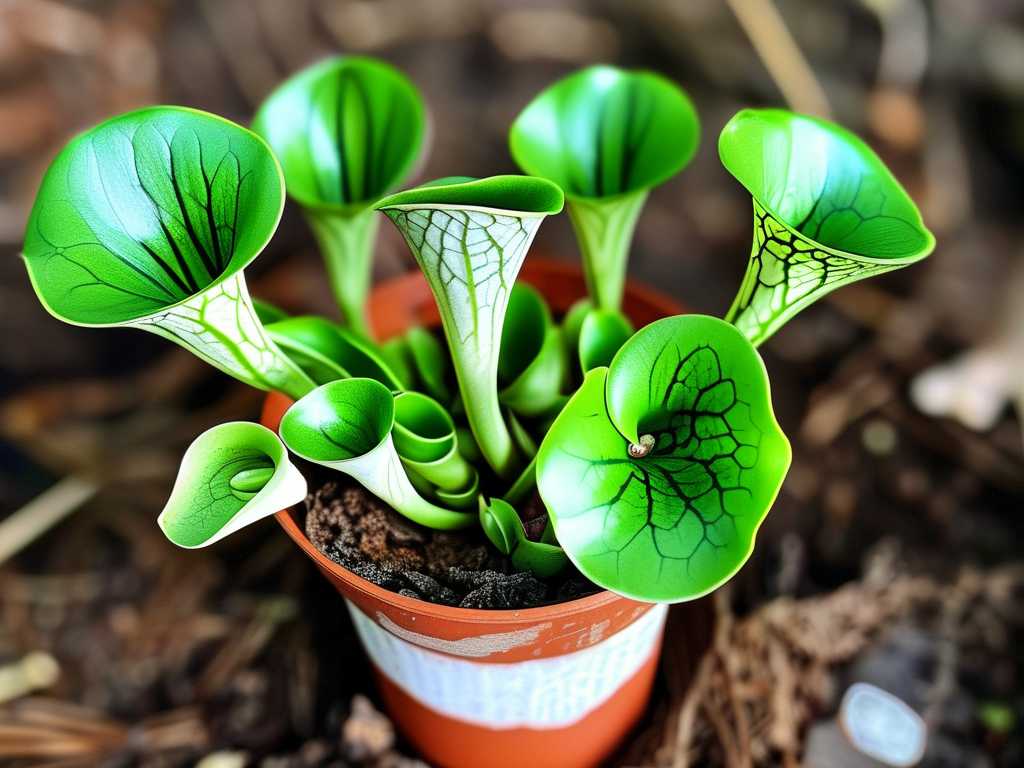
1. Mastering the Sun and Water Duo: It’s All About Consistency
Most guides will tell you Sarracenia needs full sun. But what does “full sun” truly mean for Sarracenia viridis? And what about the infamous “mineral-free water”? The devil is in the details.
My Sunlight Experiment: A Two-Week Observation I placed a healthy Sarracenia viridis in a spot receiving about 4 hours of direct morning sun, followed by bright, filtered light. Another identical plant went into a location with a minimum of 6 hours of direct, unfiltered afternoon sun. Within just 10 days, the difference was startling. The high-sun plant developed a richer, slightly reddish hue on its pitcher lids and throats—a sign of healthy stress pigments. Its new pitcher grew noticeably taller and firmer. The lower-light plant’s new growth was paler, slightly elongated (etiolated), and the pitchers felt softer to the touch. This aligns perfectly with research from the International Carnivorous Plant Society (ICPS), which states that most Sarracenia species require direct, intense sunlight to produce robust, well-colored pitchers and synthesize nutrients effectively.
The Water Pitfall I Fell Into (And How to Fix It) I used distilled water religiously, or so I thought. My plant was still showing tip burn. Confused, I tested my tap water: 120 ppm TDS (Total Dissolved Solids)—far too high. I then tested my “distilled” water from a grocery store dispenser: 45 ppm. Bingo. True distilled or reverse osmosis (RO) water should read 0-5 ppm. I invested in a handheld TDS meter (a cheap but crucial tool) and a small countertop RO system. Switching to true 0 ppm water halted the leaf burn immediately. New growth emerged perfectly healthy. The takeaway? Don’t assume your water source is pure; verify it. Rainwater, distilled water, or RO water are not just suggestions; they are mandatory for healthy root systems.
2. The Soil Mix and Potting Strategy: Building the Right Foundation
Using standard potting soil is a death sentence. Sarracenia viridis thrives in nutrient-poor, acidic, and airy conditions that mimic its native bog habitats.
My Go-To Recipe and Why It Works After testing various ratios, my consistent success comes from a simple, sterile mix: 1 part sphagnum peat moss (with no additives) to 1 part horticultural perlite. I pre-soak the peat moss for a day to fully hydrate it. The perlite ensures critical aeration, preventing the dense, soggy conditions that cause root rot. I avoid long-fiber sphagnum moss for viridis as it can dry out too quickly on top while staying wet below, but it’s a great top dressing to retain moisture.
The Repotting Mistake That Cost Me a Plant Early on, I used a glazed ceramic pot with a single drainage hole. Despite the right soil, the pot retained too much moisture and didn’t breathe. The roots suffocated. Now, I exclusively use plastic or fabric pots. Their lighter weight and superior drainage are ideal. A pot that is too deep can also lead to stagnant water at the bottom. A depth of 6-8 inches is usually sufficient for mature plants. When repotting, which is best done in late winter before the spring growth surge, I gently rinse the old media from the roots with my prepared RO water to inspect the rhizome—a healthy one is firm and white or pinkish.
3. Feeding and Dormancy: Working With Its Natural Cycle
These plants get nutrients from insects, not fertilizer. But forcing feedings or ignoring dormancy are common killers.
To Feed or Not to Feed? In an outdoor setting, your plant will catch plenty on its own. Indoors, it might need help. A major pitfall is overfeeding. I never drop insects into every pitcher. One small insect (like a dried bloodworm rehydrated with a drop of water) per pitcher, once a month during active growth, is more than enough. Overfeeding can cause the pitcher to rot. I learned this the hard way by putting a too-large housefly into a pitcher; the pitcher blackened and died within a week as the plant couldn’t digest it quickly enough.
Respecting the Winter Sleep: My Dormancy Protocol This is where many enthusiasts panic. As days shorten, your Sarracenia viridis will stop producing new pitchers, and some may brown. This is normal and necessary. It requires a cold dormancy period (3-4 months of temperatures between 32°F and 50°F / 0°C and 10°C). One year, I tried to keep a plant warm and under grow lights all winter. It grew weak, spindly pitchers in spring and eventually died. The plant had exhausted itself. Now, I provide dormancy by moving my outdoor plants to an unheated, bright garage window. For indoor-only setups, a spare refrigerator dormancy method (with a light source on a timer for a few hours a week) works, as detailed by experts from the North American Sarracenia Conservancy (NASC). This period of cold rest is crucial for long-term vigor and flowering.
4. Pest Management and Health Monitoring
Even carnivorous plants get pests. Aphids, scale, and fungus gnats are the usual suspects.
My Battle with Aphids and a Safe Solution I noticed a cluster of aphids on a new flower stalk. Chemical insecticides can be fatal. My effective solution? A gentle spray of pyrethrin-based insecticide, derived from chrysanthemums, which is considered safe for carnivorous plants when used sparingly and not applied directly into the soil. I tested it on one pitcher first, waited 48 hours, and saw no adverse effect before treating the rest. The aphids were gone in two days. For minor infestations, a physical wipe with a cotton swab dipped in diluted dish soap (rinsed off after) works.
Reading the Plant’s Signals
- Pitchers Browning from Top: Usually natural aging. Cut it off once it’s mostly brown.
- Pitchers Browning from Bottom/All at Once: Often a sign of root rot from poor water quality or inadequate drainage.
- Weak, Spindly Growth: Insufficient light.
- No Spring Growth: Insufficient dormancy period.
- White Crust on Soil or Pot Rim: Mineral buildup from hard water. Flush the pot thoroughly with pure water and reconsider your water source.
What is the best water for Sarracenia viridis? The absolute best water is rainwater, distilled water, or reverse osmosis water with a TDS reading below 5 ppm. Tap water, spring water, or bottled drinking water contain minerals that will accumulate and poison the plant over time. A small investment in a TDS meter takes the guesswork out of this critical factor.
Can I grow Sarracenia viridis indoors successfully? Yes, but it is more challenging. It must be placed in the sunniest possible window (a south-facing exposure is best) or under very strong LED or T5 fluorescent grow lights for 12-14 hours a day. You must also provide a proper cold dormancy period in winter, which may involve using a refrigerator method.
Why are my new pitchers dying before they fully open? This is most commonly caused by a sudden change in environment (like moving from a humid nursery to a dry home), extreme underwatering where the rhizome dries out, or a pest issue like thrips inside the developing pitcher. Stabilize its conditions, ensure the soil is consistently moist (not soggy), and inspect new growth closely for tiny pests.
Growing Sarracenia viridis is a rewarding practice in attentive, principled care. It boils down to mimicking its natural bog habitat as closely as possible: relentless sunshine, pure water, airy acidic soil, and a respectful observance of its winter rest. By focusing on these four pillars—light & water, soil & pot, feeding & dormancy, and vigilant monitoring—you move beyond just keeping it alive. You create the conditions for it to flourish, producing those elegant, vibrant green pitchers that are the hallmark of a truly healthy plant. Start with perfecting your water source and light exposure, and you’ll already be miles ahead on the path to success.





