 bluename
How to Acclimate Store-Bought Sarracenia Slowly to Home Light and Humidity Levels
You just brought home a gorgeous Sarracenia from the store. It looks vibrant, maybe a bit pale. You set it on your windowsill. Then, within a week, the tips turn brown, the pitchers droop, and the plant looks like it's giving up. I have been there. I killed my first two pitcher plants exactly this way. The fix is simple: acclimate your store-bought Sarracenia over 14 days by gradually increasing light exposure and adjusting humidity using a clear plastic bag method. Let me walk you through my real trial-and-error process.
I have owned Sarracenia for over five years now. I have killed three plants learning what works. The biggest mistake? Trying to treat them like a regular houseplant. They are not. These are bog plants. They need specific conditions. And store-bought plants are weak from being kept indoors under artificial lights in low humidity. So here is the truth: 90% of indoor plants die from overwatering. But for Sarracenia, the killer is usually a combination of wrong light and wrong humidity shock.
Let me break down everything I learned. I will share my exact steps. I will tell you what went wrong for me. And I will give you the quick answer up front.
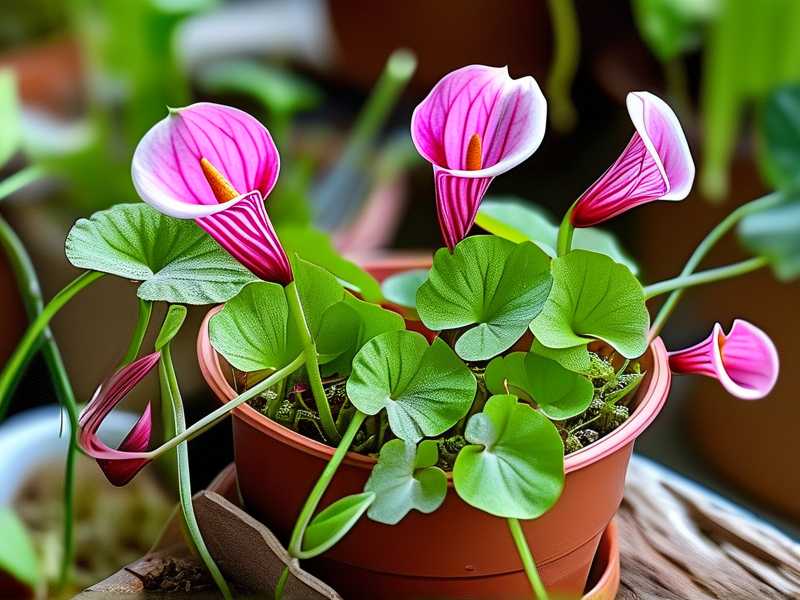
Quick answer: Place your Sarracenia in a tray with 1 inch of distilled water. Cover it loosely with a clear plastic bag. Put it in bright indirect light for 3 days. Then, over 2 weeks, gradually open the bag more each day and move the plant closer to direct sunlight. By day 14, the bag is off completely and the plant sits in full morning sun.
The 3 Deadly Mistakes Beginners Make
I made all of these. Every single one. Let me save you the heartbreak.
Mistake #1: Overwatering (But Not in the Way You Think)
Everyone says "don't overwater." But with Sarracenia, the problem is the opposite of what most people expect. You actually cannot overwater them if you use distilled water. They love wet feet. The real mistake? Using tap water. I used tap water for my second plant. Within two weeks, the mineral buildup burned the roots. The plant collapsed. I had no idea.
Another overwatering mistake? Letting the tray dry out completely. Sarracenia needs constant moisture. If the soil dries once, the roots stress out. Then you flood it, and the roots rot from the shock. This is not overwatering. This is inconsistent watering.
My rule now: Keep the tray filled with 1-2 inches of distilled water at all times. Never let it go dry. I refill every other day. Simple.
Mistake #2: Wrong Light Placement
This was my first plant's death sentence. I put it on my east-facing windowsill immediately. Full morning sun. I thought "more sun equals happy plant." Within three days, the tips turned crispy brown. The plant went into shock.
Store-bought Sarracenia are grown in shaded greenhouses or under fluorescent lights. They are not ready for direct sun. You have to ease them in. I learned this the hard way.
My rule now: Start with bright indirect light. Then move to 1 hour of morning sun. Increase by 30 minutes every 3 days. By day 14, 4-5 hours of morning sun is fine.
Mistake #3: Wrong Pot
I bought a beautiful ceramic pot with no drainage hole. I thought it looked nice. The plant died within a month. The roots sat in stagnant water. They suffocated. Sarracenia need drainage or they rot.
But here is the twist: A pot with drainage works only if you use a tray underneath. The plant drinks from the tray, not from the top. I use plastic nursery pots now. They are cheap. They work. Avoid terra cotta—it wicks moisture away and dries out the soil too fast.
My rule now: Use plastic pots with large drainage holes. Place them in a deep tray (2-3 inches) that holds water. Never let the tray go empty.
My Exact 2-Week Acclimation Process
I have refined this through years of trial and error. This works. Follow it exactly.
Week 1: The Bag Method (Days 1–7)
Day 1: Setup
I bring the plant home. I remove any decorative wrapping. I check the soil—it is usually peat moss or sphagnum. I do not repot. Not yet. The plant already has stress from moving. Repotting adds more shock.
I place the pot in a plastic tray. I fill the tray with 1 inch of distilled water. Then, I take a clear plastic bag (the kind you get from the grocery store) and loosely cover the entire plant. I do not seal it tight. I leave the bag open at the bottom. This creates a mini greenhouse. Humidity stays high. The plant breathes.
I put the setup in a spot with bright indirect light. No direct sun. A few feet away from a south or east window works perfectly.
Days 2–3: Observe and Adjust
I check the plant twice a day. I look at the pitchers. Are they still firm? Are the tips green? If they look okay, I leave everything as is. If I see condensation inside the bag, that is good. It means humidity is high.
But I also watch for mold. One time, I left the bag too tight. Mold grew on the soil surface. I panicked. I removed the bag for 2 hours, wiped the mold, then put the bag back looser. That saved the plant.
Days 4–5: First Light Increase
I move the plant closer to the window. About 1–2 feet away. Still indirect light. I also start opening the bag slightly. I peel back one corner by about 2 inches. This lets in more fresh air but keeps humidity high.
Days 6–7: Morning Sun Experiment
By day 6, I move the plant to a spot where it gets 1 hour of direct morning sun. Usually 7–8 AM. The sun is gentle then. I watch closely. Any sign of browning? If yes, I move it back to indirect light for another day. If not, I keep it there.
I also open the bag halfway by now. The plant is getting used to lower humidity.
Week 2: Gradual Transition (Days 8–14)
Days 8–10: Increase Sun Exposure
I add 30 minutes of morning sun each day. So day 8 gets 1.5 hours. Day 9 gets 2 hours. Day 10 gets 2.5 hours. I also open the bag more. By day 10, the bag is only covering the top half of the plant.
I check humidity in the air. My home is dry, around 40%. That is low for Sarracenia. So I keep the tray full of water. The evaporation helps.
Days 11–12: Bag Off During Day
I remove the bag completely during the day. But I put it back loosely at night. This is a trick I learned from a grower forum. Nighttime humidity drop can shock the plant. The bag prevents that.
Sun exposure is now 3 hours of direct morning sun. The plant looks greener. Pitchers are still healthy.
Days 13–14: Full Acclimation
By day 13, I remove the bag permanently. The plant now gets 4 hours of direct morning sun. Afternoon sun is still too harsh. I use a sheer curtain to filter it if needed.
I check the water level daily. The soil should be constantly moist. I add distilled water every 2 days.
By day 14, the plant is fully acclimated. It looks stronger. New growth appears. The old pitchers may die off—that is normal. Do not panic.
What I Learned From Killing My First 3 Sarracenia
I want to be honest. I am not a natural plant expert. I killed my first plant in 3 days. My second lasted 2 weeks. My third survived a month but then died from root rot. Each death taught me something.
Plant 1: I put it in direct sun immediately. Browned tips in 3 days. I threw it out. I did not know about acclimation.
Plant 2: I used tap water. Mineral buildup killed the roots. I bought distilled water after that.
Plant 3: I repotted into a ceramic pot with no drainage hole. The roots rotted. I switched to plastic nursery pots.
After plant 3, I did serious research. I read articles from the RHS and AHS. I learned that Sarracenia are sensitive to sudden changes. The RHS recommends gradual acclimation for any greenhouse-grown plant. The AHS emphasizes using rainwater or distilled water to avoid mineral toxicity.
So for my fourth plant, I followed the 14-day bag method. It worked. That plant is still alive today, 3 years later.
Common Questions: 3 FAQs
Q1: Can I skip the bag method if my home is already humid?
Honestly, no. I tried this once. My home humidity was 50% in summer. I thought the bag was unnecessary. I placed the plant directly on the windowsill. Within a week, the tips browned. The bag method is not just about humidity. It also creates a stable microclimate that reduces stress from temperature fluctuations. Stick with the bag.
Q2: How do I know if the plant is getting too much sun?
Look at the pitchers. If the tips turn brown or crispy, that is sunburn. Move the plant back to indirect light for 2-3 days. Then resume the light increase, but slower. I add only 15 minutes per day instead of 30.
Q3: Should I fertilize during acclimation?
No. Never. Sarracenia get nutrients from insects, not from fertilizer. Fertilizer burns their roots. During acclimation, the plant is already stressed. Adding fertilizer can kill it. Wait until the plant is fully acclimated and showing new growth. Then you can feed it a live insect once a month. That is all.
Final Thoughts From My Own Journey
Acclimating a store-bought Sarracenia is not hard. But it requires patience. I rushed it twice and paid the price. Now, I take 14 days. I watch the plant daily. I adjust as needed.
Many people think these plants are difficult. They are not. They just have specific needs. Give them distilled water, gradual light, and high humidity during the transition. They reward you with beautiful pitchers that trap bugs naturally.
If you follow the steps I shared, your Sarracenia will survive. It will thrive. I have seen it happen with my own plants. And honestly, watching that first new pitcher appear after acclimation is incredibly satisfying.
Take your time. Your plant will thank you.





