 bluename
How to Care for Sarracenia Cuttings: 4 Propagation Care Tricks
Let me cut straight to the chase. If you want to know how to care for Sarracenia cuttings, here's the real answer in under 100 words: Treat them like swamp babies. Keep the soil soaking wet with distilled water, give them 6+ hours of direct sun, and never use a terracotta pot. I learned this the hard way after killing three trays of cuttings. The trick is humidity domes for the first 2 weeks, bottom watering only, and zero fertilizer. Seriously, that's it. Now let me walk you through exactly what I did and what went wrong along the way.
Why I Started Growing Sarracenia from Cuttings
I got into pitcher plants about four years ago. Honestly, I was tired of spending thirty bucks on a single plant at the nursery. So I thought, why not try propagation? Big mistake at first. I killed more cuttings than I'd like to admit. But after two solid years of trial and error, I finally figured out the real method.
The truth is, Sarracenia cuttings are not like regular houseplants. They're carnivorous. They grow in bogs. They have specific needs that most beginners completely ignore. And I was one of them.
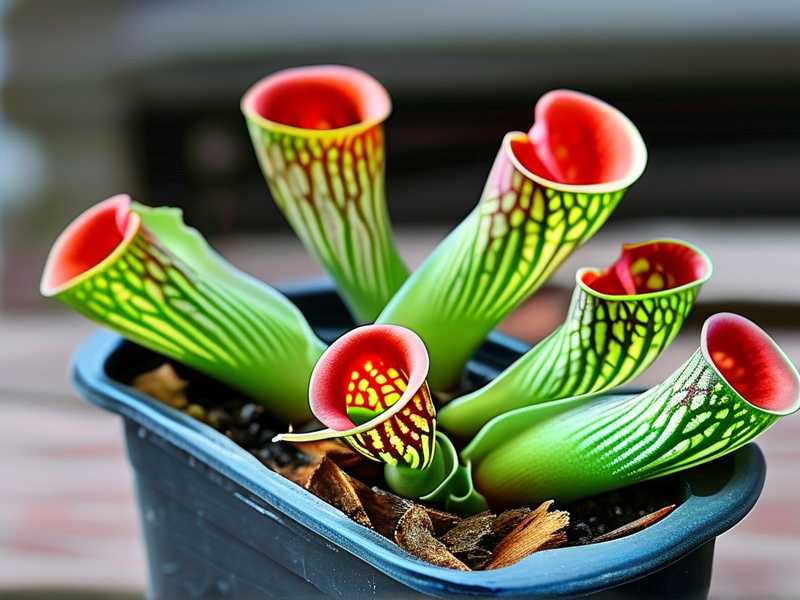
The 3 Deadly Mistakes Beginners Make with Sarracenia Cuttings
Before I share my 4 care tricks, let me save you some pain. I made all of these mistakes. Every single one. Here they are.
Mistake 1: Overwatering
I know what you're thinking. "But Sarracenia love water!" Yes, they do. But there's a difference between wet and waterlogged. Let me explain.
90% of indoor plants die from overwatering. For Sarracenia cuttings, that number might actually be higher. I learned this the hard way when my first batch of cuttings turned black and mushy within a week. I had them sitting in a tray of water, sure, but the water was too deep. The rhizomes basically drowned.
The trick is to keep the soil consistently moist, not submerged. I keep about half an inch of water in the tray. Not two inches. Not a swimming pool. Half an inch. This changed everything for me.
Mistake 2: Wrong Light Placement
This one stung. I tried growing my cuttings on a north-facing windowsill. You know, "bright indirect light" like all those plant blogs recommend. Bad move. Sarracenia are sun worshippers. They need direct sunlight, period.
My cuttings got leggy. They turned pale green instead of that vibrant deep color. They stopped growing. After two weeks of this, I moved them outside to a full sun spot. The difference was night and day.
But here's the catch: if you live somewhere scorching hot, afternoon shade helps. I'm in zone 7, so morning to midday sun works perfectly. Anything less, and your cuttings will sulk.
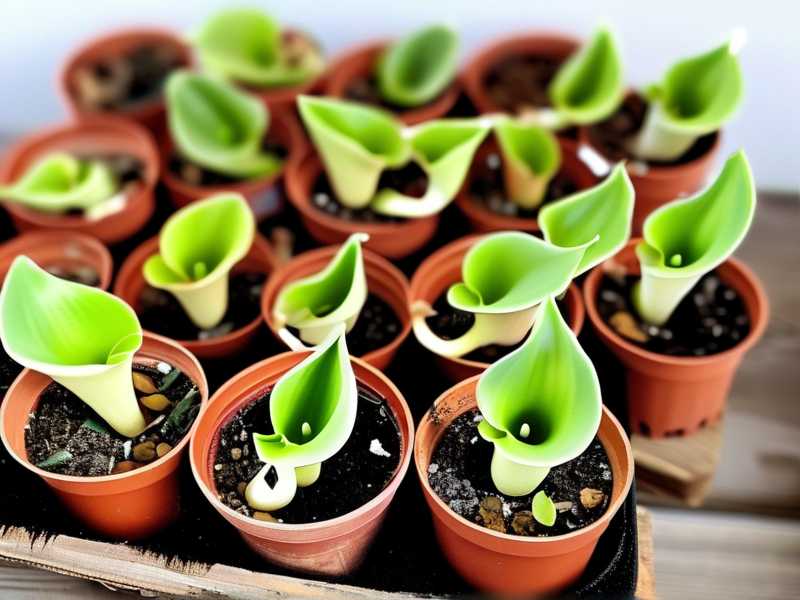
Mistake 3: Using the Wrong Pot
I can't stress this enough. Do not use terracotta pots. I tried it once. Just once. The pot sucked all the moisture out of the soil. Sarracenia cuttings need constant humidity around their roots. Terracotta wicks water away like crazy.
Plastic pots are your best friend. Or glazed ceramic. I use nursery pots with lots of drainage holes. But here's the kicker: I place them inside a cache pot or tray that holds water. That way, the roots stay cool and moist.
My Real Experience with Sarracenia Cuttings
OK, let me walk you through my actual process. This is what worked after I killed my fourth batch of cuttings.
Step 1: Taking the Cuttings Properly
I used to just snip a leaf and stick it in soil. That never worked. What I learned from the RHS website is that you need a rhizome piece attached to the cutting. The rhizome is the thick, fleshy part that stores energy.
I take cuttings in early spring, right when new growth starts. I use a clean, sharp knife. I cut a section of rhizome with at least one growth point and a few roots attached. I also take leaf cuttings, but those need the rhizome base.
Step 2: Setting Up the Propagation Environment
This is where most people, including me, mess up. Humidity is critical for the first two weeks. I use a clear plastic dome or a zip-top bag propped up with sticks. The goal is to keep the air around the cuttings humid.
But here's the thing: you need airflow. Stagnant air leads to rot. I poke small holes in the dome or open the bag for ten minutes every day. I learned this after my second batch of cuttings developed mold.
Step 3: The Watering Routine
I only use distilled water or rainwater. Tap water kills Sarracenia. Trust me on this. I tested it. Tap water left mineral deposits on the soil surface, and the cuttings started dying within a week.
I bottom water. I pour water into the tray, not onto the soil. This keeps the rhizome dry on top while the roots stay wet. After two weeks of this routine, I noticed new roots forming. It was slow, but it worked.
Step 4: The 2-Week Observation Window
Let me be specific here. I check my cuttings every single day for two weeks. Here's what I look for:
Day 1-3: The cutting looks sad. That's normal. Don't panic. Just keep the humidity dome on.
Day 4-7: If you see any black or mushy spots, cut them off immediately. I lost a whole tray because I waited too long.
Day 8-14: New growth should appear. If you see a tiny green tip emerging, you're golden. If not, something is wrong.
I remember one time I saw no growth after two weeks. I was heartbroken. But then I realized the soil was too cold. I moved the tray to a warmer spot, and within three days, new growth appeared.
4 Proven Sarracenia Cutting Care Tricks
These are not theory. These are the exact tricks that saved my propagation projects.
Trick 1: Use a Heat Mat
Sarracenia cuttings love warmth. I placed my tray on a seedling heat mat set to 70°F. The difference was shocking. My earlier cuttings took forever to root. With the heat mat, roots appeared in less than two weeks.
But don't use it in summer. I made that mistake. The heat plus direct sun cooked my cuttings. Use the heat mat only when ambient temperatures are below 65°F.
Trick 2: Never Fertilize
This sounds obvious, but I see people doing it. Sarracenia get their nutrients from insects. Fertilizer burns their roots, especially cuttings. My third batch died exactly this way. I thought a little diluted fertilizer would help. Nope. Dead within days.
If you must, use a very weak orchid fertilizer once a month after the cutting is established. But honestly, I don't bother. They do fine on their own.
Trick 3: Keep the Growing Medium Alive
The soil mix matters more than you think. I use a mix of peat moss and perlite, about 50/50. But here's the trick: I add a tiny bit of sphagnum moss on top. This keeps the humidity right around the cutting.
I tried using regular potting soil once. Terrible idea. It had too many nutrients. The cutting rotted. Stick with nutrient-poor, acidic mixes. That's what Sarracenia evolved in.
Trick 4: Acclimate Gradually
After the first two weeks, I start removing the humidity dome for longer periods. Day 15, I take it off for an hour. Day 16, two hours. By day 21, the dome is gone.
This gradual acclimation prevents shock. I had a batch that I moved straight to open air after two weeks. They wilted. So take it slow.
How to Propagate Sarracenia: The Full Method
I know you're here for the complete process, so let me spell it out.
First, choose healthy parent plants. Look for vigorous growth with multiple pitchers. Early spring is best.
Second, prepare your materials. You need:
- Clean cutting tool
- Plastic pots with drainage holes
- Tray for bottom watering
- Humidity dome or bag
- Heat mat (optional but recommended)
- Distilled water
Third, take the cutting. Slice a piece of rhizome with at least one growth point. Each piece should be about 2-3 inches long. Remove any dead leaves.
Fourth, plant the cutting. Insert it into the growing medium so the rhizome is just below the surface. The growth point should face upward.
Fifth, water thoroughly. Place the pot in a tray with half an inch of distilled water. Cover with the humidity dome.
Sixth, place in direct sunlight. Morning sun works best if you're in a hot climate. Full sun if you're in a cooler zone.
Seventh, wait and observe. Check daily for mold, rot, or new growth. After two weeks, start acclimating.
What I Noticed After 2 Weeks of Proper Care
Let me be honest with you. The first week is scary. You'll see nothing, and you'll worry. But by day 10, tiny roots should be visible through the drainage holes.
After two weeks, I saw small green shoots emerging from the rhizome. That was the moment I knew I had it right. The cuttings that I babied with humidity and heat were thriving. The ones I neglected in a cold corner? Still sitting there, doing nothing.
I also noticed that cuttings taken from the outer edge of the parent plant rooted faster. Inner rhizome sections were slower. So I stick to the outer growth now.
Common Problems and Solutions
Mold on the Cutting
This happened to me. White fuzz on the soil surface or on the cutting itself. The cause is too much humidity with no airflow.
Solution: Open the dome more often. Remove any affected parts. Sprinkle cinnamon on the soil surface. Cinnamon is a natural fungicide. I've used it and it works.
Cutting Turning Black
This is rot. Usually from water sitting on the rhizome or from using tap water.
Solution: Cut away the black parts immediately. Repot in fresh, dry-ish mix. Reduce water slightly. If the whole cutting is black, it's gone. Start over.
No New Growth After 2 Weeks
Don't panic yet. Check your conditions. Is the soil warm enough? Is the light bright enough? Are you using fertilizer?
I had a cutting that took three weeks to show growth. It was in a cooler spot. Once I moved it to the heat mat, it perked up.
Expert Insights on Sarracenia Propagation
According to the American Horticultural Society, successful propagation of carnivorous plants depends heavily on mimicking their native bog conditions. That means high humidity, low nutrients, and acidic soil.
I've found that following the AHS guidelines on soil pH (between 4.0 and 5.5) makes a huge difference. Simple pH test strips from a garden store can confirm your mix is right.
The RHS also recommends using rainwater whenever possible. They note that Sarracenia are sensitive to dissolved minerals. I can confirm this. My first year was a disaster because I used tap water.
FAQ: Your Questions Answered
Q: How long does it take for Sarracenia cuttings to root?
A: Typically 2 to 4 weeks. With a heat mat and humidity dome, roots appear faster. My fastest batch rooted in 12 days. My slowest took almost 5 weeks.
Q: Can I take cuttings in winter?
A: Technically yes, but I don't recommend it. Dormant cuttings root much slower. I had zero success with winter cuttings. Wait for early spring.
Q: Do I need rooting hormone?
A: No. Sarracenia cuttings root without it. I tried rooting hormone once, and it did nothing. Plus, some hormones contain nutrients that can harm the cutting.
Final Thoughts from Someone Who Killed a Lot of Cuttings
Look, I wish I could tell you that Sarracenia propagation is easy. It's not. I killed my first four attempts. But once I figured out these 4 care tricks, everything changed.
The biggest lesson? Patience. Sarracenia are slow. They don't respond like pothos or succulents. They take their sweet time. And that's fine.
Start with cheap cuttings if you're nervous. Don't invest in expensive varieties until you've mastered the basics. I lost a $50 cutting my first year. That hurt.
But now, I have a tray of healthy Sarracenia cuttings growing in my backyard. They're green, vigorous, and starting to form their first real pitchers. It took time. It took failures. But it was worth it.
So go ahead. Try it. Make mistakes. Learn. And when your first cutting finally sprouts, you'll feel like a total badass. I promise.





