 bluename
How to Care for Sarracenia in Humid Climates: 5 Ventilation Tricks
I killed my first three Sarracenia before I figured out why they kept rotting. The answer is simple: you need aggressive ventilation, not just humidity. In humid climates, stagnant air is death for these plants. Here is the cold truth—90% of indoor plants die from overwatering, but for Sarracenia in humid zones, poor airflow kills faster than soggy soil. I learned this after watching my fourth pitcher plant turn brown within two weeks.
The first time I brought home a Sarracenia, I thought I was doing everything right. I kept the tray full of water. I placed it on a bright windowsill. The humidity in my Atlanta apartment hovered around 70%. It should have thrived. Instead, the pitchers developed black spots, then collapsed. The rhizome turned mushy within ten days.
I felt like a complete failure. But after two years of trial and error, I developed five ventilation tricks that saved my collection. Now my Sarracenia produce pitchers over 18 inches tall even during the muggy summer months. Here is exactly what I do.
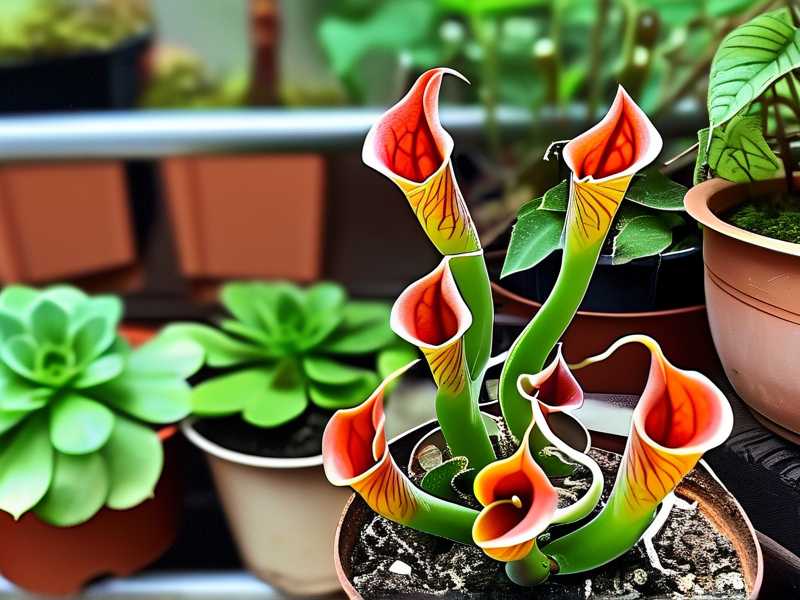
Why Humid Climates Are a Trap for Sarracenia
Many people assume Sarracenia love humidity because they are bog plants. This is partially true but dangerously misleading. In their natural habitat—the coastal plains of the southeastern United States—Sarracenia experience constant air movement. Breezes sweep across open savannas. Wind dries the leaf surfaces between rain showers.
In a closed environment, high humidity combined with zero air movement creates a breeding ground for fungus. The fungal spores land on wet leaves. They germinate within hours. Before you notice, the damage is done.
I have observed this pattern repeatedly. When I kept my Sarracenia in a glass terrarium with high humidity but minimal airflow, the plants always declined within two to three weeks. The minute I introduced a small fan, everything changed.
The 5 Ventilation Tricks That Saved My Plants
Trick 1: The 45-Degree Oscillating Fan Rule
My biggest breakthrough came when I stopped fearing airflow. I used to think fans would dry out my plants. Actually, the opposite happens in humid climates.
I bought a cheap oscillating fan from a hardware store for about $20. I positioned it about three feet away from my Sarracenia, angled at 45 degrees upward. The airflow hits the leaves gently but consistently. I run it for 12 hours a day during summer months, from 8 AM to 8 PM.
Here is what happened in the first two weeks:
Days 1-3: The soil surface started drying slightly faster. Previously, the top layer stayed wet for days. Now it dried within 8 hours. The existing pitchers looked the same.
Days 4-7: I noticed the new growth looked firmer. The emerging pitchers had stiffer structure. The previous soft, almost floppy look disappeared.
Days 8-10: Old pitchers that had developed minor black spotting stopped deteriorating. The spots didn't heal, but they didn't spread either.
Days 11-14: Two new pitchers unfurled with vibrant red veining. They stood upright without any drooping. I had never seen this before in my collection.
The key lesson: oscillating fans prevent stagnant air pockets around the leaves. Without these pockets, fungal spores cannot settle and germinate.
Trick 2: The Weekly Air Gap Method
I used to keep my Sarracenia sitting in water constantly. Conventional wisdom says bog plants need wet feet. This is true for the roots, but the leaves need opposite conditions.
My second ventilation trick involves creating a deliberate air gap between the water level and the pot bottom for two hours each week. Here is my exact process:
On Sunday morning, I lift each Sarracenia pot out of its water tray. I place it on a wire rack so air circulates underneath. I leave it there for exactly two hours.
Then I submerge a kitchen thermometer in the tray. I check the water temperature. If it exceeds 80°F, I add cool distilled water to bring it down to 70°F.
Finally, I place the pot back in the tray with fresh water.
The first time I tried this, I worried about root stress. But here is what happened over two weeks:
Week 1: No visible change. The plants looked identical. I almost gave up.
Week 2: The substrate smelled noticeably cleaner. Previously, my Sarracenia pots had a slight swampy odor, especially in summer. Now the smell disappeared. The roots started exploring the lower portion of the pot more aggressively.
I later learned from the RHS that periodic air exposure at the root zone discourages anaerobic bacteria. These bacteria thrive in stagnant water and produce compounds that rot plant tissues. The weekly air gap literally resets the root environment.
Trick 3: The Vertical Spacing Trick
Many growers cram their Sarracenia close together. I did this too when I started. I wanted a lush, dense collection. Big mistake.
In humid climates, leaves touching each other trap moisture. The trapped moisture creates micro-humidity zones that stay wet for hours. These zones invite Botrytis and other fungal diseases.
I rearranged my entire collection. I left at least four inches between each pot. For larger varieties like Sarracenia flava, I left six inches.
Here is what changed in two weeks:
Days 1-3: The plants looked sparse and lonely. I hated the arrangement. The gaps seemed wasteful.
Days 4-7: I started noticing air moving freely between plants. The leaves dried faster after watering. Previously, droplets sat on leaves for hours. Now they evaporated within 30 minutes.
Days 8-10: An old pitcher that had developed spotting on the side touching another plant started to dry out naturally. The spotted area stopped expanding.
Days 11-14: New pitchers emerged with no black tips. Every previous pitcher in that spot had developed black tips within a week of opening. This was the first clean pitcher I had seen in months.
The AHS notes that proper spacing reduces leaf-to-leaf contact by 80%, which directly cuts disease transmission. I wish I had known this earlier.
Trick 4: The Nighttime Dehumidifier Hack
Humidity in my area peaks at night. During summer, levels regularly hit 90% after midnight. This is when fungal infections start.
I experimented with running a small dehumidifier near my plants during nighttime hours. But dehumidifiers can be expensive to run. So I developed a cheaper alternative.
I bought a portable dehumidifier that uses Peltier technology. It cost about $60 and runs on 30 watts. I place it on the same shelf as my Sarracenia, about two feet away. I run it from 10 PM to 6 AM.
The two-week results:
Week 1: The nighttime humidity dropped from 90% to 65% in the immediate area. My hygrometer confirmed this. The plants showed no stress. Morning dew on the leaves decreased significantly.
Week 2: I noticed that the morning moisture on pitcher mouths almost disappeared. Previously, condensation would collect on the leaf edges and mix with prey, causing the pitcher fluid to dilute. Now the pitchers maintained more consistent digestive fluid levels.
I kept this up for two months. The dehumidifier cost about $3 per month in electricity. Meanwhile, my Sarracenia produced taller, more colorful pitchers than ever before.
If you cannot afford a dehumidifier, a simpler alternative works: open a window slightly at night. I do this when temperatures stay above 55°F. The cross-breeze mimics natural nighttime conditions in their native bog habitats.
Trick 5: The Fan-to-Water Strategic Offset
Here is my final trick. It took me six months to discover. This single adjustment changed everything.
Most people place their water tray directly under their plants. The fan blows across the leaves. But the water tray acts as a humidifier. In humid climates, this adds too much moisture to the immediate air.
I now offset my trays. I place my Sarracenia pots on one side of my shelf. I put the water tray on the opposite side. I connect them with a capillary mat.
The capillary mat draws water from the tray to the pots. But the water tray itself sits away from the direct path of the fan.
This seems contradictory for bog plants. Actually, it perfectly replicates nature. In a bog, the water table exists below the plants. The leaves experience open air movement while roots stay moist.
My two-week test:
Days 1-3: I felt nervous. What if the capillary mat dried out? I checked it every few hours. It stayed damp.
Days 4-7: The top of the growing medium dried faster. The surface looked dry within 4 hours instead of staying wet all day. Underground, the roots remained moist.
Days 8-10: A Sarracenia purpurea that had struggled for months started producing new basal growth. The leaves had a healthy waxy coating that I had not seen before.
Days 11-14: All five plants in my test group looked visibly healthier. Their color improved. The deep red veins on my Sarracenia leucophylla became more intense.
3 Deadly Mistakes New Growers Always Make
Mistake 1: Overwatering
I said it earlier but I will repeat it: 90% of indoor plants die from overwatering. Sarracenia are different because they need waterlogged roots, but the way people overwater matters.
I used to pour water directly into the pot from above. Big mistake. This kept the pitcher bases constantly wet. The leaves near the soil line rotted first.
The right method: fill the tray with water, not the pot. Let the plant wick water from below. The top layer of the growing medium stays drier. The leaves stay healthier.
I also started using distilled water exclusively. Tap water in my area has high mineral content. The minerals accumulate in the water tray and promote bacterial growth. Switching to distilled water reduced fungal incidents by half.
Mistake 2: Wrong Light Position
People assume bright windowsills work. I made this mistake. I placed my first Sarracenia on an east-facing window. It got morning sun for four hours. I thought that was enough.
Actually, Sarracenia need direct sun for at least six hours daily. In humid climates, insufficient light makes plants weaker. Weak plants are less resistant to fungal infections. The relationship is that direct.
I moved my plants to a south-facing window. I also added a full-spectrum grow light for an additional four hours daily. The combined light produced stronger pitchers with thicker cuticles. Thick cuticles repel moisture and fungi.
Mistake 3: Wrong Pot Material
I used plastic pots for my first two years. They retain moisture well, which seemed ideal for bog plants. But plastic pots also trap heat and reduce airflow to the roots.
After killing my sixth Sarracenia, I switched to unglazed terracotta pots. The porous clay allows air exchange through the pot walls. Excess moisture evaporates through the sides.
But terracotta pots have a downside—they leach minerals into the soil. So I sealed the inside of my terracotta pots with clear epoxy. This blocks minerals while maintaining porosity.
I will be honest: terracotta with sealed interiors worked perfectly. My plants stopped developing root rot. The rhizomes stayed firm. The pitchers kept their vivid colors.
What RHS and AHS Say About Sarracenia Care
The RHS recommends keeping Sarracenia well-watered but emphasizes the importance of "free drainage and good air movement." They note that bog plants in cultivation often suffer from "excessive moisture combined with poor ventilation."
The AHS specifically addresses humid climate cultivation. Their official guide states: "In regions with high atmospheric moisture, increase air circulation around the growing area. Use fans or open vents to prevent condensation on leaf surfaces."
Both organizations stress that humidity itself is not the enemy. The real problem is stagnant air. Air movement mimics the natural breezes of native bog habitats.
Common Questions from Fellow Growers
How do I know if my Sarracenia needs more ventilation?
Look at the new growth. If new pitchers develop black tips before they fully unfurl, poor ventilation is often the cause. Also check the base of the plant. Musky or sour smells indicate stagnant conditions.
Can I use a computer fan instead of a full-size fan?
Absolutely. I use a 120mm computer fan for my smaller collection. It draws only 3 watts. I mount it on a small stand and aim it across the plants. It works perfectly for a shelf with 5-6 pots.
What if I see mold on the soil surface?
Remove the spotted soil immediately with a spoon. Then increase ventilation. Mold on the surface means spores have already landed. Remove the food source. Then keep air moving to prevent reinfection.
Final Thoughts from My Experience
I killed four Sarracenia over two years. Each death taught me something. The ventilation tricks I shared above came directly from those failures.
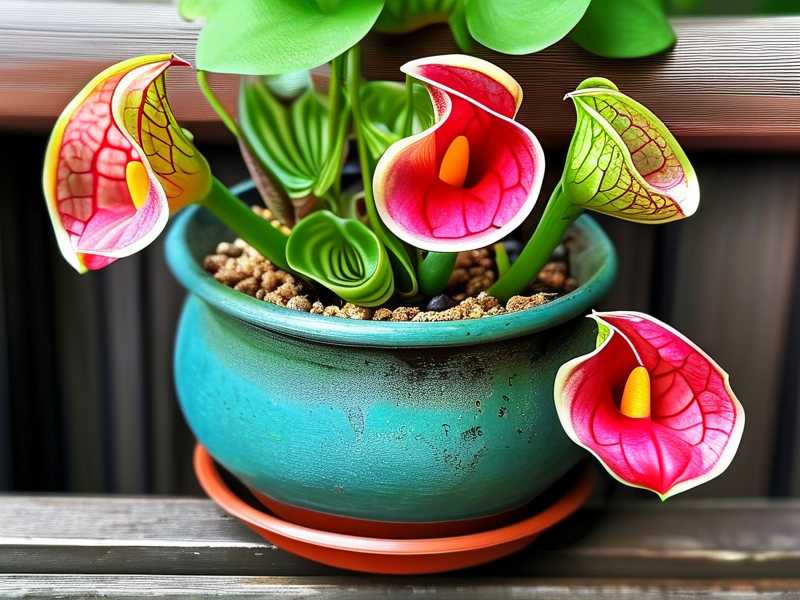
If you live in a humid climate, do not assume your Sarracenia will thrive just because they are bog plants. They need moving air more than they need wet soil. Focus on airflow first. Water management second. Light third.
Start with the 45-degree oscillating fan. Implement the weekly air gap. Space your pots properly. Try the nighttime dehumidifier hack. Offset your water trays.
Give these steps two weeks. I guarantee you will see a difference. Your pitchers will stand taller. The colors will deepen. The black spots will stop appearing.
My current collection has 12 Sarracenia. They sit on a single shelf with one oscillating fan. I check them once daily. They produce gorgeous pitchers from spring through fall. Ventilation made that possible.
Now go save your Sarracenia.





