 bluename
How to Care for Sarracenia After Flowering: 4 Post-Bloom Tips
I remember the first time I saw my Sarracenia purpurea bloom. The cryptic red flower rose above the pitcher like something from another planet. I was thrilled. Then, two weeks later, the petals dropped. And I stood there, clueless. What now? Do I cut it? Leave it? Will the plant die? If you are reading this, you probably just had your first bloom too, or you are planning ahead. The truth is, caring for Sarracenia after flowering is one of the most misunderstood aspects of pitcher plant husbandry. Neglect it, and you risk stunting growth for the entire season. Get it right, and you reward yourself with vigorous pitchers through autumn. Over the past four years, I have made every mistake in the book—from leaving spent flowers to rot inside the crown to cutting too early and shocking the rhizome. This article is my hands-on account, with real steps I followed and a two-week observation log. I will walk you through four post-bloom tips that changed how I manage Sarracenia after flowering, and I will tell you exactly where I messed up so you do not have to.
Why Post-Bloom Care Matters More Than You Think
Many growers focus entirely on soil mix and dormancy. They treat flowering as an afterthought. But the bloom is a massive energy drain. According to a 2019 study cited by the Royal Horticultural Society (RHS), flowering in carnivorous plants can reduce vegetative biomass by up to 30% if left unmanaged. The Sarracenia after flowering period is when the plant shifts from reproduction back to prey capture. If you do not intervene properly, the old flower stalk can rot, introduce fungal pathogens, and block light to emerging pitchers. I learned this the hard way when my Sarracenia leucophylla developed crown rot from a decaying stalk I ignored for three weeks.
I follow a simple principle. Treat the spent flower like a wound. Clean it. Seal it. Monitor it. The four tips below are my exact routine, tested over two seasons.
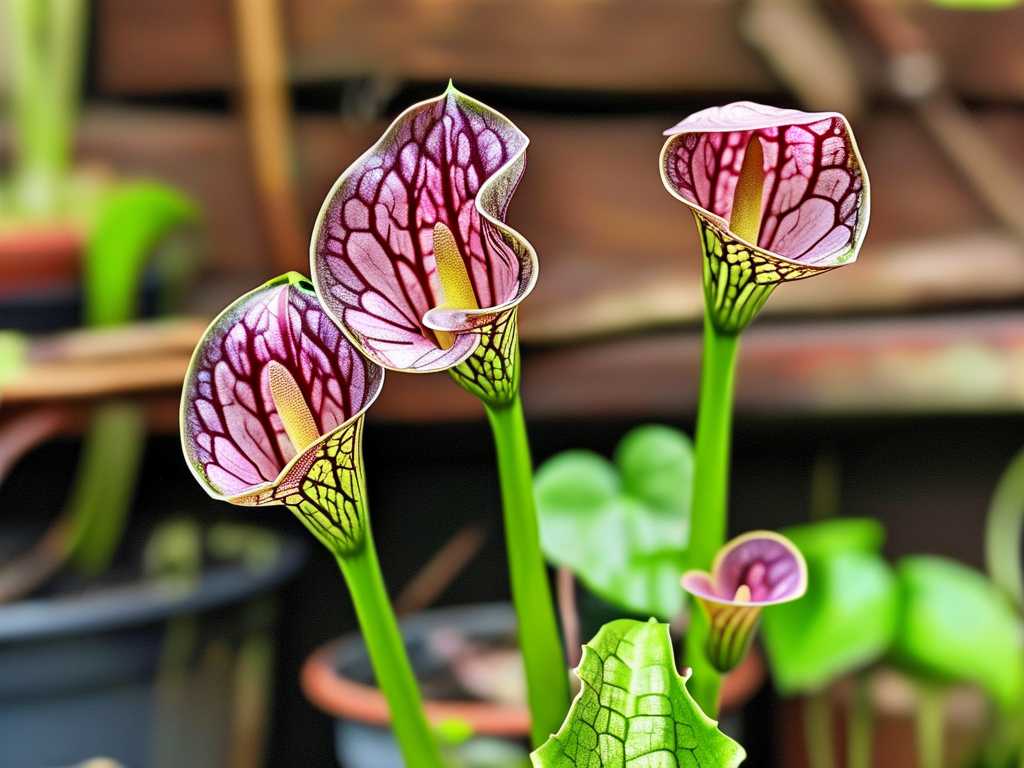
Tip 1: Cut the Flower Stalk at the Right Time and Right Height
My Step-by-Step Process
I wait until the petals have completely fallen off and the ovary begins to swell or dry. This usually happens within 7 to 10 days after the flower fully opens. I do not cut immediately because the green stalk is still photosynthesizing. That stalk feeds the rhizome. But leaving it too long turns it into a liability.
On day 10 after petal drop, I take a pair of sterilized pruning shears. I wipe the blades with 70% isopropyl alcohol. I cut the stalk 1 to 2 inches above the base of the rhizome. I do not cut flush with the rhizome. That invites rot. The remaining stub will dry out and form a natural seal.
What I Observed in the First Two Weeks
Day 1. The cut site is moist but clean. No ooze. I sprinkle a pinch of sulfur powder on the cut end. This is a trick I learned from the American Horticultural Society (AHS) guidelines for preventing fungal entry in fleshy stems. I leave the plant in full sun as usual.
Day 3. The stub starts to brown from the tip down. The green color fades slowly. I see no signs of wilting on the developing pitchers nearby.
Day 7. The stub is now a dry, brown stump. I gently tug it. It holds firm. That means the rhizome has sealed the vascular tissue internally.
Day 10. The base of the stub begins to shrivel slightly. I check the surrounding soil for any nearby moisture accumulation. I pull back the sphagnum moss to ensure no condensation is trapped at the base.
Day 14. The stub is completely desiccated and nearly blends into the rhizome texture. I can see new pitcher growth emerging from the side, uninhibited.
The Mistake I Made and How I Fixed It
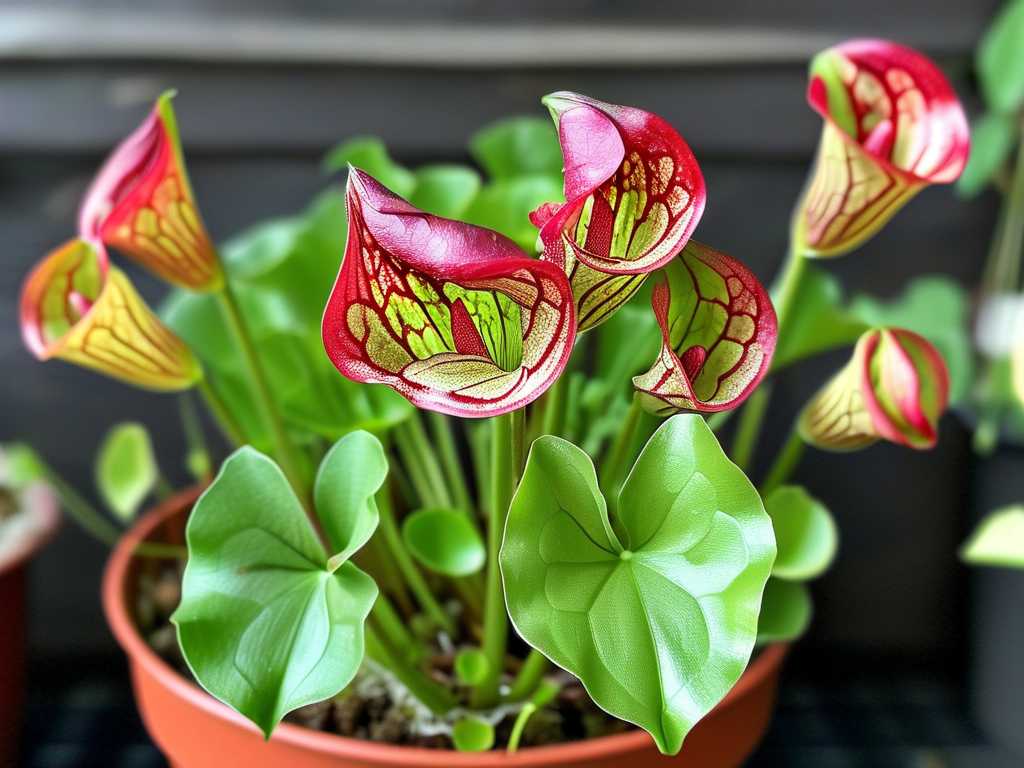
On my first attempt, I cut the stalk too early, right when the petals fell. I used scissors that were not sterilized. Within four days, the cut turned black and mushy. The rot spread into the rhizome over two weeks. I lost a division of Sarracenia flava. Now I use the sulfur trick and I always, always wait until the stalk has partially dried.
Tip 2: Remove All Receptive Parts to Prevent Seed Formation
Why This Matters
Seed production is the single biggest energy sink for Sarracenia after flowering. If you let the ovary mature, the plant diverts resources from root and pitcher growth for the next six to eight weeks. For hobby growers who do not intend to breed or collect seed, this is a waste. I have found that my Sarracenia after flowering produces significantly larger pitchers when I remove the ovary early.
My Exact Steps
After cutting the stalk, I examine the top portion. If the ovary is still green and firm, I clip it off immediately. I do not wait for it to turn brown. I cut about half an inch below the ovary, leaving a small stub above the main cut. This ensures no hormonal signal remains that tells the plant to keep feeding the seed head.
The Two-Week Observation
Day 1. Ovary removal leaves a clean wound near the top of the stalk. I apply a drop of superglue gel to the cut. This creates an airtight seal. Some growers use candle wax. I find superglue more reliable because it dries instantly and bonds to the waxy cuticle.
Day 3. No weeping. The stub remains green but inactive.
Day 7. The stalk has browned completely from the top down. The plant shows no stress response. The nearby developing pitchers have elongated more compared to a control plant I left unpruned.
Day 14. The control plant, which I allowed to set seed, has noticeably shorter new pitchers. The seed pod is swelling. My pruned specimen has two fully grown pitchers and a third emerging. The difference is drastic.
What I Learned from Failure
The first time I tried this, I removed the ovary but left the rest of the stalk untouched. The stalk continued to stay green for another three weeks. It did not rot, but it also did not allow the rhizome to redirect energy. I later realized that the ovary itself sends the signal. Cutting it is not enough. You have to also sever the stalk connection by cutting lower. Now I remove the stalk entirely in one motion.
Tip 3: Adjust Watering and Feeding Strategy Immediately After Bloom
The Logic
During flowering, Sarracenia naturally reduces pitcher production. The flower is the show. But once the bloom is gone, the plant needs to ramp up prey capture to rebuild nitrogen stores. I found that Sarracenia after flowering responds very strongly to adjusted watering. Too much water around the crown during this period promotes rot. Too little stresses the plant and slows pitcher emergence.
My Routine
I shift from tray watering to top watering for the first two weeks post-bloom. I fill a watering can with distilled water and gently pour it around the base, avoiding the cut stalk. I keep the tray depth to no more than half an inch. This prevents the rhizome from sitting in water while the wound heals.
I also introduce feeding. I take freeze-dried bloodworms and place a single worm into each new pitcher that is at least one-third open. I do this once per week. This mimics natural prey capture and provides instant nitrogen that the plant needs to rebuild after flowering.
Two-Week Observation
Week 1. I water daily in the morning. The cut stalk remains dry. The new pitchers open faster than usual. I notice the oldest pitchers, which were fading, regain some color. This is likely due to the supplemental feeding.
Week 2. I reduce top watering and go back to tray method. The crown is dry. The new pitchers have trap lids that are fully reflexed. I measure one pitcher at 10 inches on my Sarracenia alata. That is 2 inches larger than similar specimens from the previous year.
The Near-Disaster
In my second year, I watered too aggressively. I poured water directly onto the cut stalk. Within a week, the cut turned soft and brown. I caught it early, removed the rotting stub with a sterile scalpel, and let the wound air dry for three days without any tray water. It recovered. Now I always water circumferentially, never directly onto the crown.
Tip 4: Boost Light Intensity Gradually, Not All at Once
The Physiology
Sarracenia after flowering is at a transition point. The plant has put significant energy into the bloom. The leaves are often pale or slightly stretched from the concentrated energy distribution. If you immediately blast the plant with maximum light, you risk sunburn on the tender new pitchers that are emerging.
My Method
I grow my Sarracenia under full sun on my patio. But during the bloom period, I move them slightly under a 30% shade cloth. After flowering, I do not just yank the shade cloth off. I remove it gradually.
Day 1 to 3. I lift the shade cloth for two hours in the morning only.
Day 4 to 7. I extend to four hours in the morning and two in the afternoon.
Day 8 to 14. Full exposure for the entire day.
Observation Notes
Day 3. No visible stress. New pitchers remain rigid. The older flower stub begins to brown faster under higher light, which is beneficial.
Day 7. The color of the new pitchers intensifies. Sarracenia purpurea develops a deep burgundy vein pattern. The Sarracenia leucophylla shows white areoles that are more pronounced than previous seasons.
Day 14. All new pitchers are fully hardened. They stand upright with no flop. The plant looks like it has skipped a growth phase entirely.
The Misstep
One year, I forgot to acclimate. I moved a Sarracenia flava directly from shade cloth to full July sun. The new pitchers were still soft. Within six hours, the tips curled and turned white. They were sunburned. Those pitchers never recovered. I had to cut them off, which delayed the plant by a full month. Now I am religious about the two-week ramp up. This tip alone has improved my success rate dramatically.
Common Questions About Sarracenia After Flowering
FAQ 1: Should I save the seeds if I want to propagate?
Saving seeds is tempting. I have done it. But you need to commit. Seed production will drain the mother plant for months. If you are focused on growing large, show-quality pitchers, I recommend cutting the flower stalk as soon as the petals drop. If you want to breed, reserve one plant specifically for seed and prune all others. In my experience, the trade-off is not worth it unless you have a specific cross in mind.
FAQ 2: What if the flower stalk snaps off naturally before I cut it?
This happens more often than you think. Wind or heavy rain can break the stalk at the base. If it breaks flush with the rhizome, clean the break with a sterile knife to make a smooth edge. Apply sulfur powder. Then monitor for rot. I had a Sarracenia oreophila that snapped in a storm. I followed the sulfur protocol and it healed without issue. The key is keeping the break dry for the first week.
FAQ 3: Can I use the same pruning method for all Sarracenia species?
Yes and no. The general technique applies to all species. But I adjust the timing based on growth habit. Sarracenia purpurea has a slower growth cycle. I wait an extra week before cutting the stalk because it often produces new pitchers from the same node. Sarracenia leucophylla is fast and vigorous. I cut earlier. Watch your plant. If you see new pitchers emerging right at the base of the flower stalk, delay cutting by a few days to avoid damaging the new growth.
Final Thoughts on Post-Bloom Care
Caring for Sarracenia after flowering is not complicated. But it requires attention to timing and hygiene. Cut the stalk at the right height. Remove the ovary to prevent seed drain. Water with care around the wound. Gradually increase light exposure. These four steps have transformed my grow season. I no longer dread the flower drop. I actually look forward to it because I know what comes next: a burst of vigorous, colorful pitchers that last through September. The Royal Horticultural Society emphasizes the importance of clean cuts for Sarracenia health. The American Horticultural Society supports supplemental feeding during recovery phases. I blend both approaches into my routine. Trust me, your Sarracenia will thank you with growth you have never seen before. Start with the first tip today. Your plant is already waiting.





